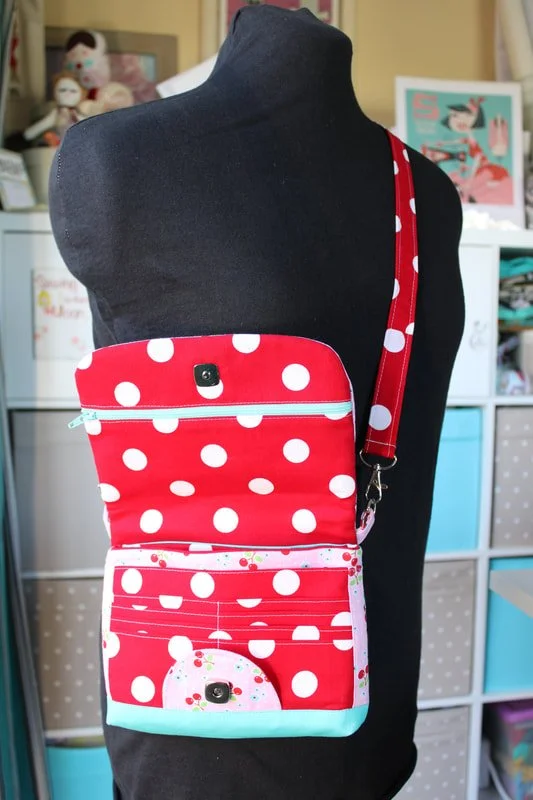
Crossbody Bag Review
I have found the holy grail of crossbody bags and I'm shouting it out from the rooftop! Make this crossbody bag today, you won't regret it.
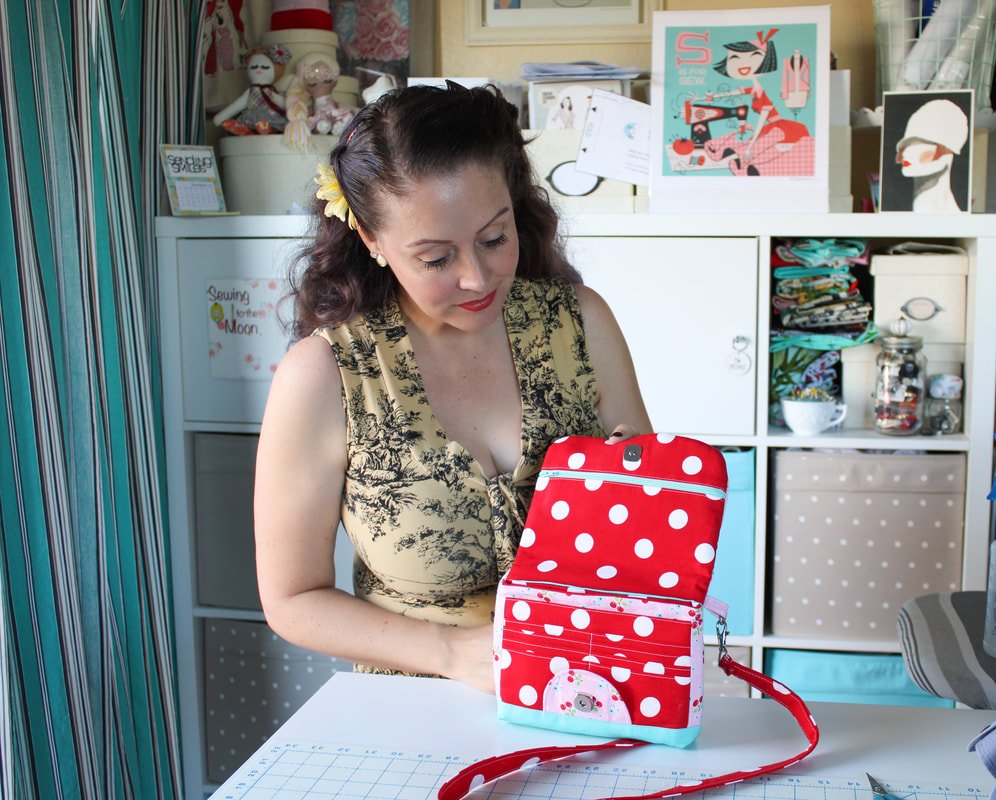
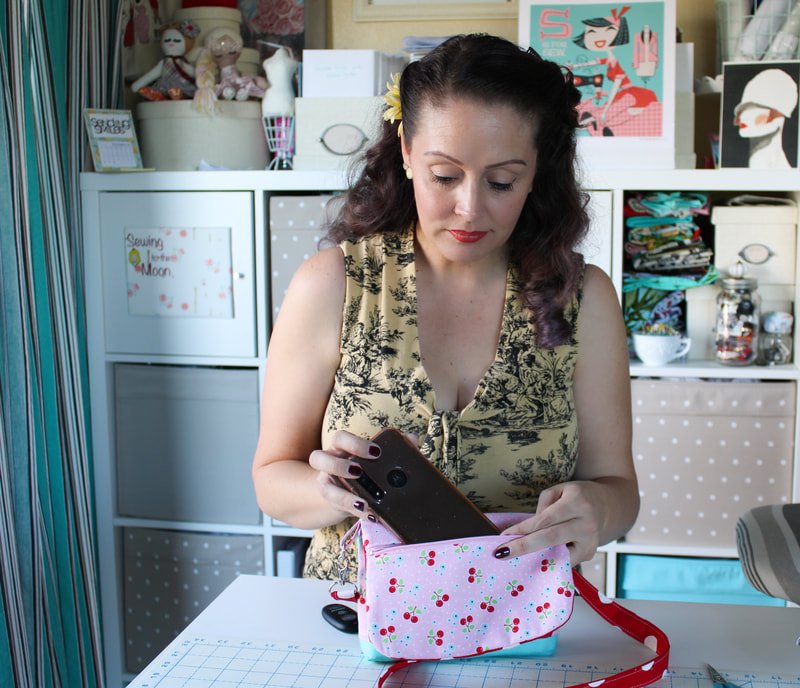
This bag is the biggest-little bag I've ever laid eyes on. It's a game-changer for sure and everyone needs to have one or two! It's honestly the best travel bag I've come across! You can fill it with everything except the kitchen sink. This day-use crossbody bag is perfect for walking around museums, theme parks, concerts, national parks, etc.
I'm not getting paid for this post, I am just in love! Haha!
I've always carried my regular handbag whenever we ventured out and after a few hours, my shoulder would hurt something fierce. I eventually bought a tiny crossbody bag from a big box store for $5 because it was $5! Oh, and it was in the shape of cherries. Super cute!!
Well, my newest phone is too big for the cherry purse. So, I searched Pinterest high and low for a crossbody sewing pattern and nothing came up. Is it me or is Pinterest extremely lackluster nowadays?
I wanted pockets and the bag shape to be more horizontal than vertical. My next stop was Etsy. Thank you Etsy, for coming through. I found the best pattern and I'm sharing it with you today. Hold on to your teacup because she's a doozy.
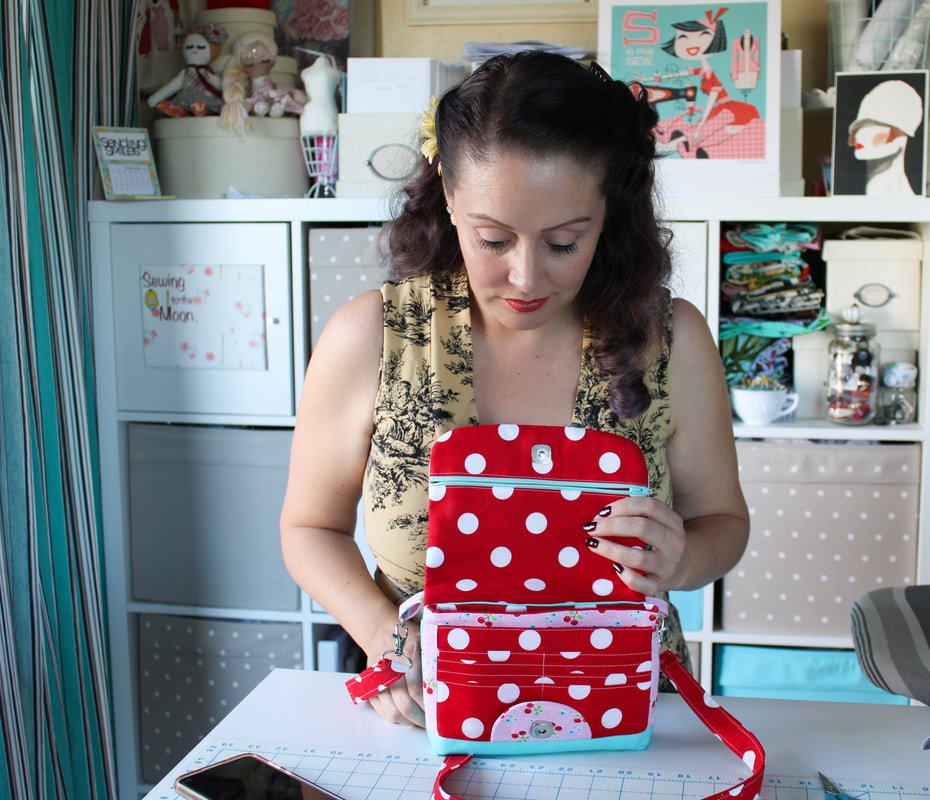
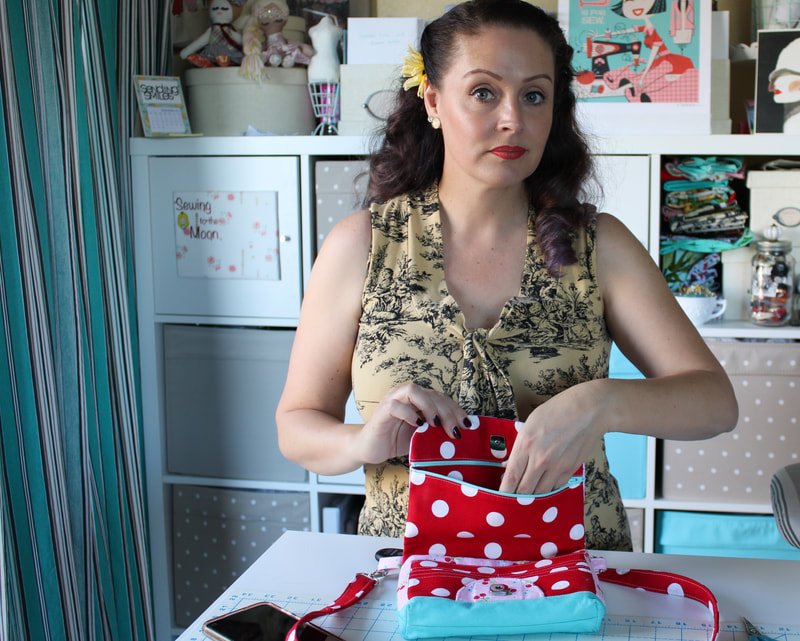
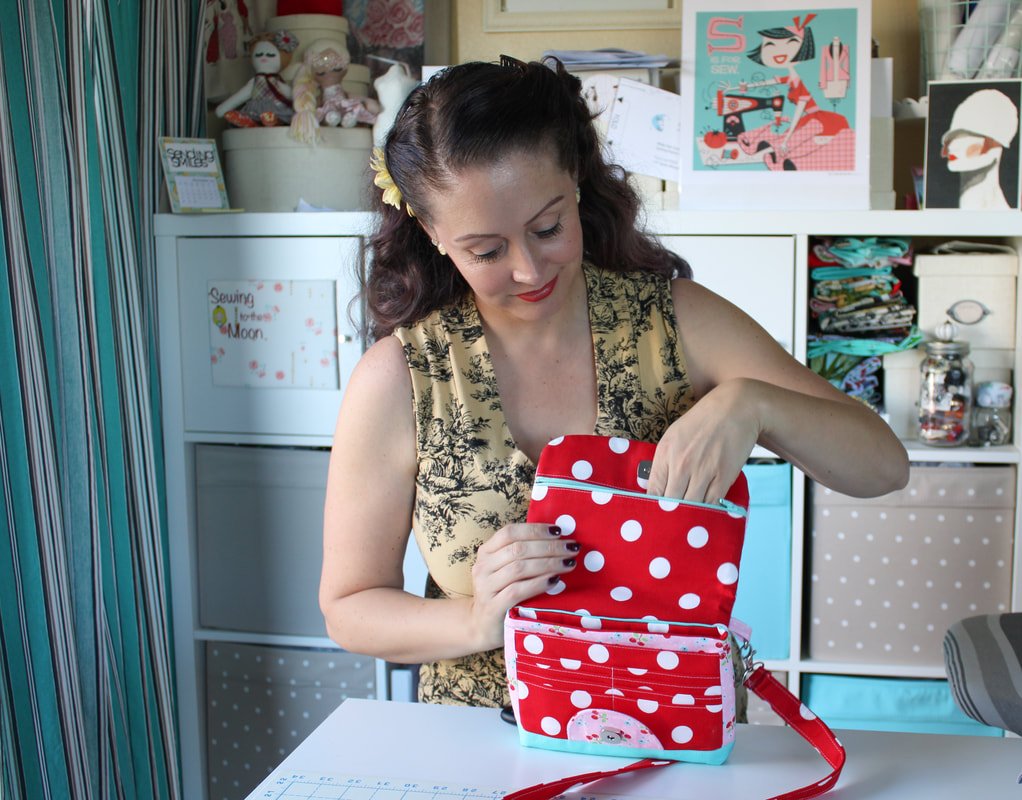
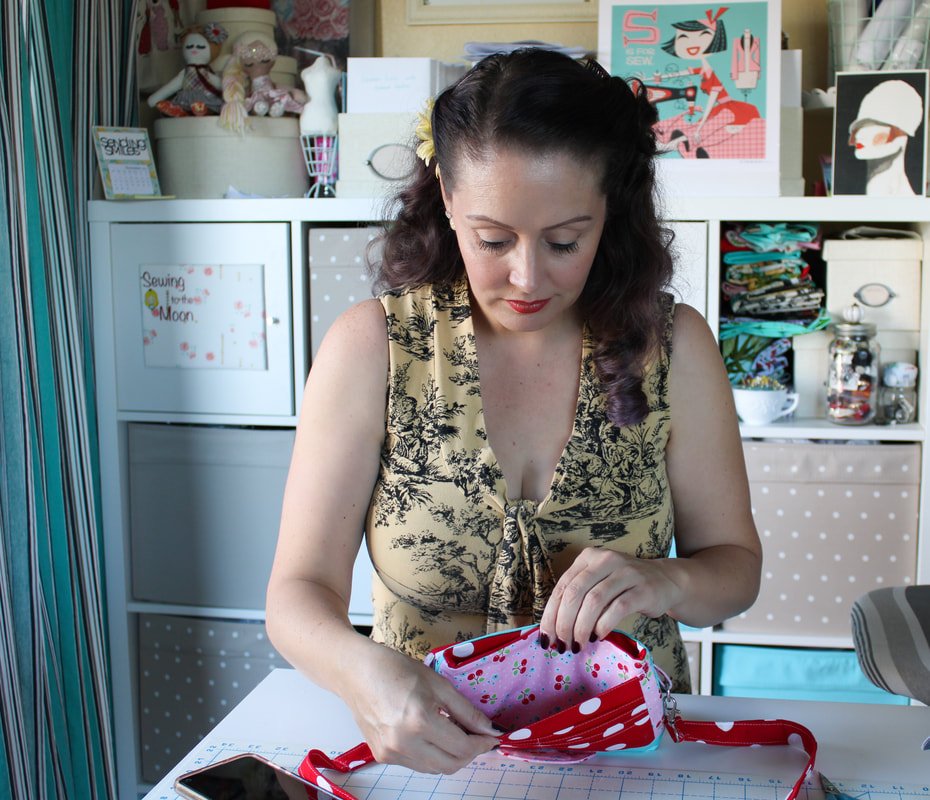
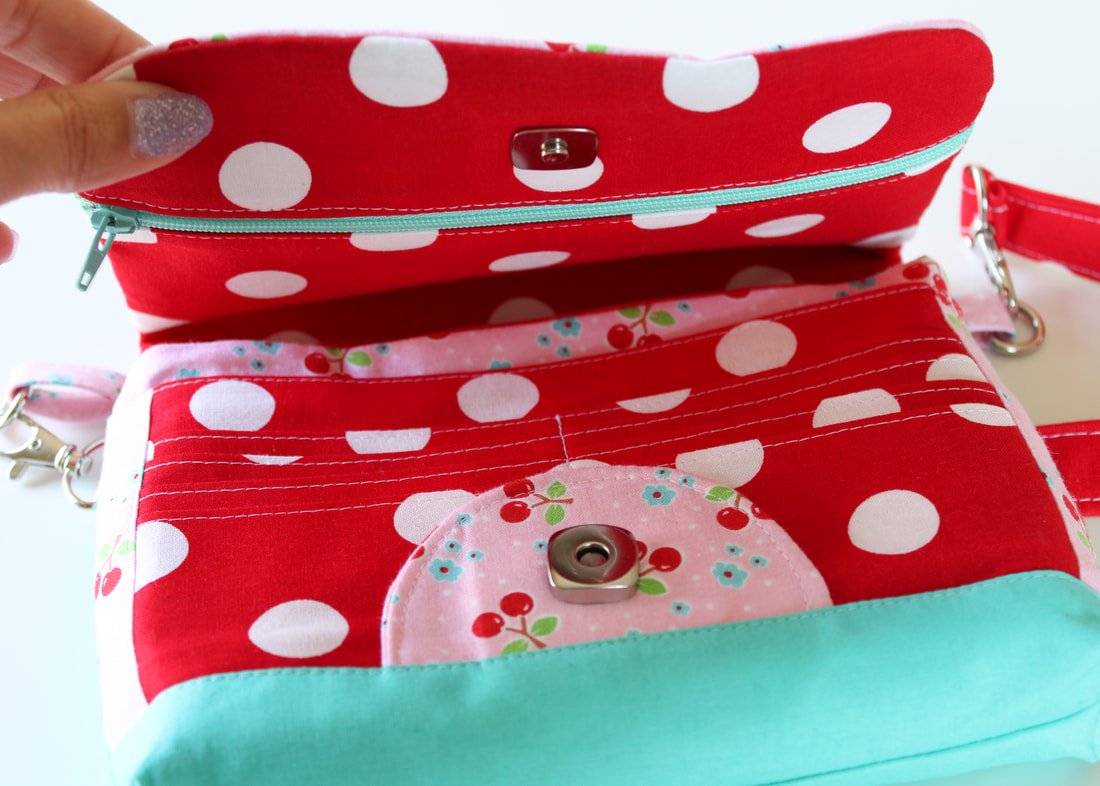
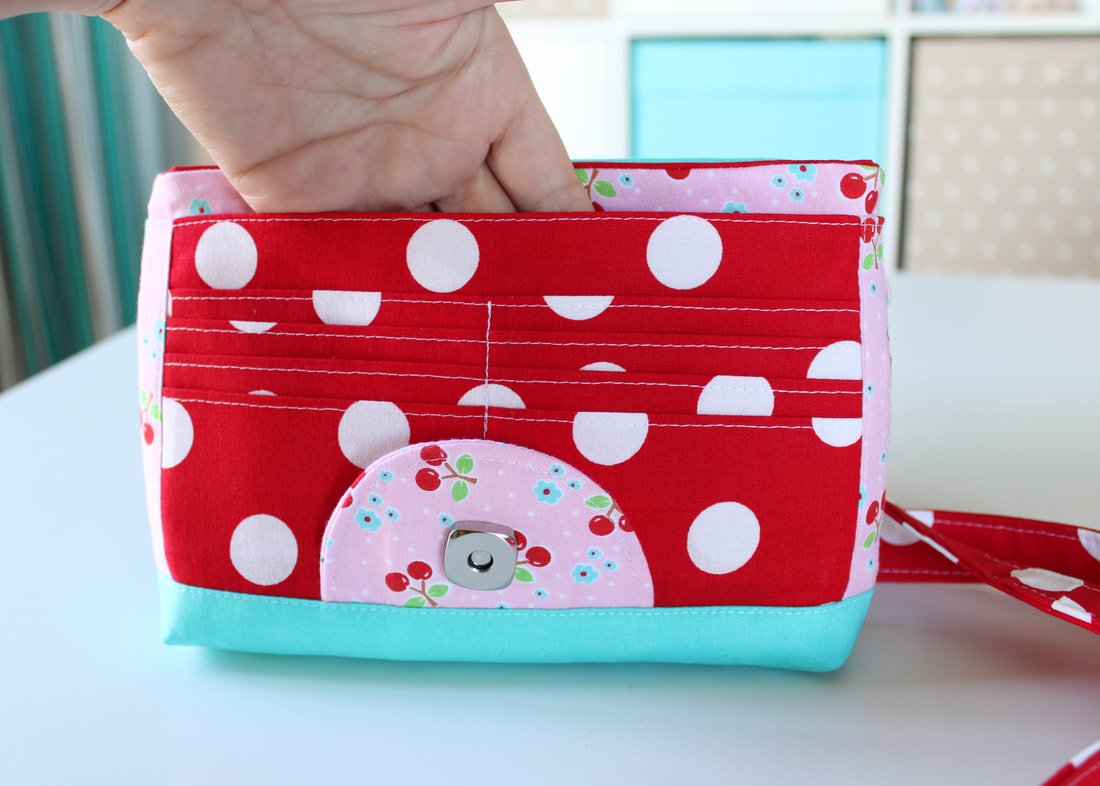
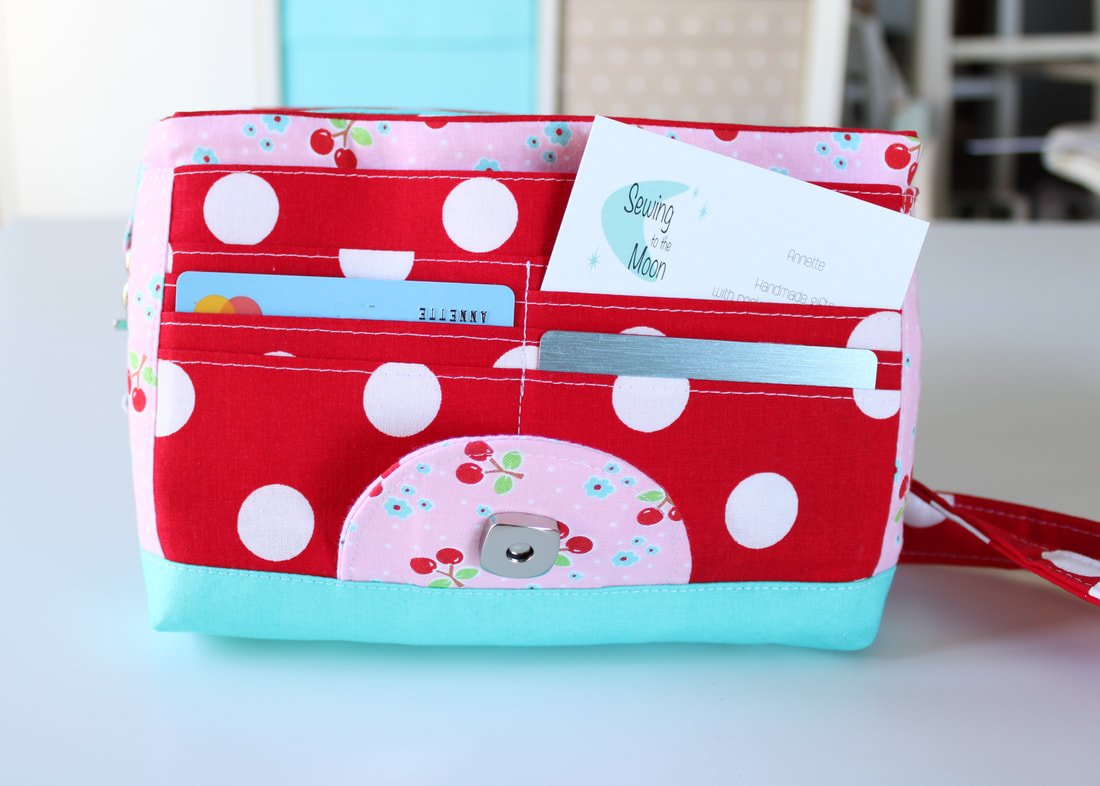
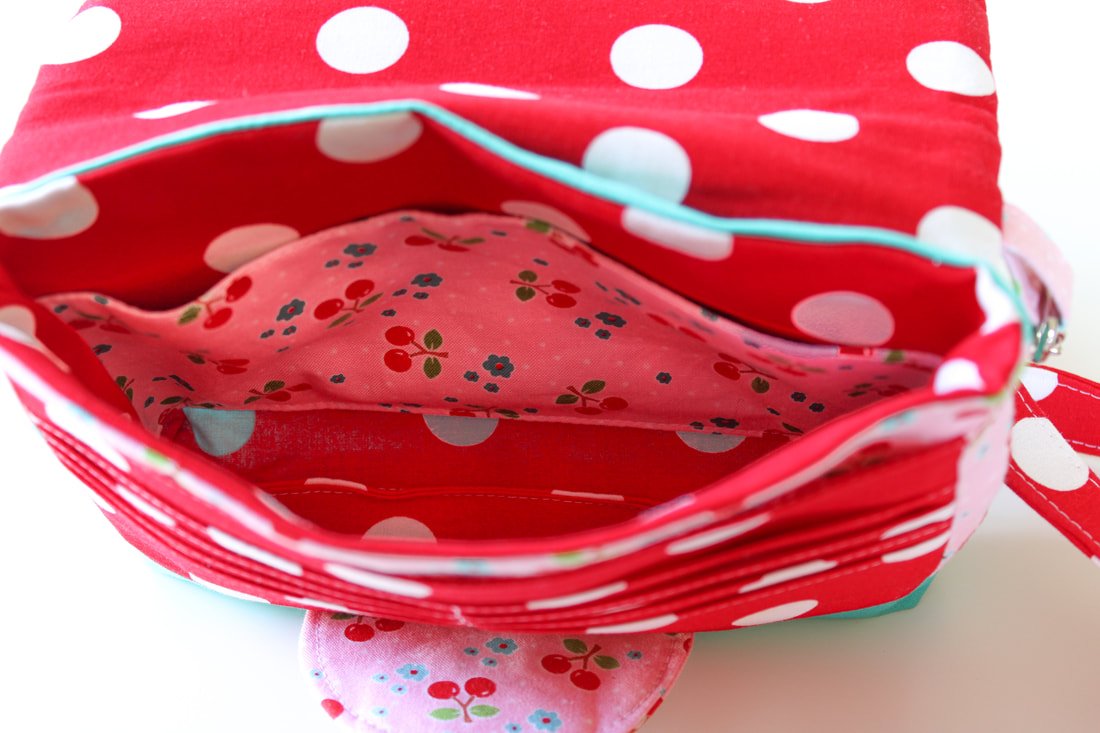
This bag has so. many. pockets! It's comfortable to wear (aren't all crossbody bags?) and will hold allllll of your things. I'm not sharing a step-by-step tutorial in this post because the bag creator has YouTube videos and an extremely detailed PDF that comes with the pattern. This post is more of a pattern review.
I made this one for myself so, it is full of bright colored fabrics. If you know me, I'm the opposite of a neutral person. Ha!
Clarendon Crossbody Wallet
by: Hold It Right There Bags
Grab the downloadable pattern here.
I want to start off by saying this bag is not great for scrap-busting. It takes a good amount of fabric. You'll also need a couple of yards of interfacing because everything needs to be interfaced. Don't skip the interfacings, bags really do need all the pieces to be reinforced.
After you print and cut out all the PDF pattern pieces, trace and cut the fabric pieces, and interface everything 'til the cows come home, you'll be ready to sew!
Whew!
Holy moly. This pattern has sooo many pieces. I suggest cutting and interfacing everything one day and saving the sewing for the next day. Like I said, she's a doozy.
The bag does come together quickly when you start sewing though. Yay for that!
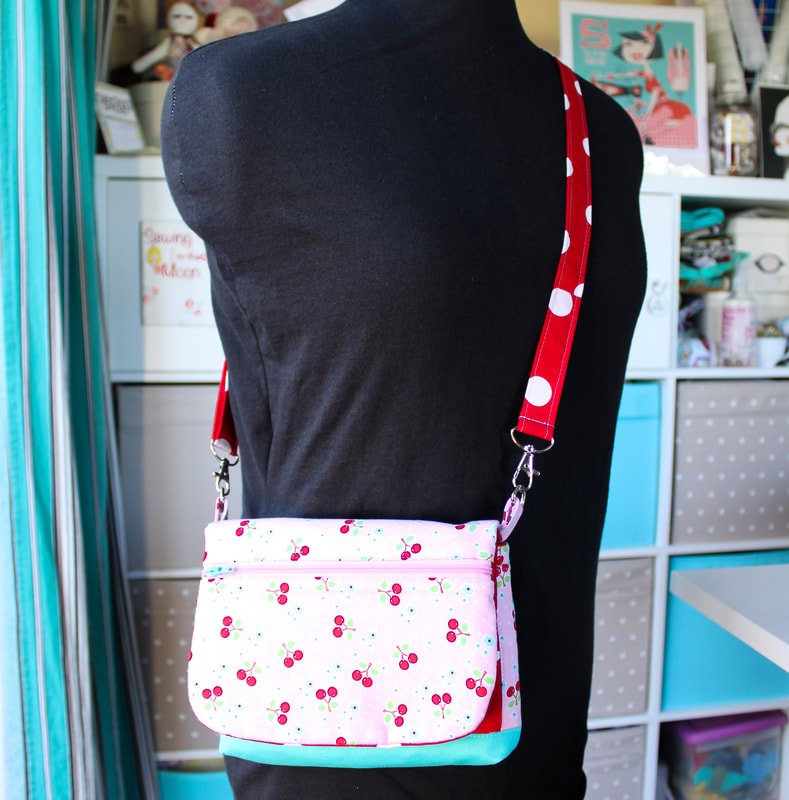
I wore the bag all day on a family adventure to an aircraft carrier. It was full of all my things and a few of my kid’s things. I walked up and down stairs and spent a lot time standing, reading signs, and listening to the volunteers talk. The weight would usually have hurt my shoulder and back but, I didn't have any pain. I could have worn this bag for 3 more days without batting an eyelash. Winner-winner!
It held everything I needed for the whole day and was comfy to use/wear.
The following weekend I was invited to go away on a girl’s trip. I left my regular purse at home and only took the crossbody bag. It was perfect. It held my money, masks, cards, and everything else I needed for a whole weekend.
I do like a full-size handbag for everyday use so, when I got home I emptied everything back into my bigger bag. But, this was perfect for a day out.
This bag has all the pockets! It’s the greatest bag pattern I’ve ever sewn.
Assembling the bag is fairly easy. Follow the PDF directions and/or YouTube videos. There are a few added steps to help with things like zipper installation, which is great for beginners.
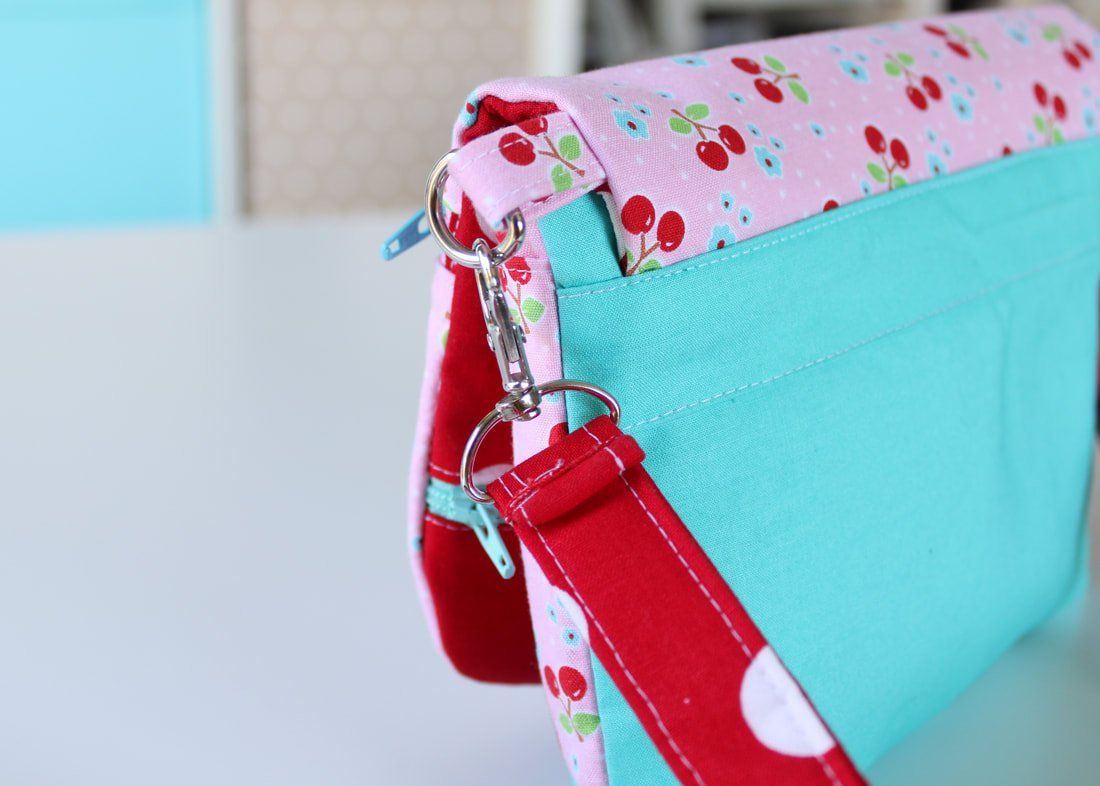
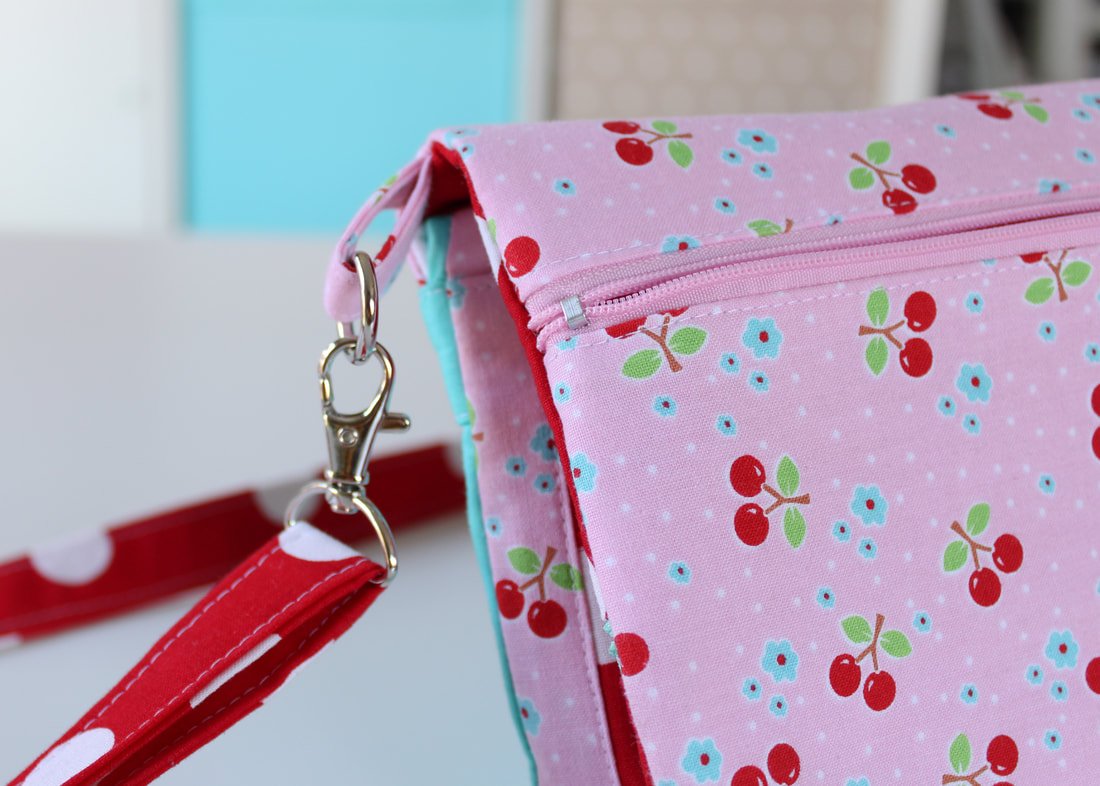
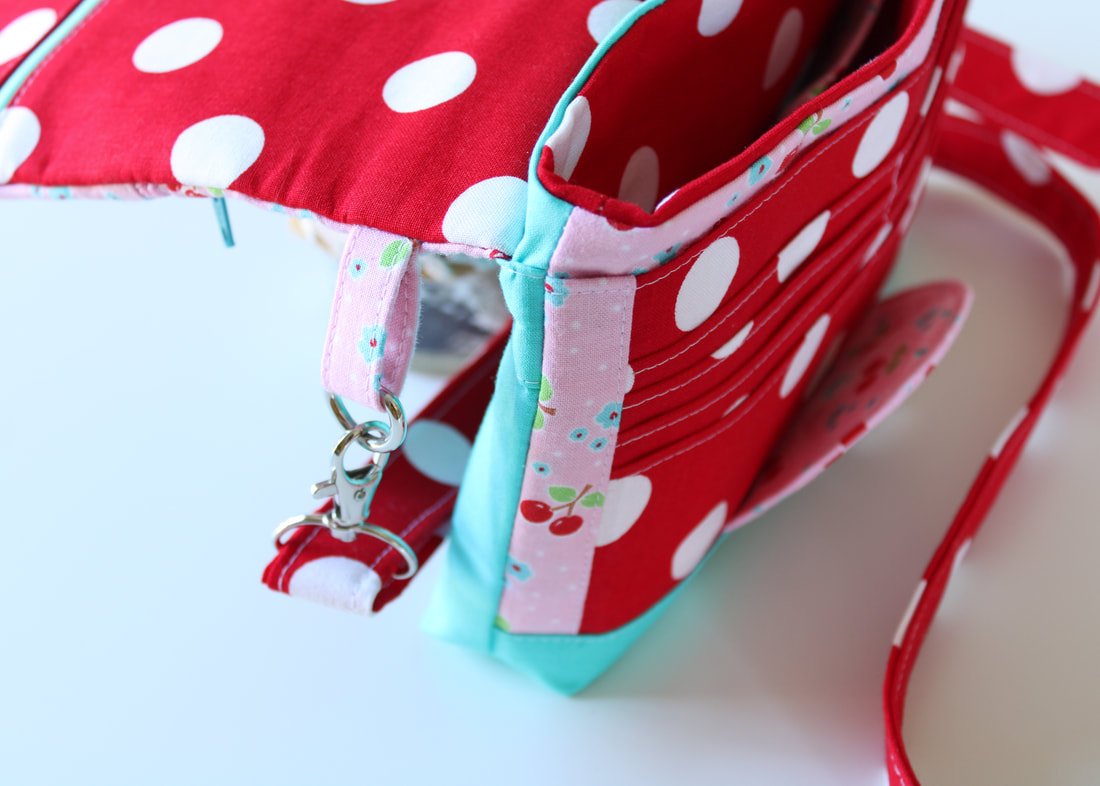
You don't need rivets to make this bag. You can sew across the seam easily enough. Heck, you don't even need the swivel hook or D ring. Sew one long purse strap into the bag seams.
Okay, here are a few changes I'd make:
Tips for Next Time
I wouldn't add the lining pocket. The bag is small and has a whole lot of pockets already. The main body portion is small enough and doesn't need the extra pocket (read: save your fabric).
I made the purse strap twice as thick. I always prefer a thicker strap so, if you're the same way, use a 1" swivel hook and double the width of the fabric strap. I still used a .5" D ring and didn't have any issues with the different hardware sizes.
Next time, I want to use vinyl for the back and bottom. I didn't use any this time because it's a cross body bag. I usually don't let my crossbody bags touch the floor, they stay on my body throughout the whole day. But, I might try it in the future.
I would make zipper tabs next time. This will allow the front flap to lie flat and look nicer. Yes, adding zipper tabs adds extra time but, it'll be worth it.
Read through the pattern instructions first. The instructions are extremely detailed. Almost too detailed in my opinion. But, if you're brand new to bag sewing, extra details are a good thing. If you're more familiar with inserting a zipper, snap, etc.) some steps may feel a bit tedious.
I would topstitch the front flap and around the main opening. The instructions don't have you do this. I suggest you do it though. Topstitching holds all the layers in place and gives it extra reinforcement.
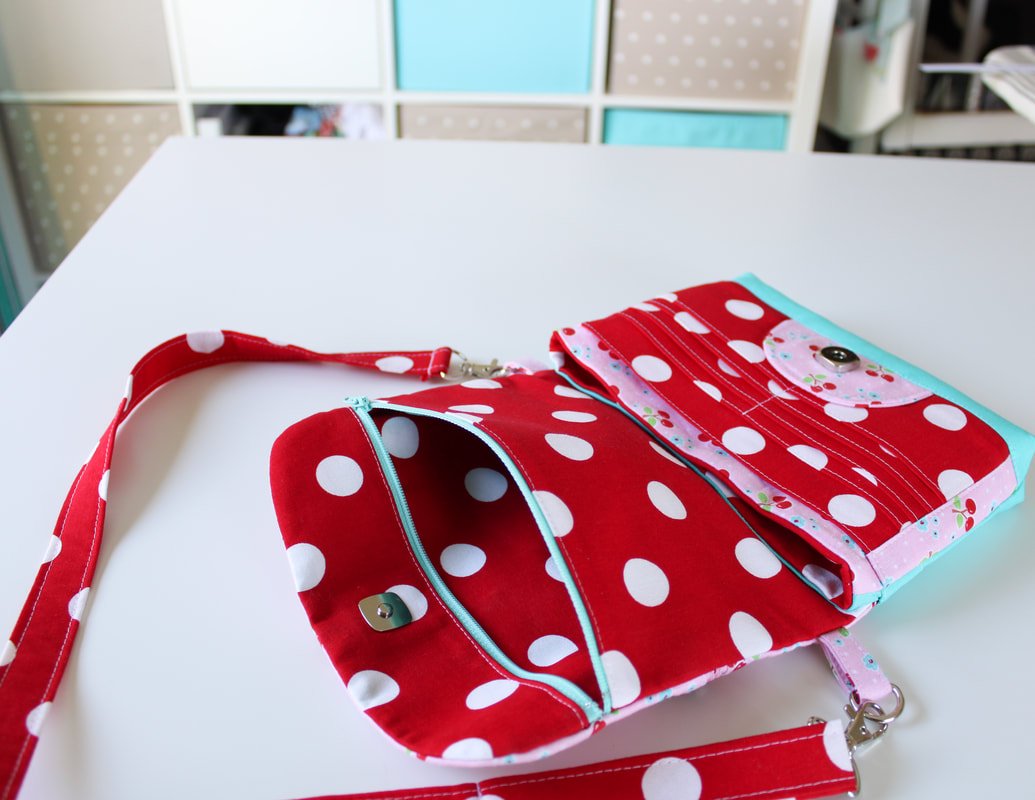
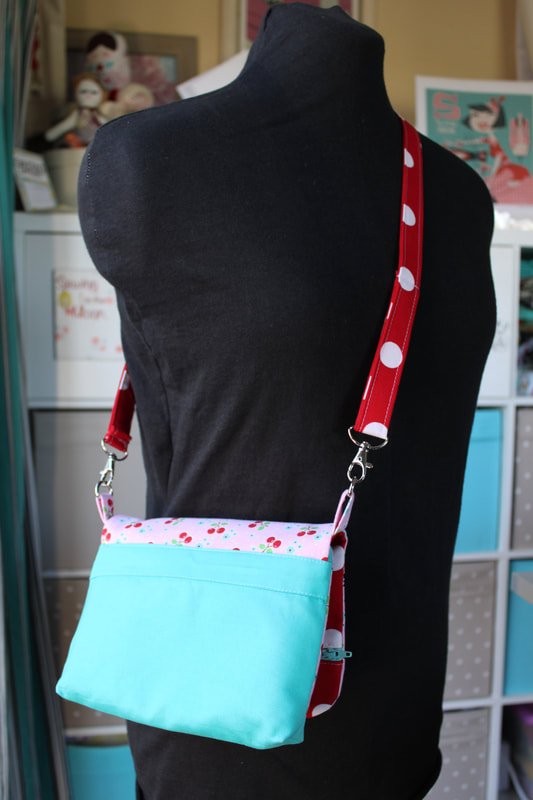
Back view of the bag.
So what do you think? Are you excited to make a Clarendon Crossbody Wallet? I highly recommend this pattern and bag. I plan on making a few for friends to give as Christmas gifts this year. But, shhh, don't tell them. ;)
Happy Sewing!
XO,
Annette


