Egg Gathering Apron
Got eggs? If you have a hobby farm or small homestead, you probably have hens. And, if you have hens, you have eggs. So. Many. Eggs.
Well, you need something to gather all those eggs with. A bucket works, a basket is cute, and in a pinch, you can use your hands and coat pockets. We've all been there. ;)
But, wouldn't it be fun and albeit easier to use an egg apron? Yes! You can live out your farm life dreams with a sweet egg-gathering apron.
So, it's decided. You're going to make an apron for collecting those little breakfast nuggets. Besides, buckets are only made for livestock grain and treats anyway.
Supplies
Swoon Patterns Egg Gathering Apron pattern. This is free on their website. Grab it here.
Sewing machine, thread, and notions
1/2 yard medium weight fabric
1 1/4 yards contrasting fabric (I didn't use a contrasting fabric)
1 1/4 yards lightweight fusible interfacing
Chalk pen or erasable pen
Ruler
Clips and pins.
I chose to use the Swoon Patterns egg gathering apron. This was the coolest egg-collecting pattern I found while scouring the internet. I collect about a dozen eggs every morning and wanted an apron to hold eggs and keep them safe. It also needed to be comfortable for me to wear.
Many patterns had pockets that were sewn in a way that didn't seem secure. If you were to bend over (to pet the cat, or clean out the coop) the eggs would fall out. Swoon Patterns created an egg apron that is pure genius! It involves a little extra sewing but, is well worth it in the end.
I promise!
Let's Make an Apron
Grab the FREE pattern, print it out, and tape it all together. Decide on the size(s) you're going to make. Simply fold over the pattern for the different adult sizes. You don't have to trace off a new pattern, and it'll work perfectly. For this tutorial, I made the child size.
Let’s Get Sewing
First, apply your interfacing to the pieces following the pattern instructions. I used canvas as interlining because I was short on interfacing. I skipped using it on the main pieces. Secret lazy sewist tip. You're welcome.
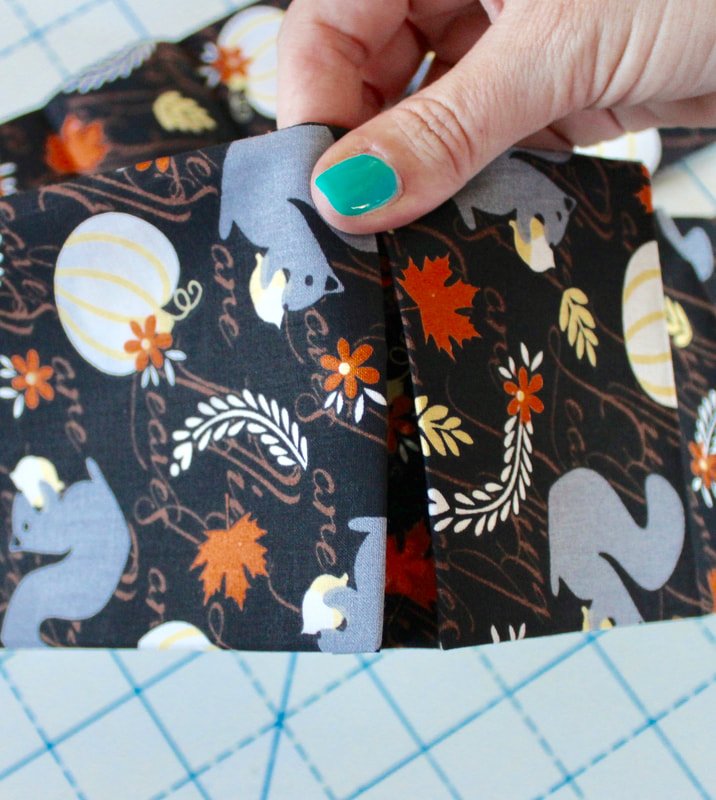
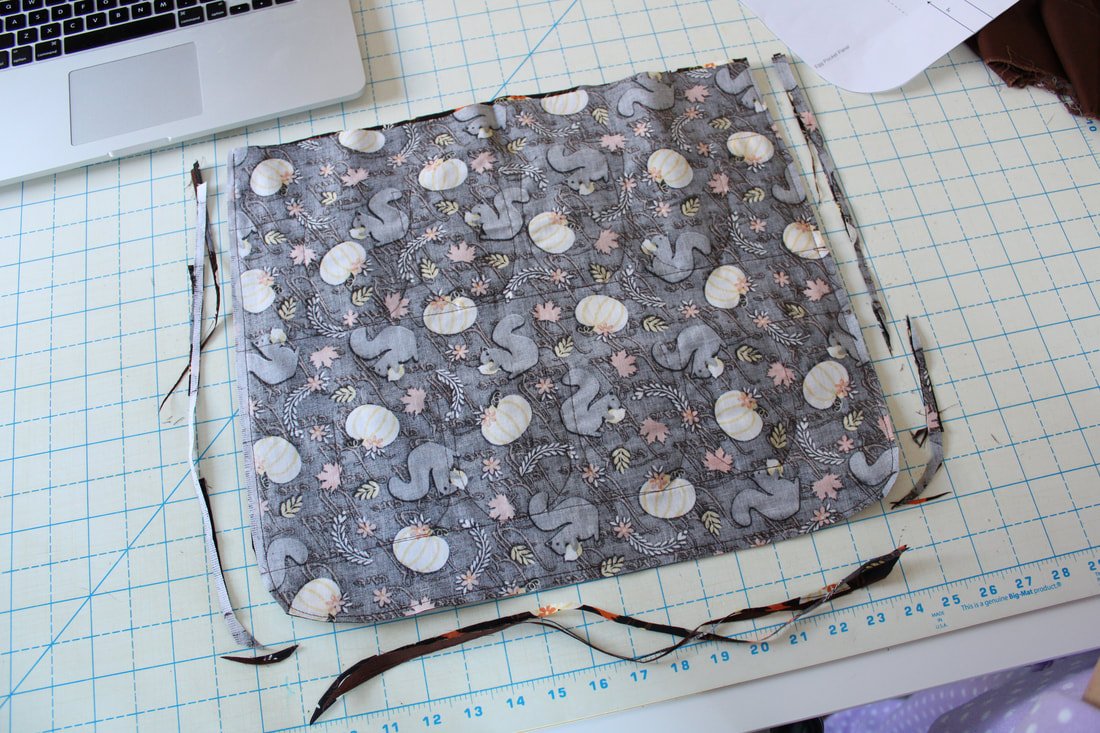
After the pieces are cut and interfaced. You're going to make the pocket portions. Sew the long pocket panel RST (right sides together) along the long edge to form a tube. Turn out and press. Repeat with the other pocket panel.
Sewing the apron
My littlest sewing buddy making her own egg gathering apron.
Mark the fold lines.
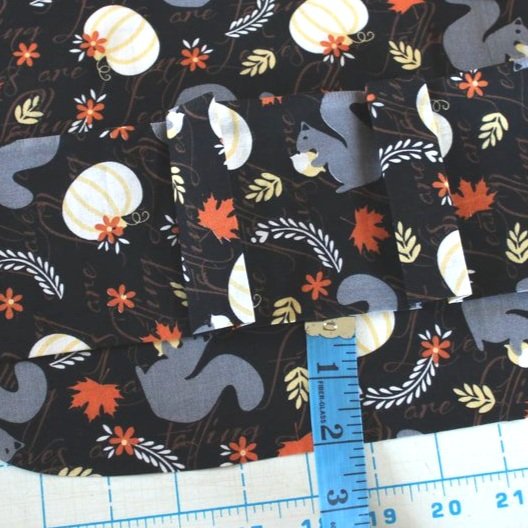
Next, grab your chalk or erasable pen, and ruler. Mark the heck out of the pocket tubes. Per the instructions, use your ruler to measure the distance from the edges and between the pockets. It helped to make the vertical lines a few inches long. You'll then take these tubes to the iron and press them.
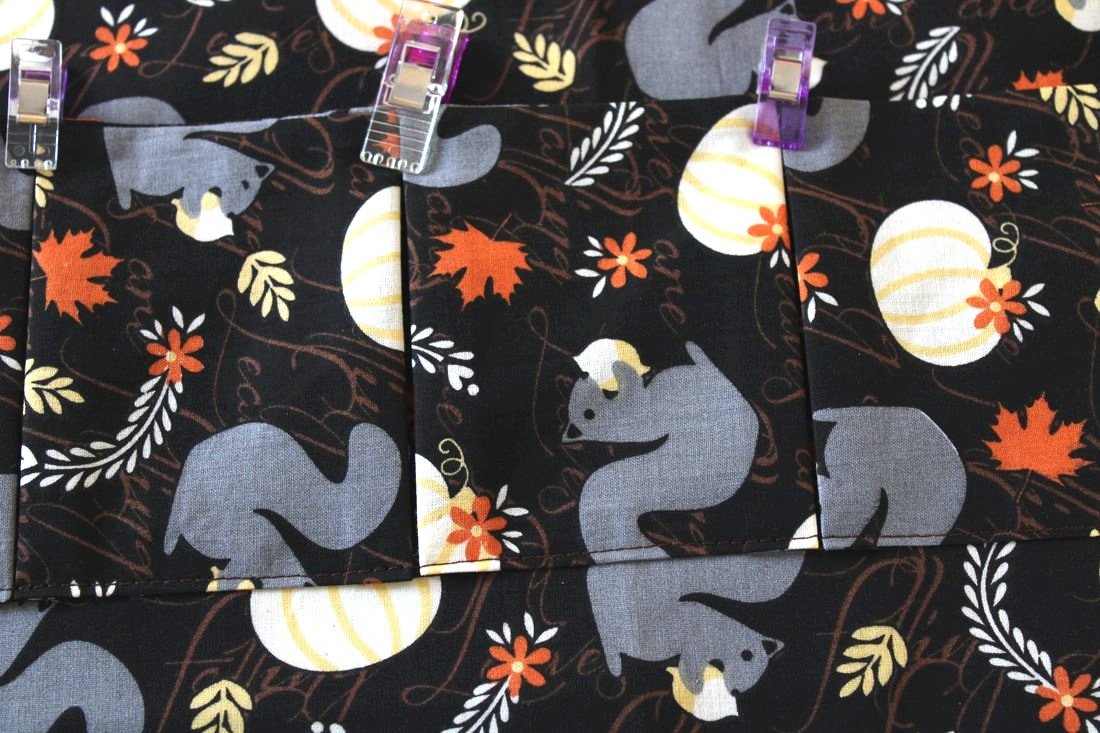
Once the pockets are pressed, grab clips and pins to pin and clip the panel in place. I used pins to keep the pocket tubes attached to the apron. Clips kept the pocket folds together. I used a tape measure and the pattern to place the pocket panels in the exact places.
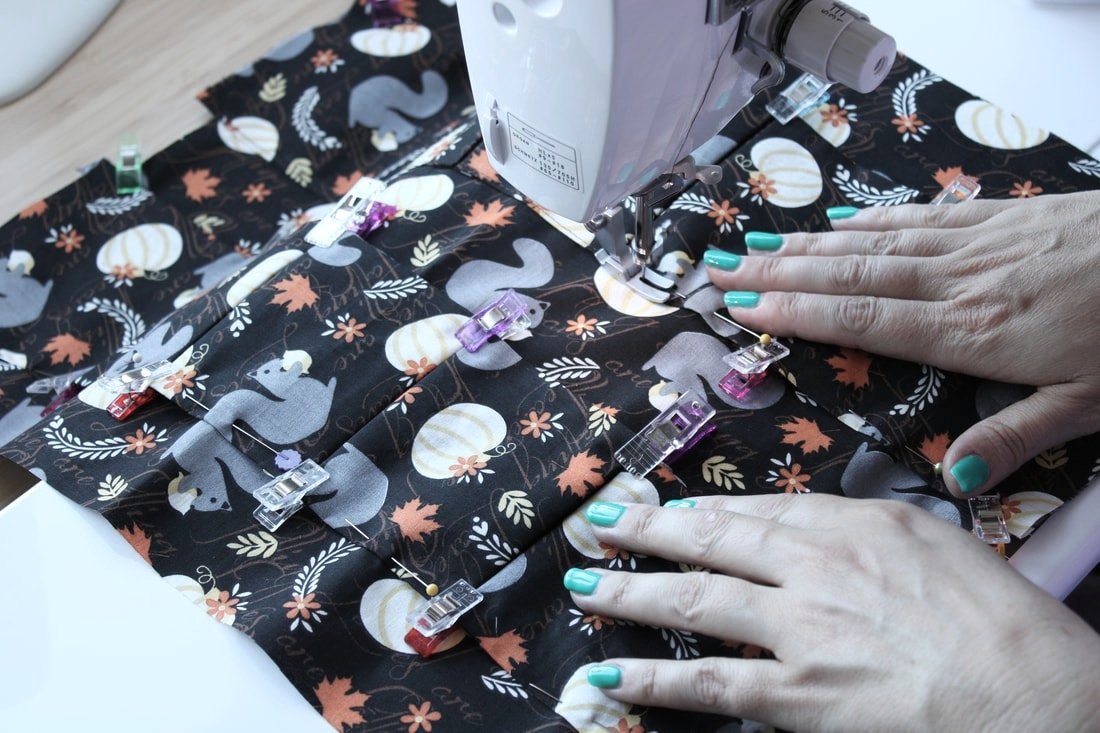
Topstitch the bottom edge of the pocket panel to the apron, removing pins as you go. I took this part very slowly. No pedal to the metal here.
Use pins to hold the bottom edges down. Clips keep the pockets folded together.
The Egg Shaped Pocket
Now it's time for the fun part. Grab the pocket stitching guide piece. Choose chalk or erasable pen to trace.
Line the top and bottom fold with the pattern piece. Trace the shape to create the egg pockets. You'll make 8 for the child size and 10 for an adult-sized apron. I found that clipping the piece helped to keep it in place while I traced.
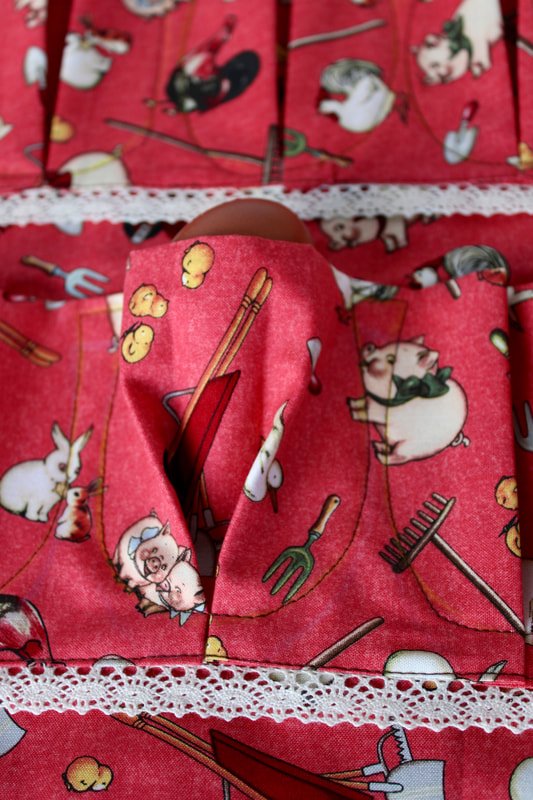
This part is where the Swoon Pattern really shines! The egg shape cradles the egg like a cup, inside the apron. Unless you're hanging upside down, they can't move around.
Continue tracing the pattern shape onto the apron for both pocket panels.
Starting on one side, sew around each egg shape pocket. Go slowly, this is a lot of circular sewing. I hand cranked the wheel a few times around the edges.
After the pockets are finished, it's time to sew the apron back and front pieces together, RST. Sew the sides and bottom only. Clip your curves. Trim seam allowances.
Yes, I made this apron while wearing jammies. Aren't they considered fashionable apparel these days? Haha
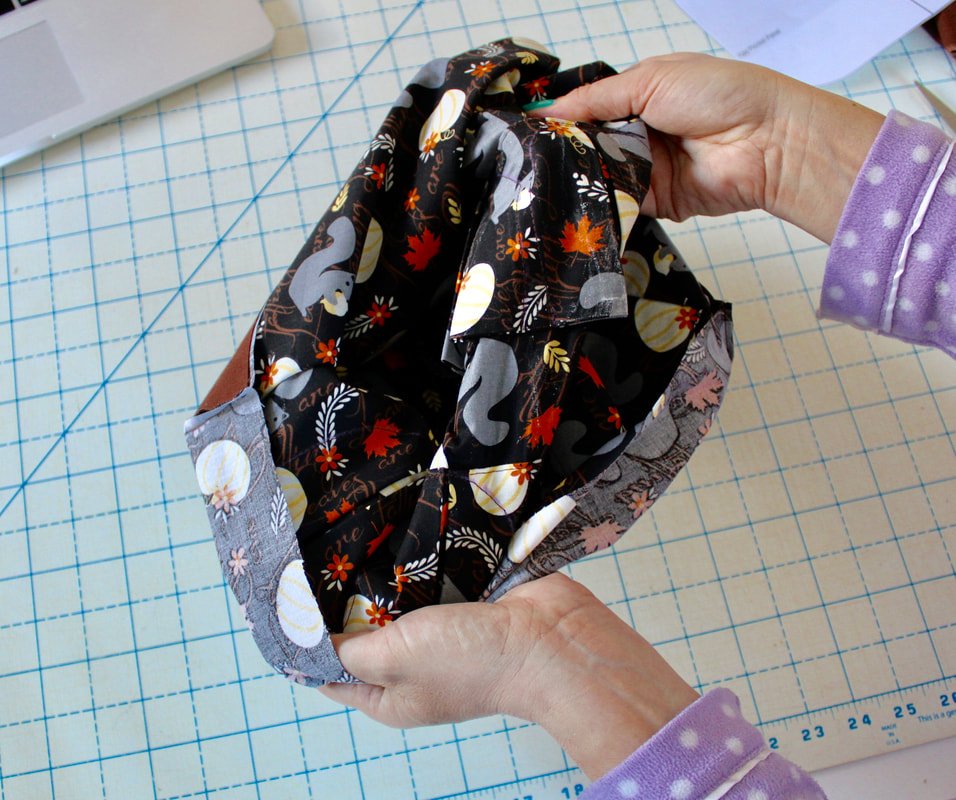
Turn the apron right sides out. Grab your chopstick or other turning tool to push out the corners
Waist Strap
Sew the waist tie like you would with any other piece of bias binding.
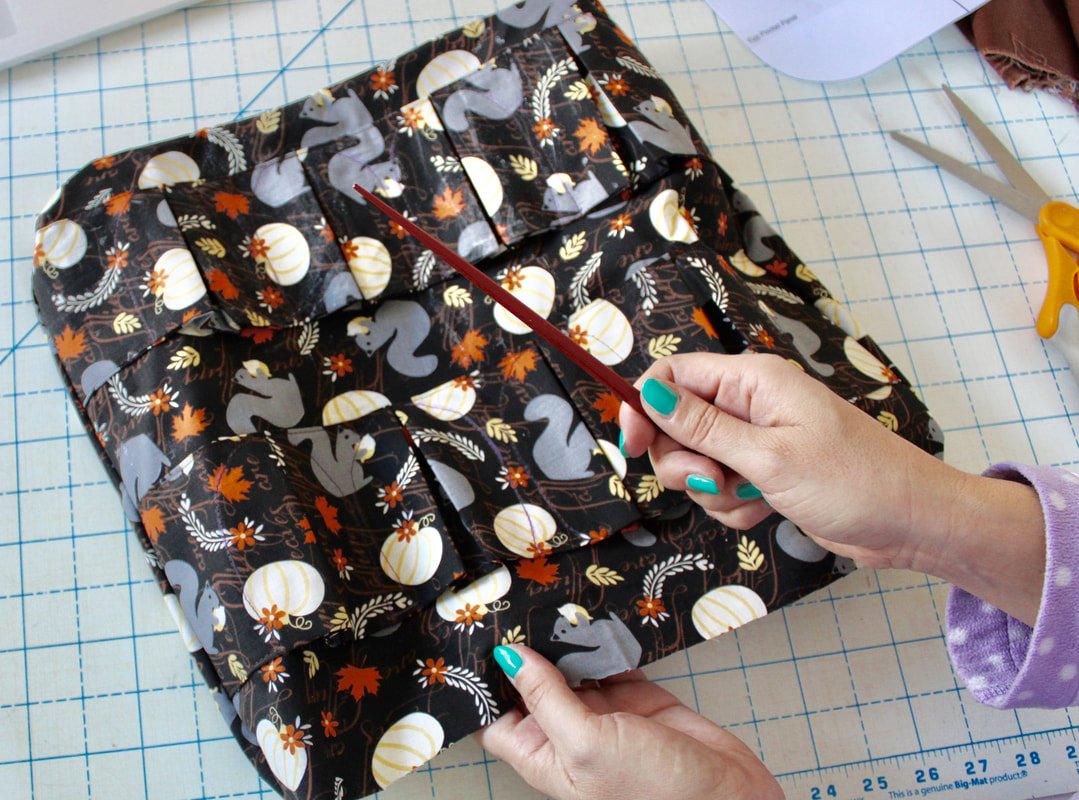
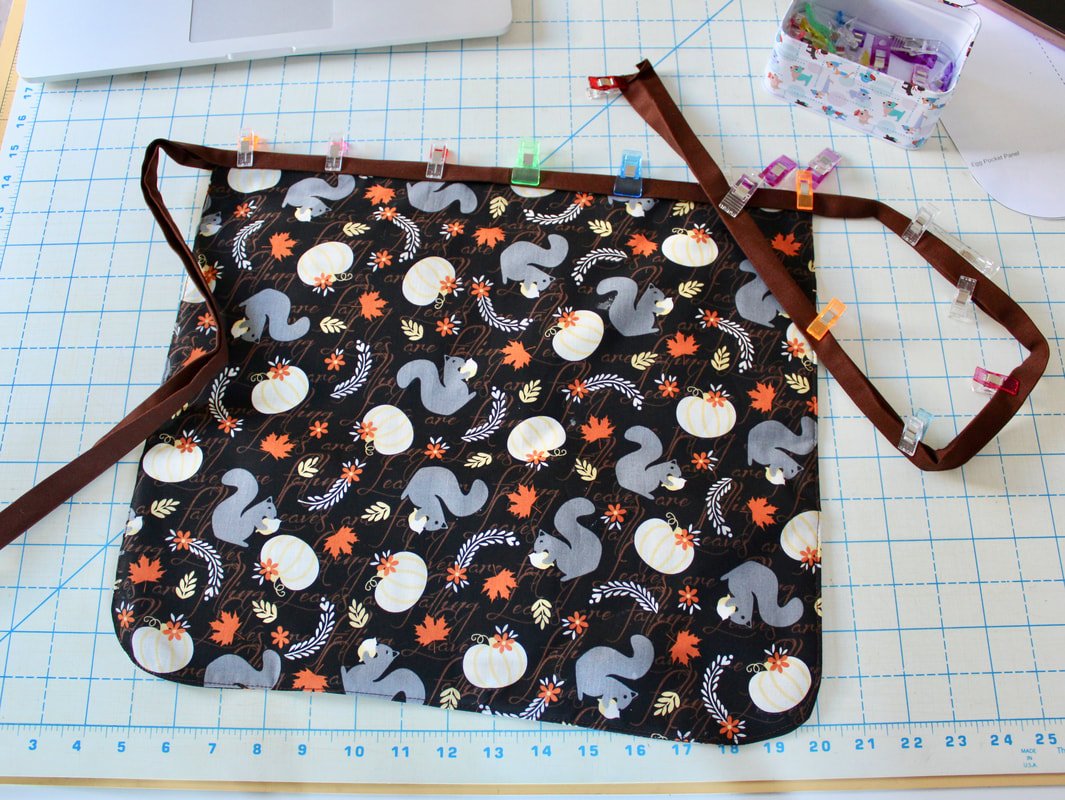
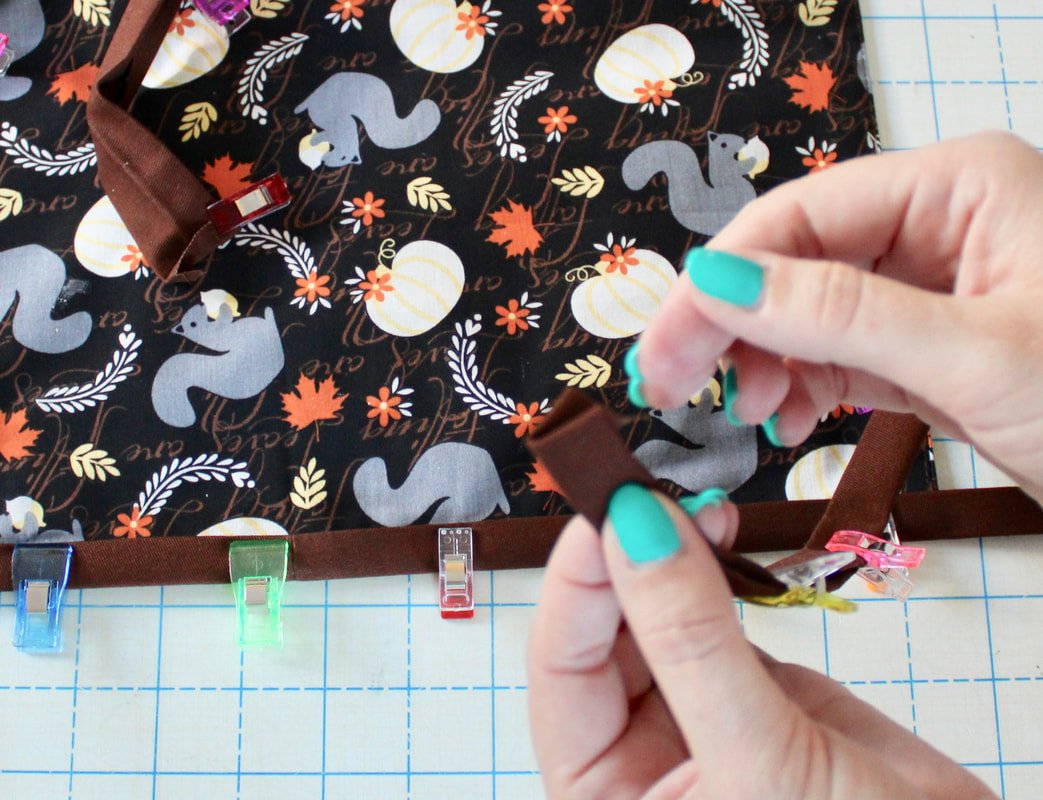
Make the waist strip following the instructions. Match the raw edge of one side to the top edge of the apron. Sew in the folded area where I'm pointing.
*You can see my chalk marks on the egg pockets still. They'll go away when I brush the fabric with my hand and spritz some water on the area
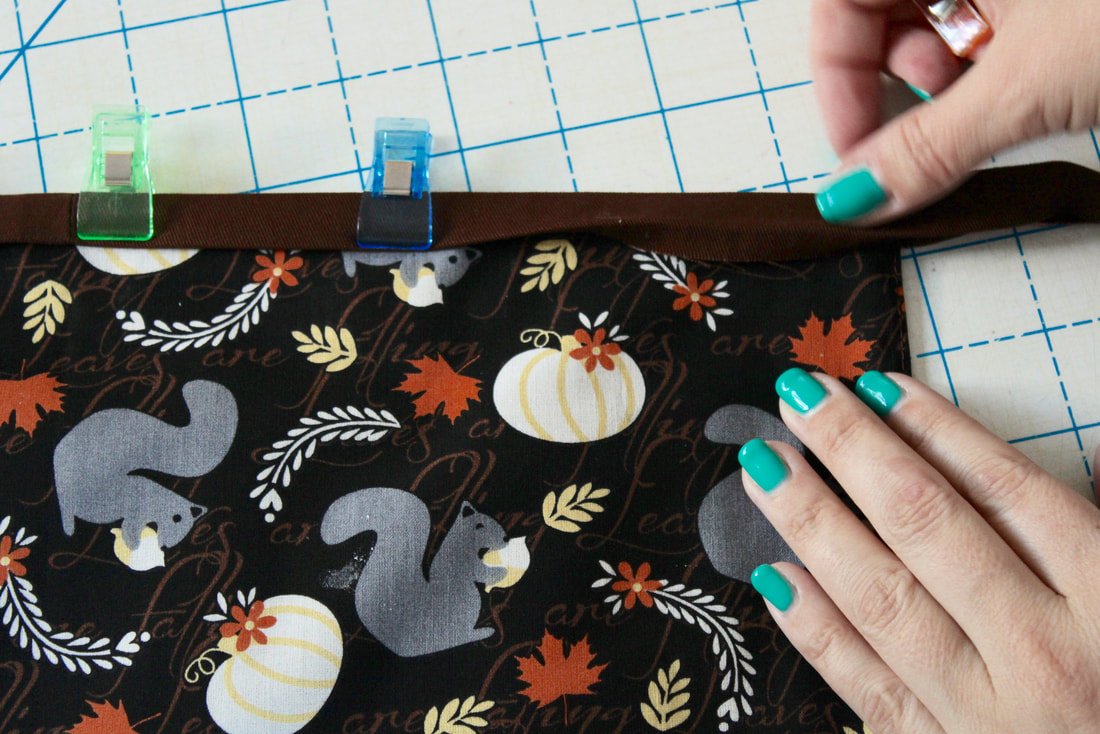
Fold the other side over. Use clips to hold in place.
Your apron is finished! Hooray!!! Now, go gather some eggs and don't forget to take treats with you. The girls work hard for their eggs.
Notes on the Pattern
I didn't really change anything. This pattern was great. In the instructions, they tell you to baste the raw top pieces together. I skipped that because it seemed unnecessary. If a child or beginner is making this, then maybe that step shouldn't be skipped.
I prefer a narrower waist tie than what was called for. But, that's a personal preference.
After making the first apron, I was commissioned to make a few more as gifts. I sewed them the same as well. There wasn't anything I wish the pattern had or didn't have. It's a wonderful pattern and I'm thinking of making a few to add to my shop. I think every chicken mama and papa needs one of these aprons!
I took close-up photos with another one I made. The light-colored fabric makes it easier to see all the details.
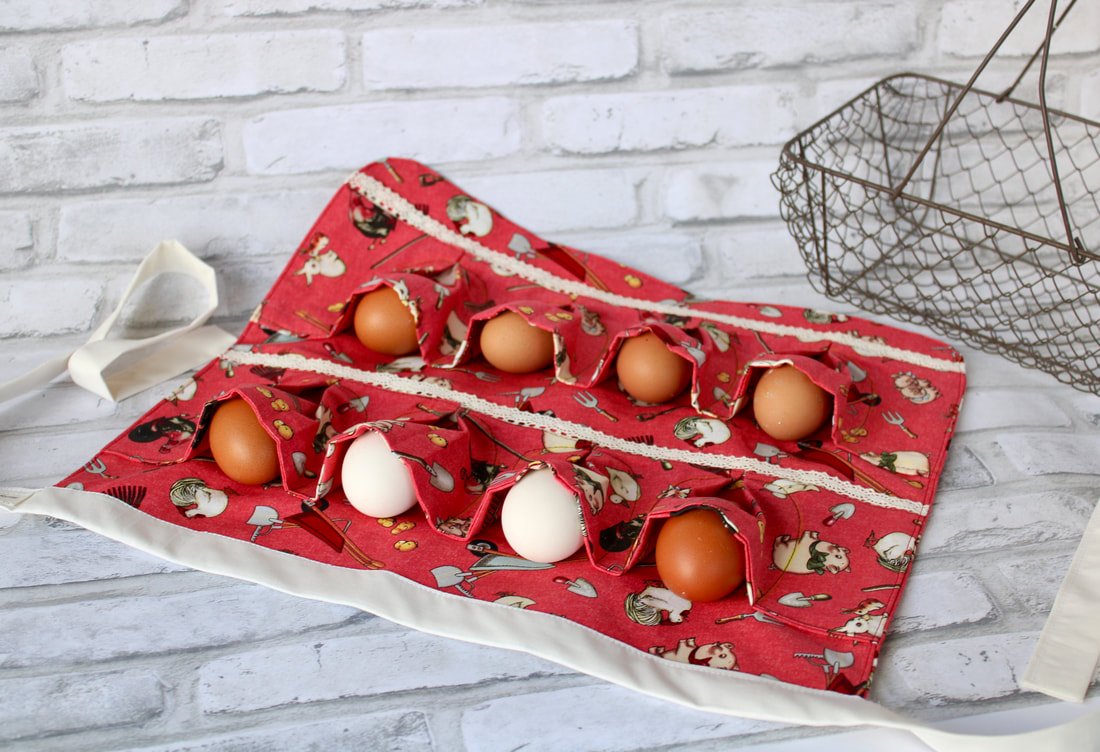
UPDATE: This apron is the best egg-collecting apron in my opinion. I can usually put 2 small eggs in each pocket. It keeps the eggs safely inside the pocket while I change bedding, change water buckets, and refill the feed buckets.
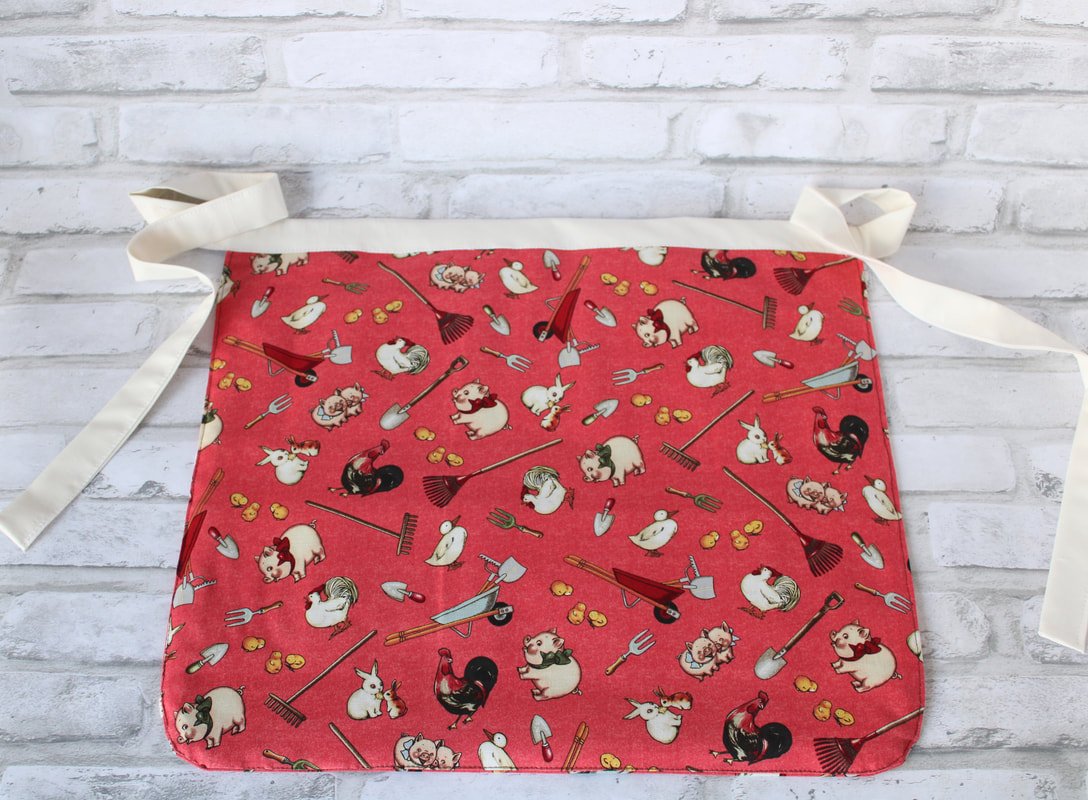
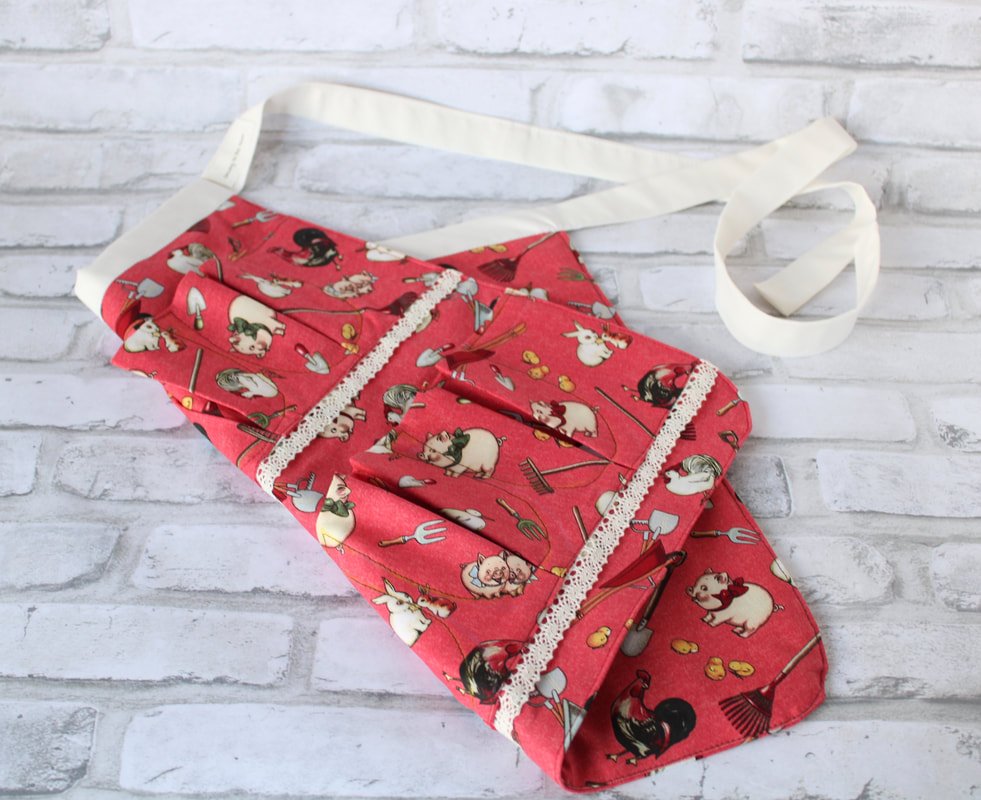
This is the child sized apron. It holds 8 eggs. I am in love with how this turned out. I love the lace detail, it’s so sweet.
Now that you've made an apron for the eggs, I am curious...
What do you make when you have oodles and oodles of eggs? We usually opt for a frittata or an angel food cake. Those seem to disappear pretty quickly in our house.
I hope you make one of these aprons. It's definitely a useful farmer’s tool. And a cute tool at that!
Happy farming!
Annette


