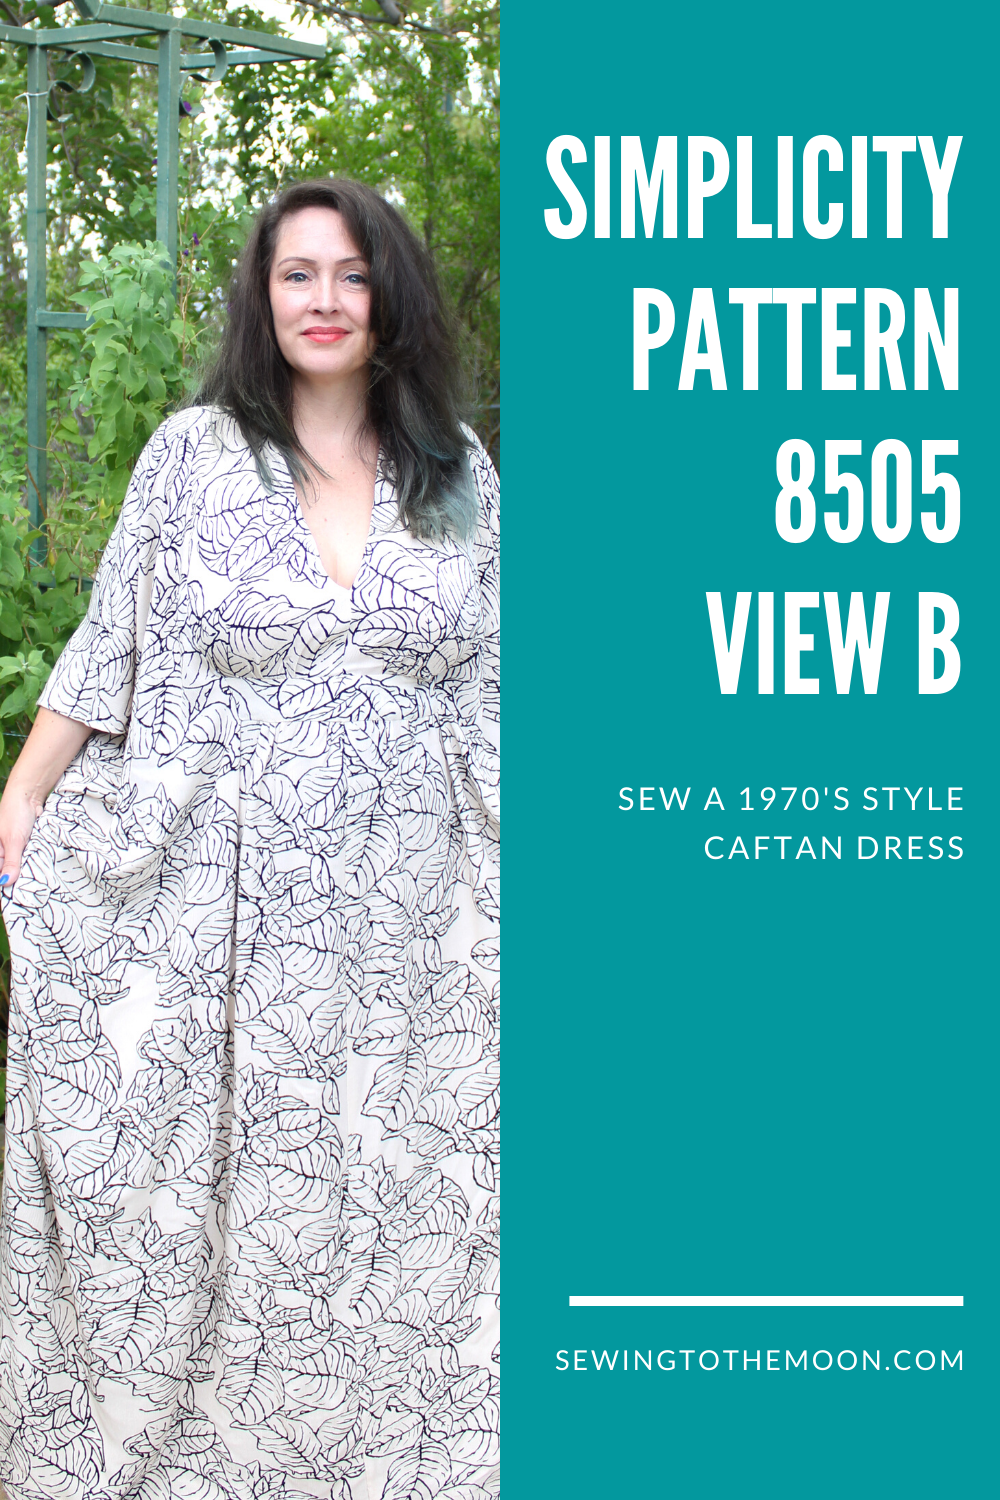
Simplicity 8505 Caftan Sewing Pattern
Have you ever dreamed of floating around the house in a vintage 70's caftan? What about in your beautiful backyard? I vote yes for both! This Caftan sewing pattern is the only one you need, it's vintage and authentic.
Way back in high school, I borrowed a caftan from my mom's friend to wear to a dance. The 70s wasn't the theme but, I wanted to wear it. It felt so silky and soft while I wore it and danced all night long, with friends.
When I saw this pattern via an Instagram friend, I knew I had to snag one for myself. She looked so fabulous in hers, and I knew I needed that pattern in my life. I hope you grab the vintage reproduction pattern and make a caftan, too.
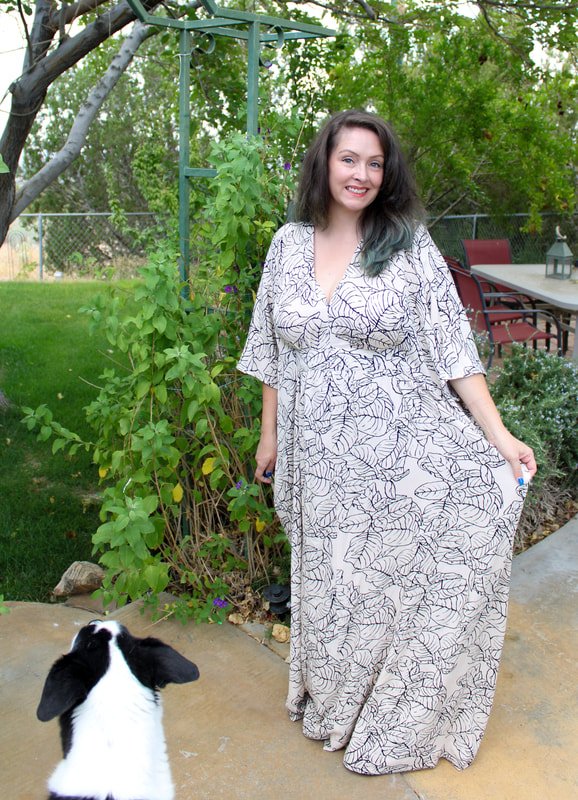
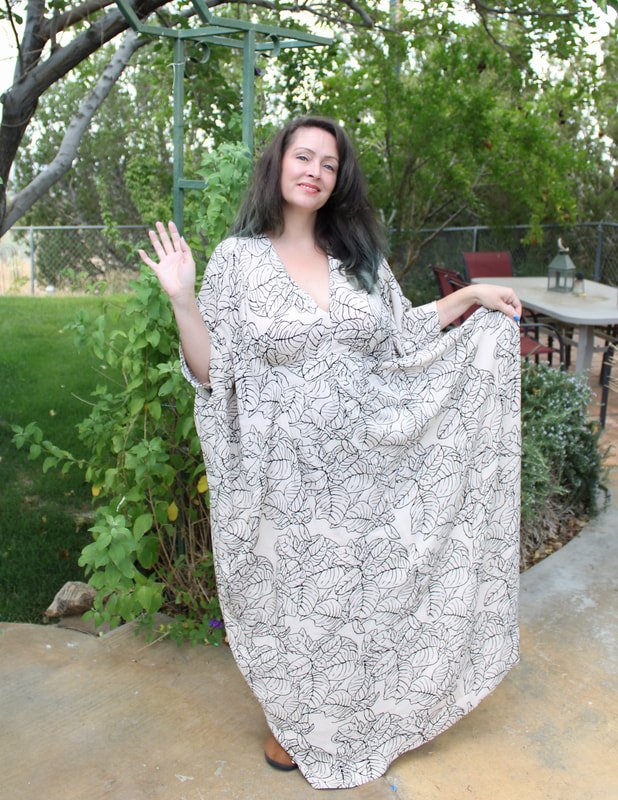
Oh hi there! I’m just over here living my best 70s life.
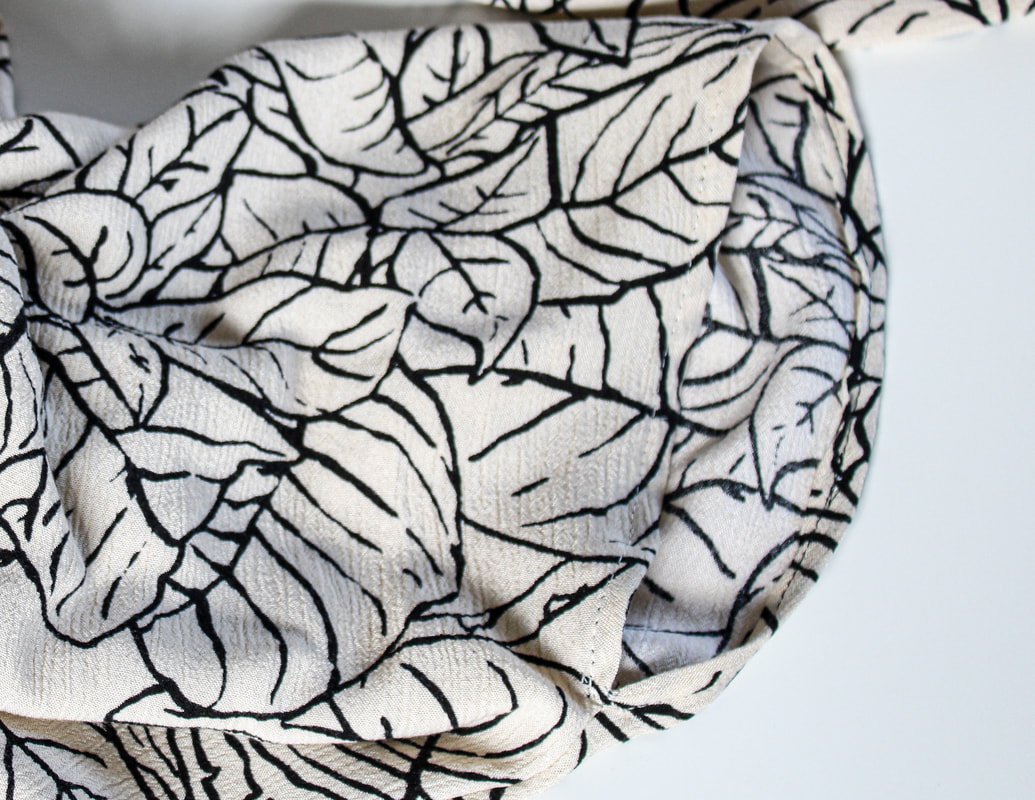
I ordered the Simplicity pattern 8505, a 1970s caftan pattern from an Etsy shop. After searching my local sewing shops for the perfect fabric, I decided to order that online too. If you make this, I recommend looking at fabric in person first, to give you ideas. It's fun to feel the drapey fabrics. Who doesn't love touching all the fabric? Are you ready to make the comfiest dress ever?
Let's get started.
Here's what you'll need. I also wanted to share a few tips and ideas for you to try, if you want.
Supply List for View B
Simplicity Pattern 8505
3.5-6 yards of fabric (depending on your size)
Interfacing Scrap
2 yards of twill tape or ribbon, 1/2" wide
1 1/2" button
Matching thread
Microtex or Sharps sewing needle
Sewing machine + all the notions (scissors, clips/pins, rulers, etc.)
*Optional: Fleetwood Mac playing in the background ;)
Tips for making this pattern:
This pattern doesn't have pockets, but I would add some. Use another in-seam pocket pattern from a pattern you already own. Try the dress on after you sew the shoulder seams to see where you'd like your pockets to be.
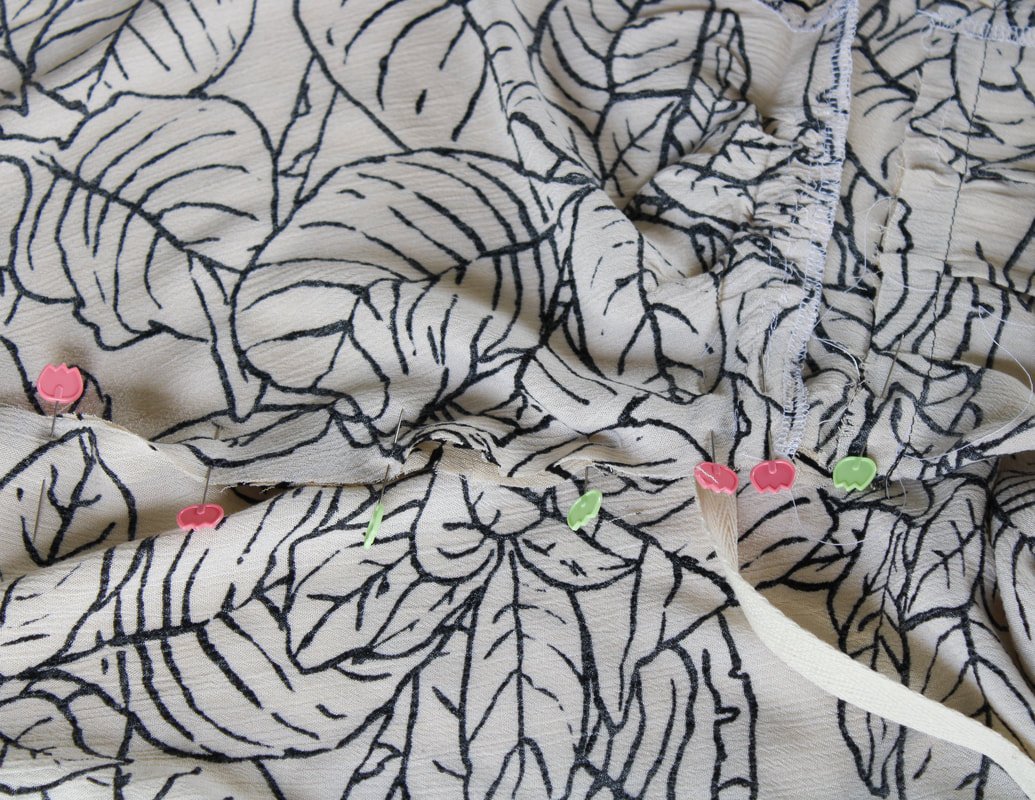
When you sew the front to the midriff, to the yoke piece, make sure to match the center seams. I didn't pay close enough attention and wished I had. Use a water-soluble marker, Frixion pen, or another writing tool that will disappear to mark the centers.
Measure, measure, measure! I measured myself and made a Large. It fit like a tent. I cut the side seams smaller, but it fits bigger than I'd like. You might need a smaller size than you'd think. ;)
Instructions:
Measure yourself and write your measurements down. Read the finished measurements on the pattern tissue to help decide the correct size for you. The big four pattern companies usually give a ton of ease in their patterns. You want a caftan, not a tent.
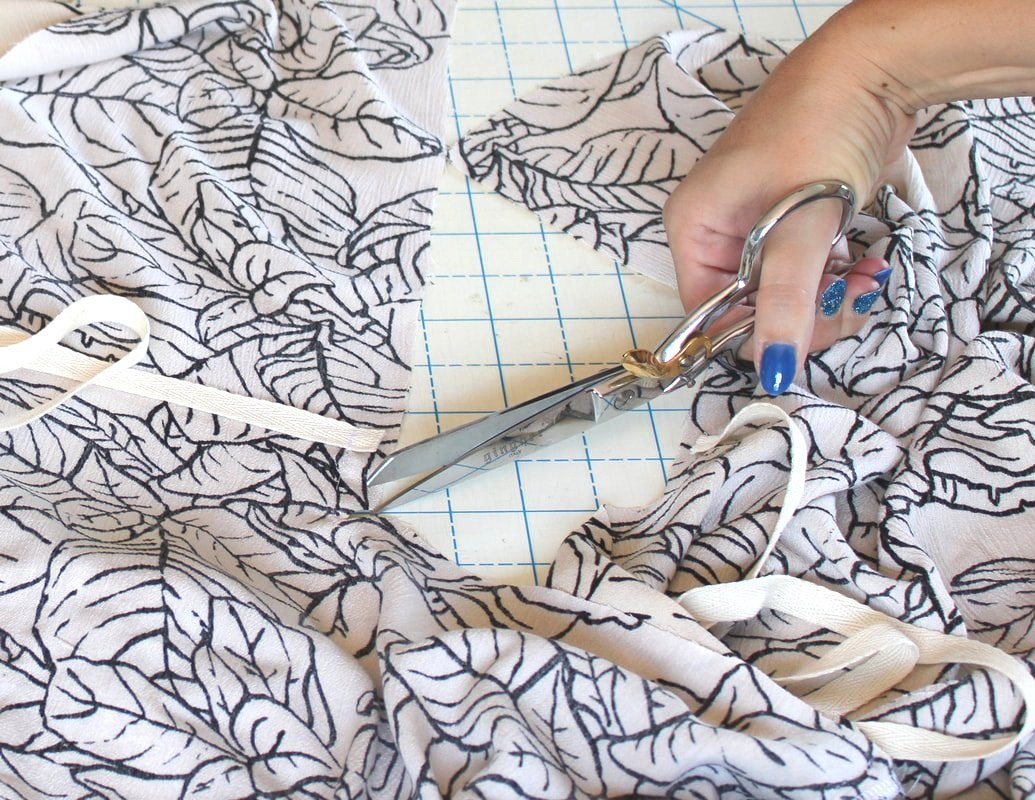
Cut out the pattern pieces. Trace the pieces onto the fabric and cut them out. It's a lot of fabric so, a nice big workplace such as the floor is great for this part.
I usually trace onto pattern paper but, this style is very loose and I knew I wouldn't need to make fitting alterations.
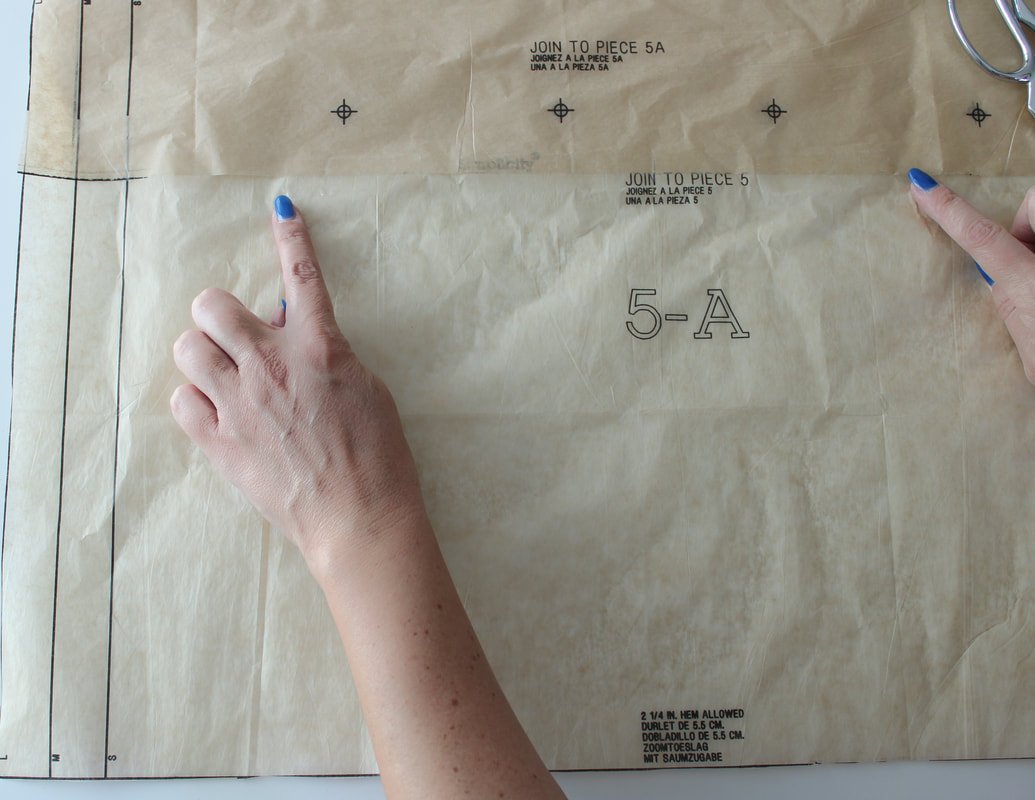
**You will have to tape the front (5 and 5A) piece to an extended piece. Match the stars and tape them together. You'll do the same for the back piece (8 and 8A).
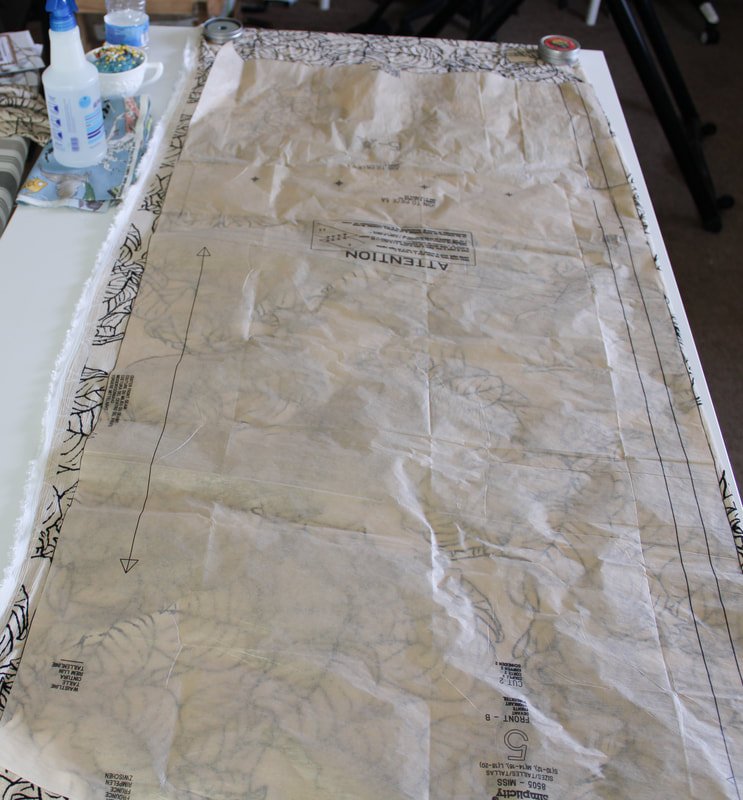
The pieces were very large so, I used pattern weights and cut the fabric without tracing. Gasp, I know! Trace the neck-facing piece though.
Time to sew.
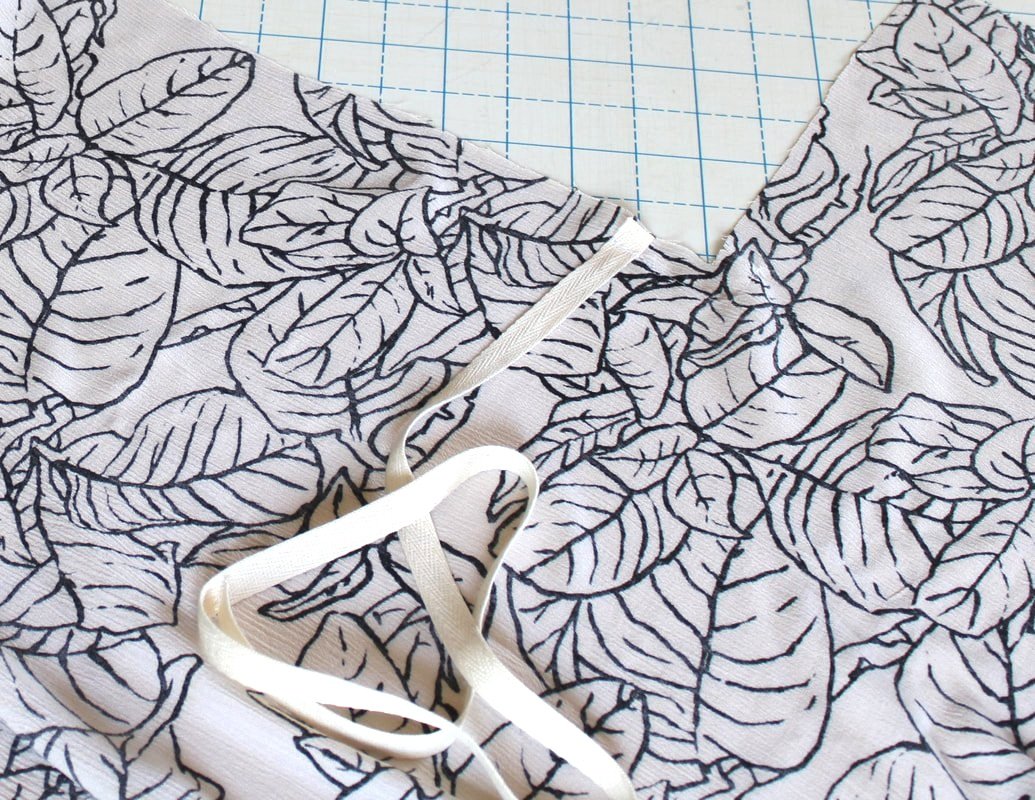
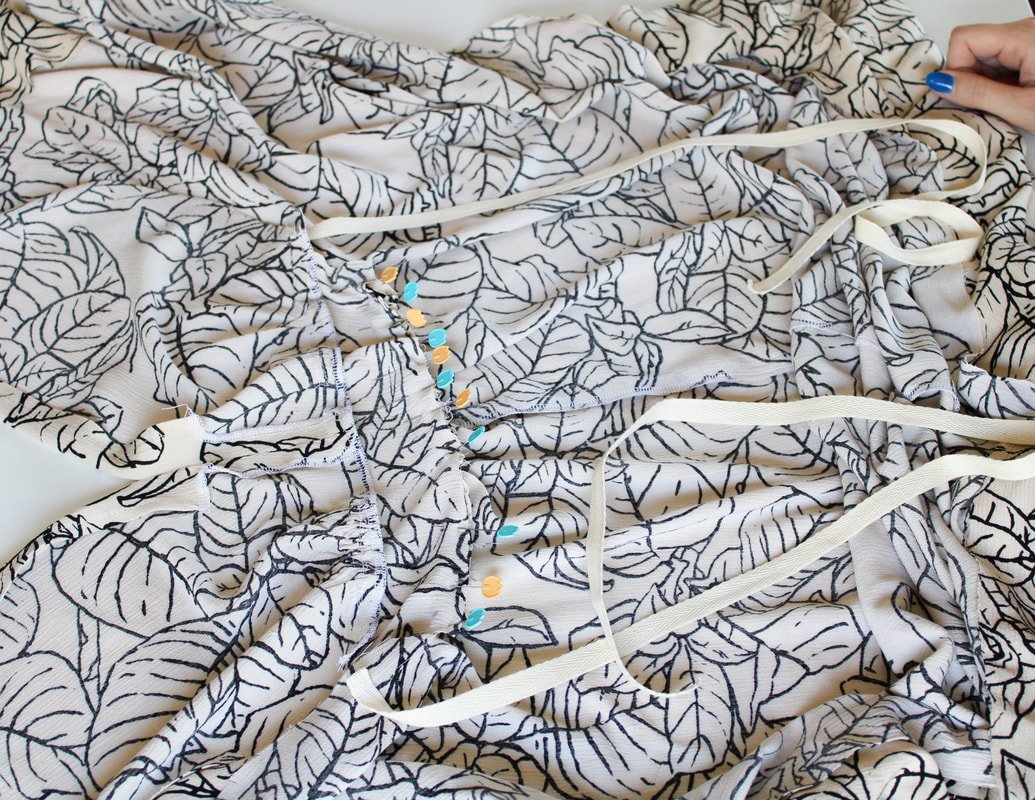
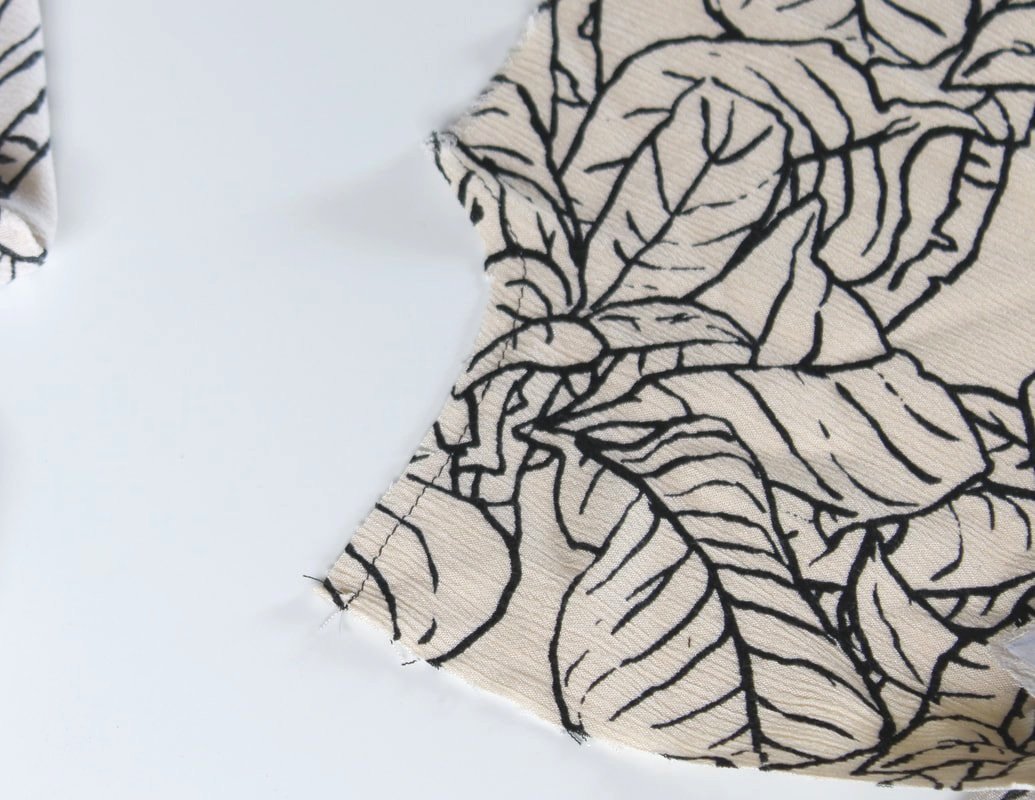
Attach twill tape ties and sew reinforcing stitches at the corners of the front pieces. Clip to the corner but, not through the stitching.
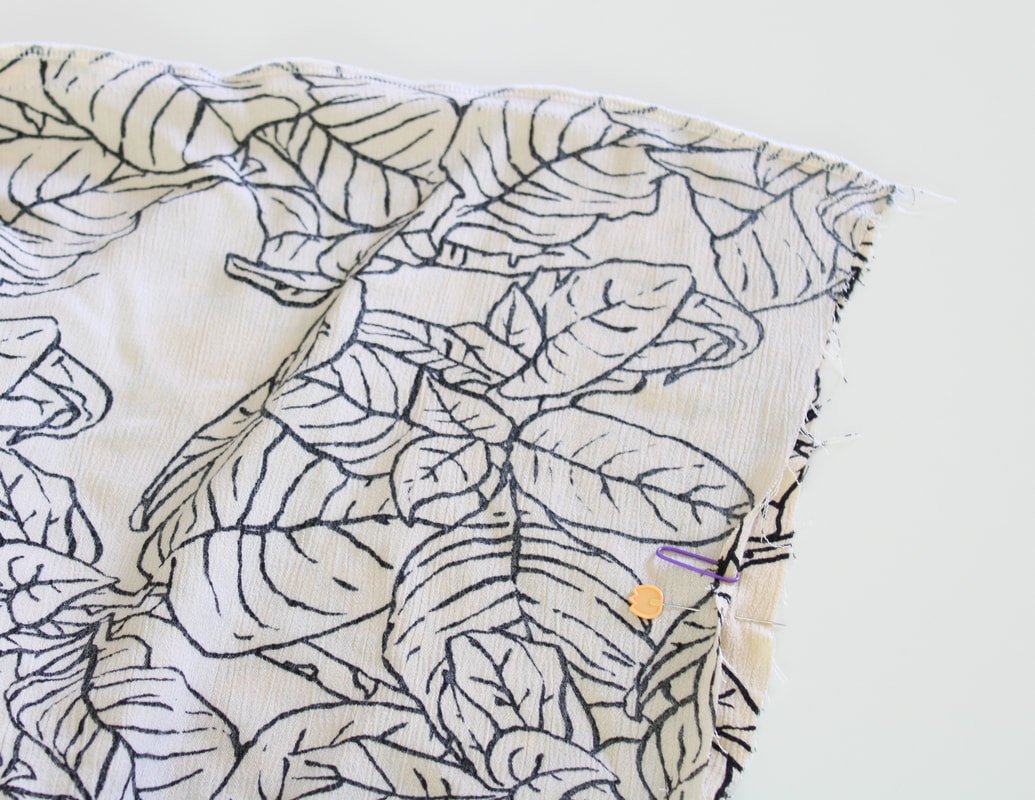
Sew the front center seam.
Sew the front center seam. I serged the seam after and pressed it to the side.
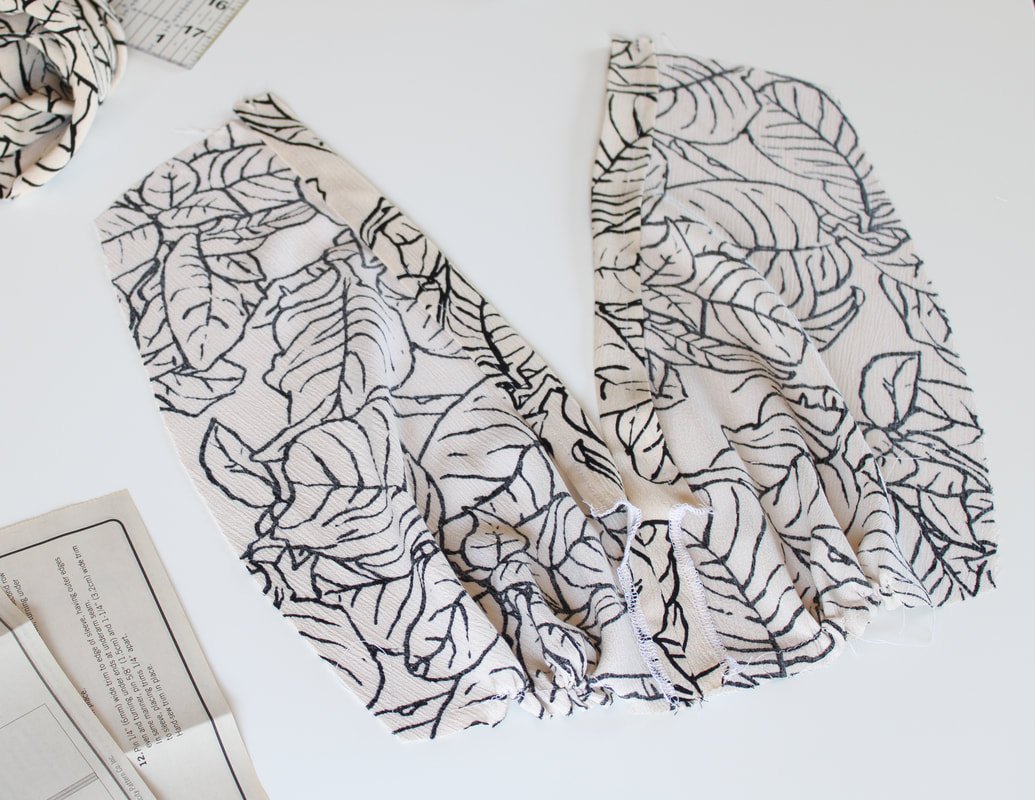
Gather those tiny ruffles.
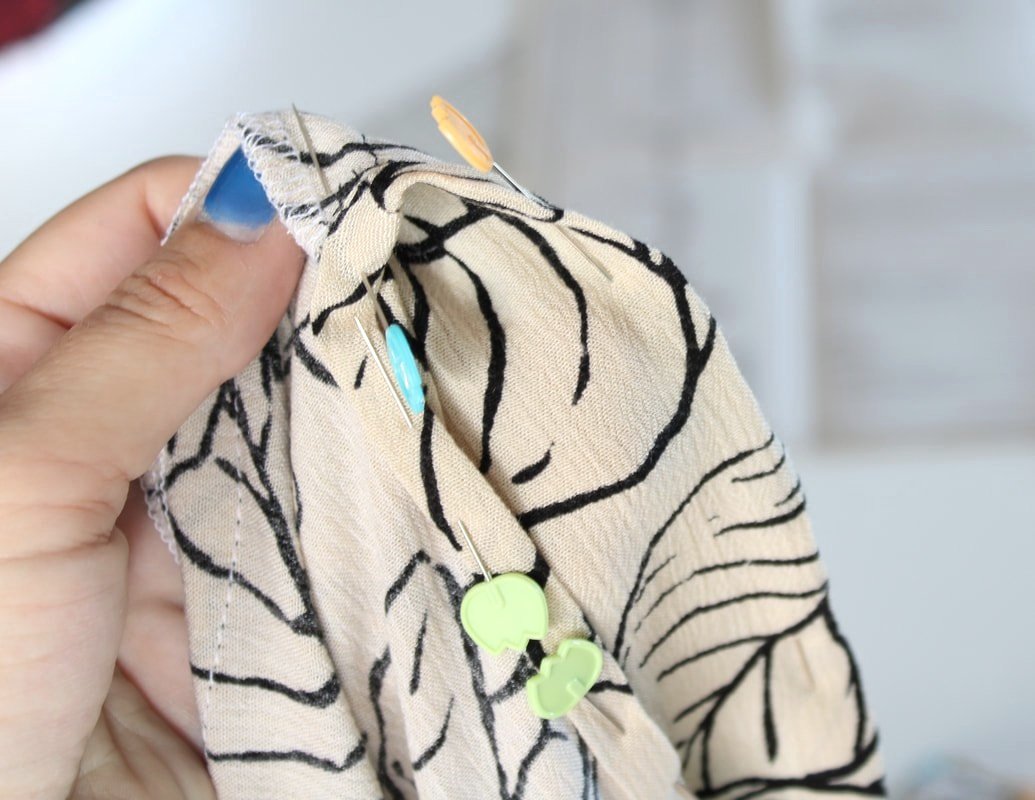
Sew 2 rows of gathering stitches using a 4-5mm stitch length, between the notches across the front. Pull the bobbin thread to lightly gather the front. It helps to leave long thread tails to pull the gathers.
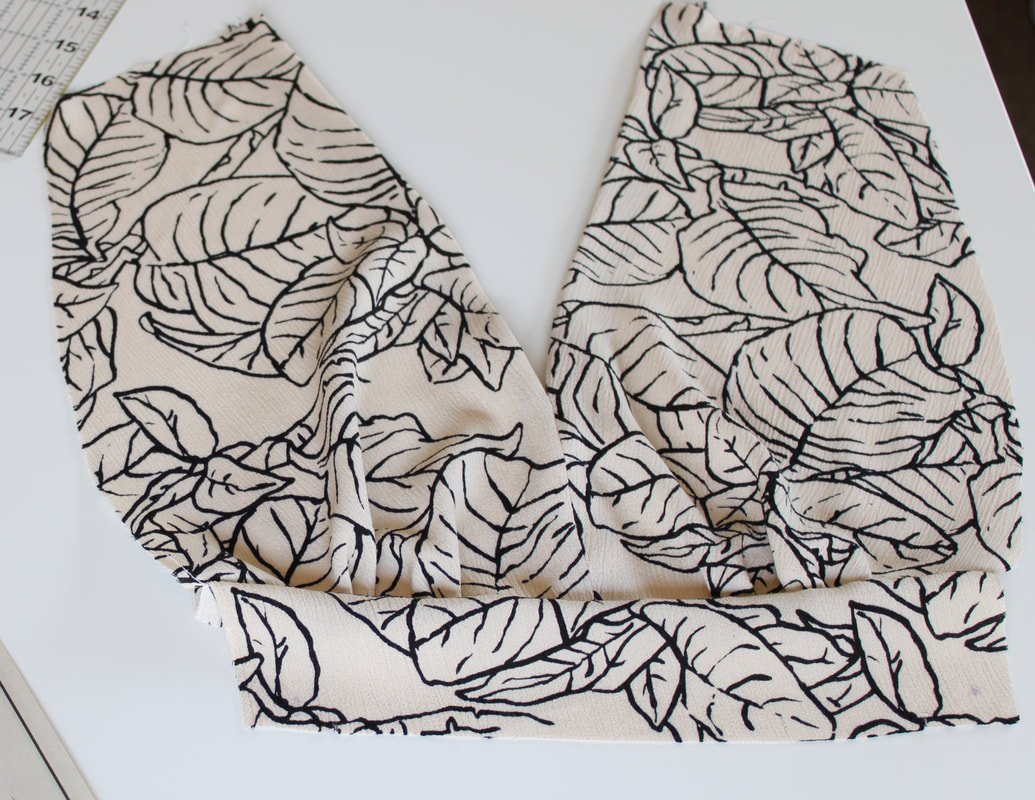
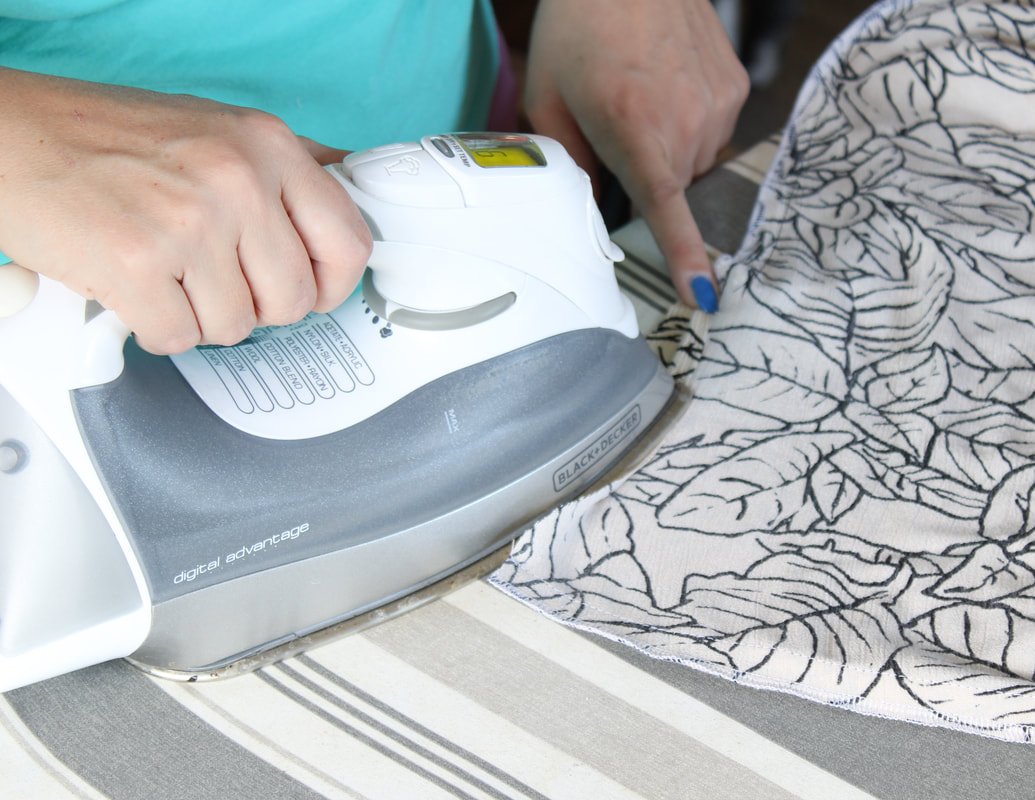
Press down along the fold line on the front. This will become your front V neckline.
This is where I had the most difficulty. Gathers are easy but can be a pain in the you know what. So, go slowly, check twice, then sew.
Pin the yoke to the front pieces matching all the notches together. Sew and press the seam downwards.
Serge or sew the edge 1/4" under the midriff pieces. Press along the fold line.
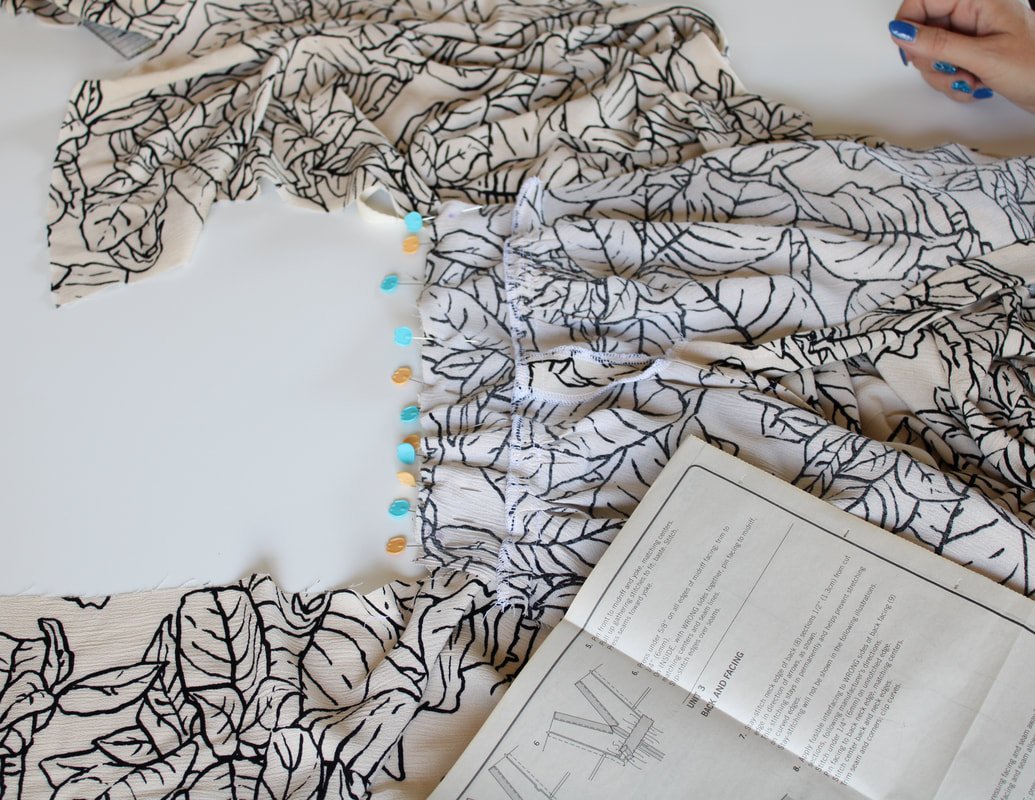
Pin the front midriff and yoke piece to the front pieces.
Make sure to match the center seams. Sew the bottom part of the yoke to the gathers first, then sew the sides. I didn't do this and found it a tad difficult to fit. Again, make sure you line up the center seams.
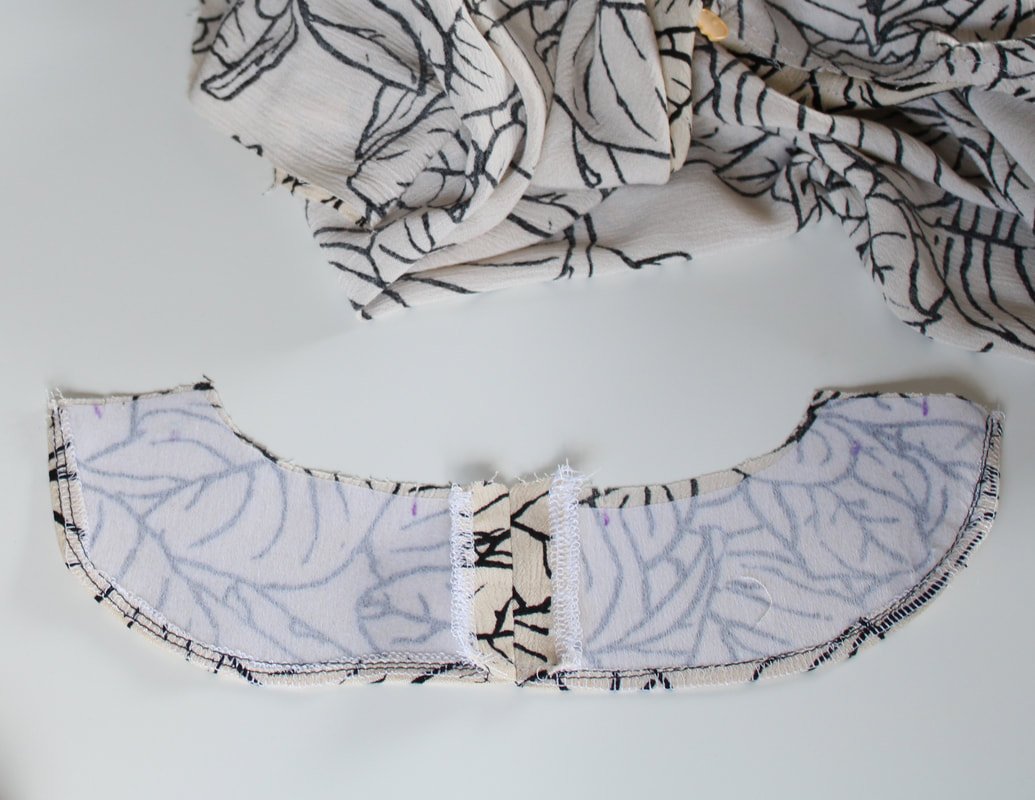
Grab the back pieces and neck-facing pieces.
Stay-stitch the back neck.
If you haven't already, apply your interfacing to the neck facing at this point.
** I left the button off and sewed a solid back seam. You can sew the button closure or not, it's your choice.
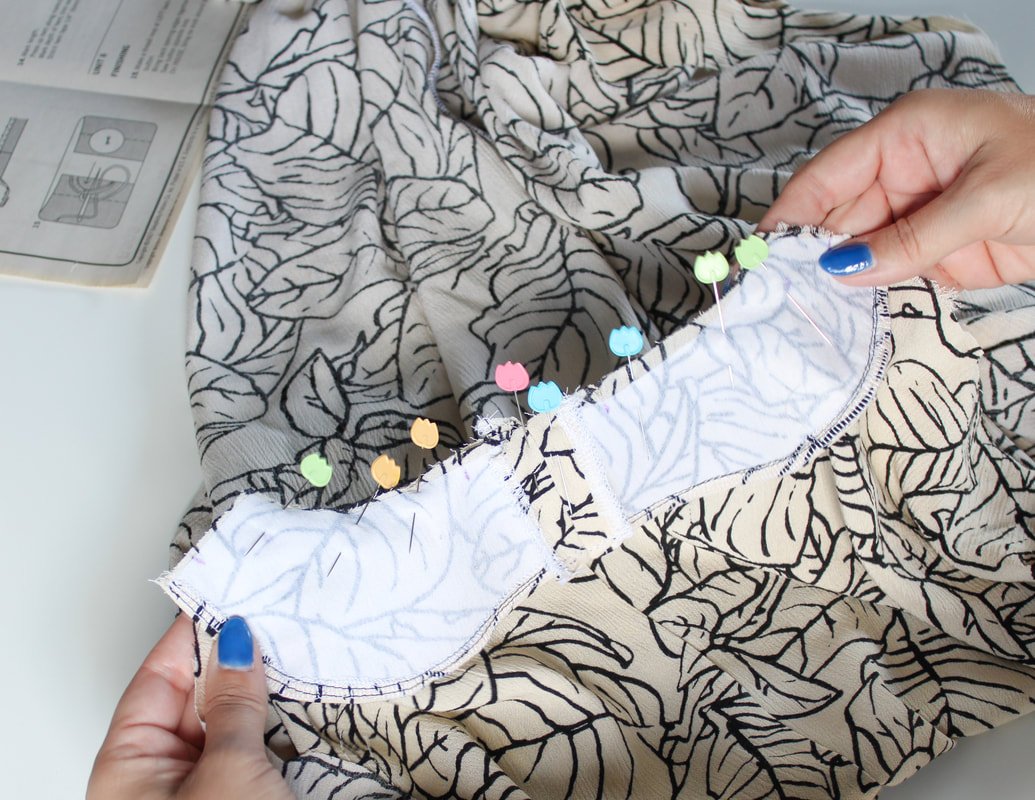
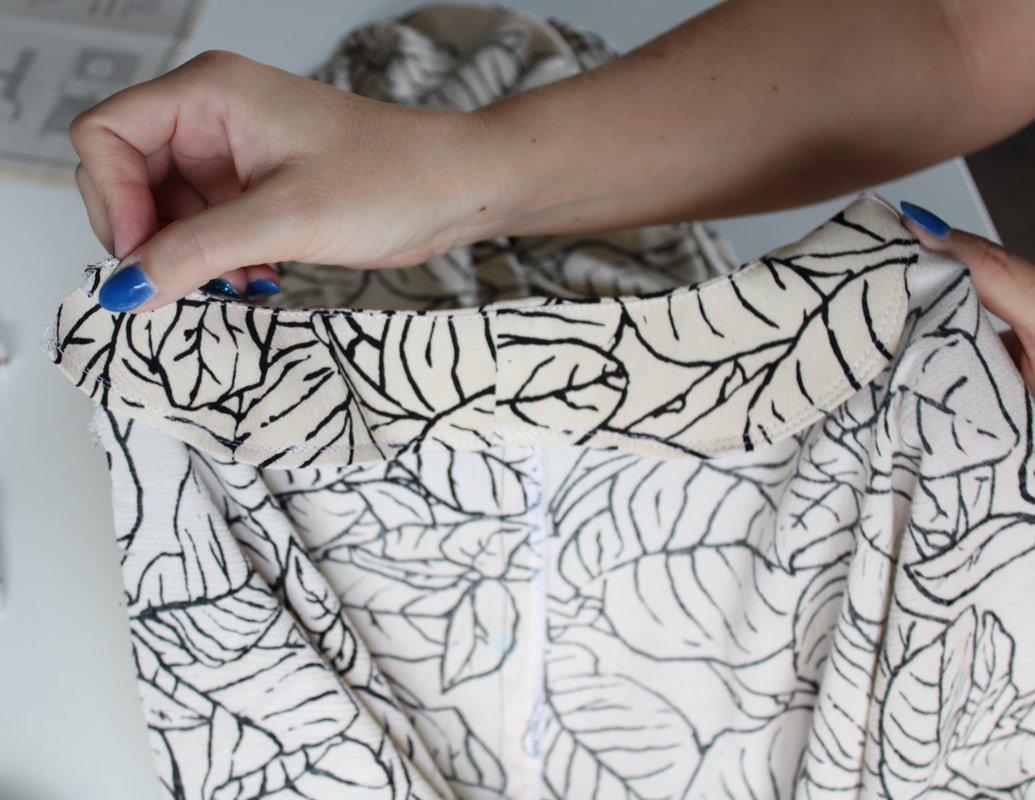
After the back seam is sewn, sew the neck facing onto the back matching the seams. Press open or to the side.
Yay, you're almost done!
Sew the shoulder seams, and press.
Then, sew up the side seams. Start from the hem and go up to the notch/dot.
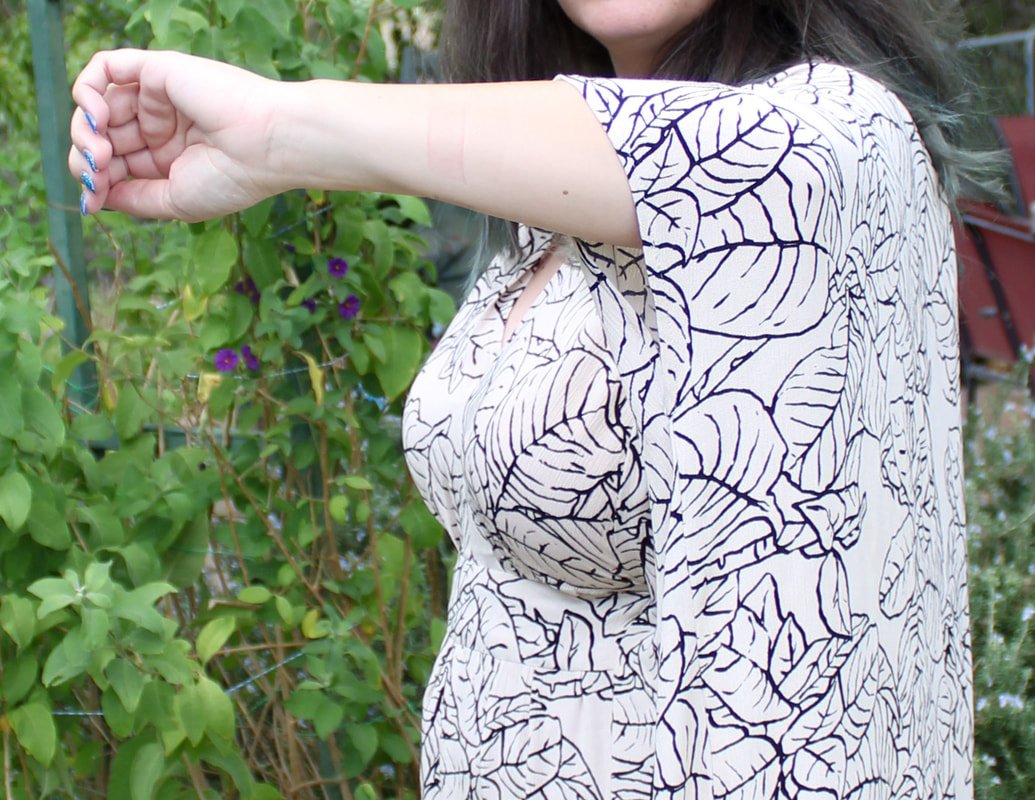
Try it on at this point to see if you want your armholes smaller. I ended up sewing 7" from the top for my sleeve opening. This was a perfect amount for my arms.
Hemming the caftan.
Last but not least, it's hemming time.
If you're on the shorter end, you'll need to whack off some serious length on the bottom.
Hem the sleeves. Fold and press 1/4" under, then 1/4" under again, and topstitch.
The bottom hem was an issue for me. I measured (I usually just eyeball it) and, it came out wonky. I don't have any magical words of advice for you on hemming. Sorry. :( I used my dress form to pin the hem and then sewed it. And it was perfect in the back but several inches too long in the front and sides still.
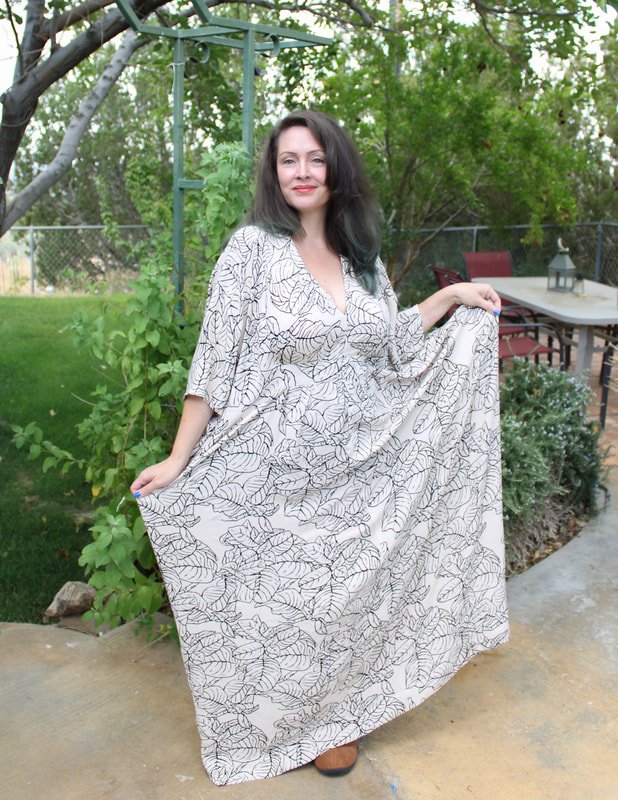
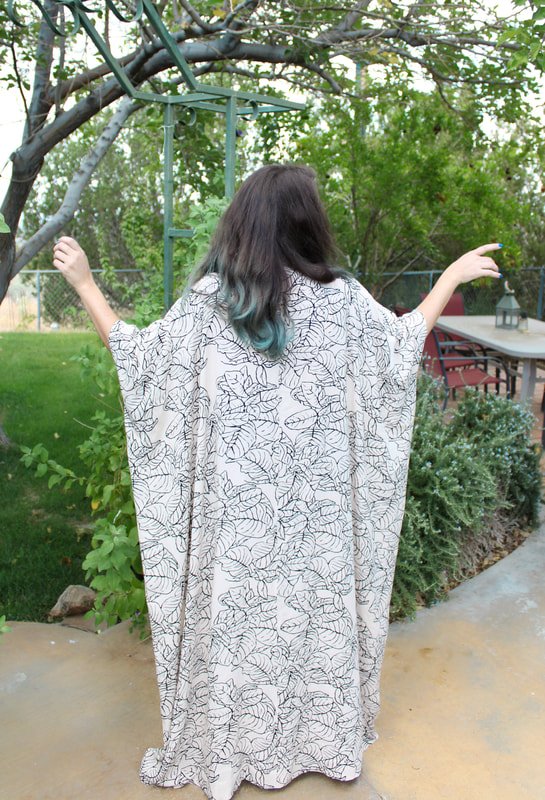
So, the caftan dress sits in the timeout corner for now. I could hold it up while I walk around but, that's frustrating and not very chic or glamorous. Some day I'll rip it out, cut it, and re-hem it. Maybe next spring when I get the itch to float around in the warm sun, in my backyard again.
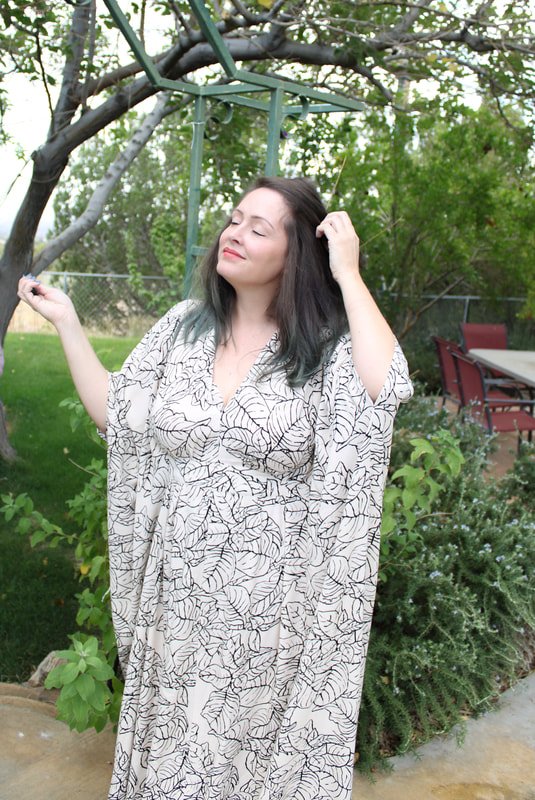
Meanwhile, enjoy some photos of my too-long caftan. :)
Thanks for hanging out today! As always, if you make one, please tag me on Instagram @sewingtothemoon. I'd love to see your fabric choices.
Happy 70s sewing,
Annette


