Gertie Sews Vintage Casual (patterns from her book)
Gertie sews vintage casual book sewing patterns, tutorials, and reviews. Let’s make some vintage casual outfits. This is her best book if you’re into tops and bottoms more than over-the-top fancy dresses.
Do you have a fabric designer or pattern maker you simply adore? Maybe you have a few.
Gretchen Hirsch aka Gertie is one of my favorites.
There are quite a few fabric designers I'm obsessed with! Almost stalker-status. ;) I love almost every piece they design. And I must own it all. Insert evil laugh! Haha
As you might know, my favorite pattern designer is Gertie. She is a one-woman show and encouraged me (through her blog, TV, and books) to start sewing things for myself. GASP! Moms can sew for themselves? Yes, yes we can.
I was watching a PBS sewing show and she popped up. I can't remember what she shared on the show. But, I couldn't get past the fact that she didn't look like a typical sewing lady. She was young and had a fun style. I was instantly hooked! I found her blog, bought her books, and started a new sewing journey for myself. I still sew for my kids and shop, but I LOVE making things for myself more.
Gertie has her own pattern company, along with fabrics designed by her. She also has patterns with Butterick and Simplicity. Charms Patterns, Simplicity, and, Butterick patterns. I love it all!
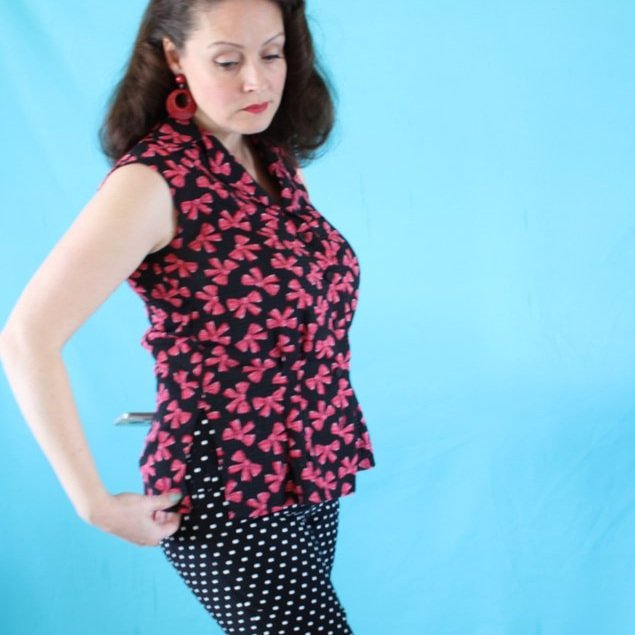
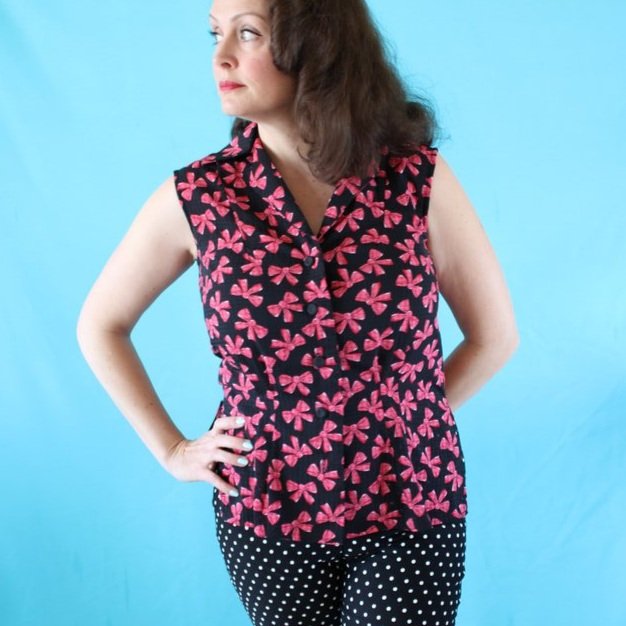
40s style Blouse from Gertie’s Book, Gertie Sews Vintage Casual.
40's Style Blouse
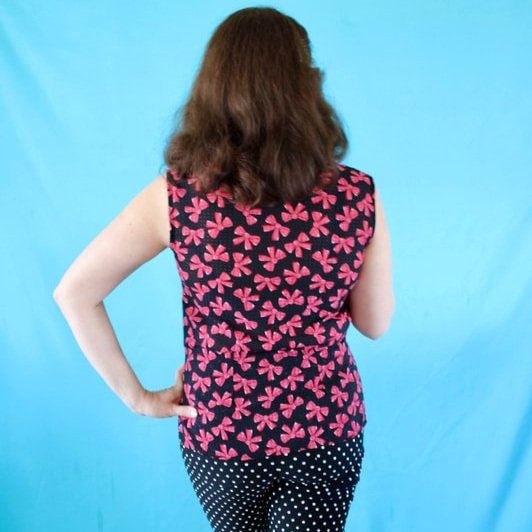
The top I'm wearing above is from the book, Gertie Sews Vintage Casual. It's the 40's-Style Blouse made using the Sleeveless Blouse variation, pg 134.
The fit is great in this top! Why haven't I made more? I don't know but, I need to.
It was an easy afternoon project. I made this top a few years ago. This was my first top with center buttons and a placket. As you can see, they should have been placed 1/2" closer to the edge.
Oh well. I still wear it all the time.
It's an easy style to wear over pants or tucked in. The darts are placed perfectly and make for a very flattering fit.
The fabric is semi-sheer in black with pink bows and was purchased from Joann Fabrics. It is from Gertie's fabric line.
Pattern changes
I increased the armscye area. I don't consider myself to have large arms, but her patterns are usually tight in my armpits, so I size up with sleeveless patterns.
Knit sweetheart top
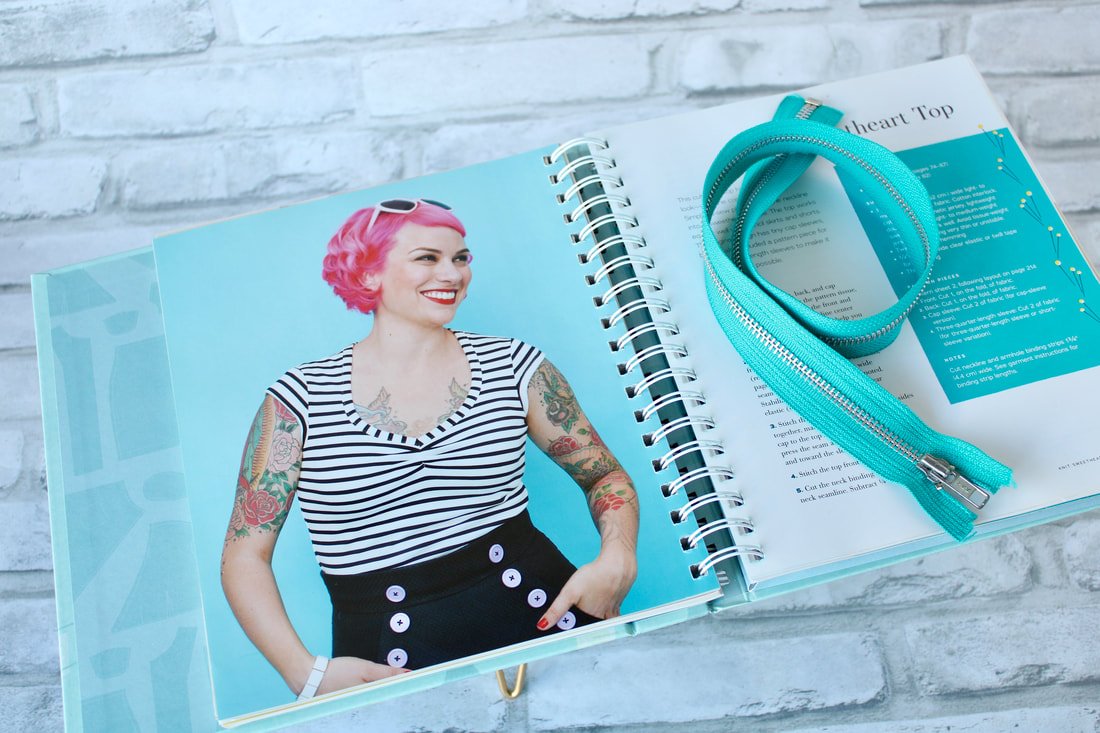
Next up is the Sweetheart Top, page 151.
I made 3 of these in different variations. I love how easy the pattern was to sew up, plus it's soft and cozy.
I love the sleeveless knit top however, it's tight in the armpits. I could go back and unpick the bias bindings and make the armscye bigger, or just live in pain. I choose pain! I should just make another one because I have more fabric. That sounds waaay easier than unpicking. Amiright?
Scoop neck sweater made with sweater knit fabric.
Another scoop neck, made with sweater knit that does not have a lot of stretch.
I cannot tell you enough how much I love this pattern. It's comfortable and easy to make. I made all 3 in an afternoon.
The Scoop Neck Sweater is a variation, on page 156.
I made the Scoop Neck Sweater in a black sweater knit with fun doo-doo balls all over it. The fabric I chose didn't have as much stretch in it, as it should have, but I made it work. ;) I wear the black sweater top a lot during winter.
The Puff Sleeve Sweater is another variation, on page 158.
I made this version in a tissue-weight leopard sweater knit. I ordered the fabric online and had other plans for it. But, it was too flimsy for what I bought it for, so it got stashed away. The thin knit worked pretty well for this pattern. I would want something with more stability next time, but it works and I wear it often. Win-win.
Cigarette Pants
Onto a pants pattern. These were easy to sew. But, I don't usually have fitting issues with pants. I have a short torso and narrow hips/ booty.
I made the Pedal Pusher variation, on page 166.
I made a muslin first, just to be safe. They are form-fitting and very flattering. They give me curves. Yay! The instructions were a little confusing when it came to the pockets, but I figured them out and forged onward.
I did end up splitting the crotch seam at one point while wearing them, AHHH!! Came home and stitched over that seam multiple times. Yikes! Nobody wants a popped seam, especially there!
Black and white polka dot pedal pushers, yes please!
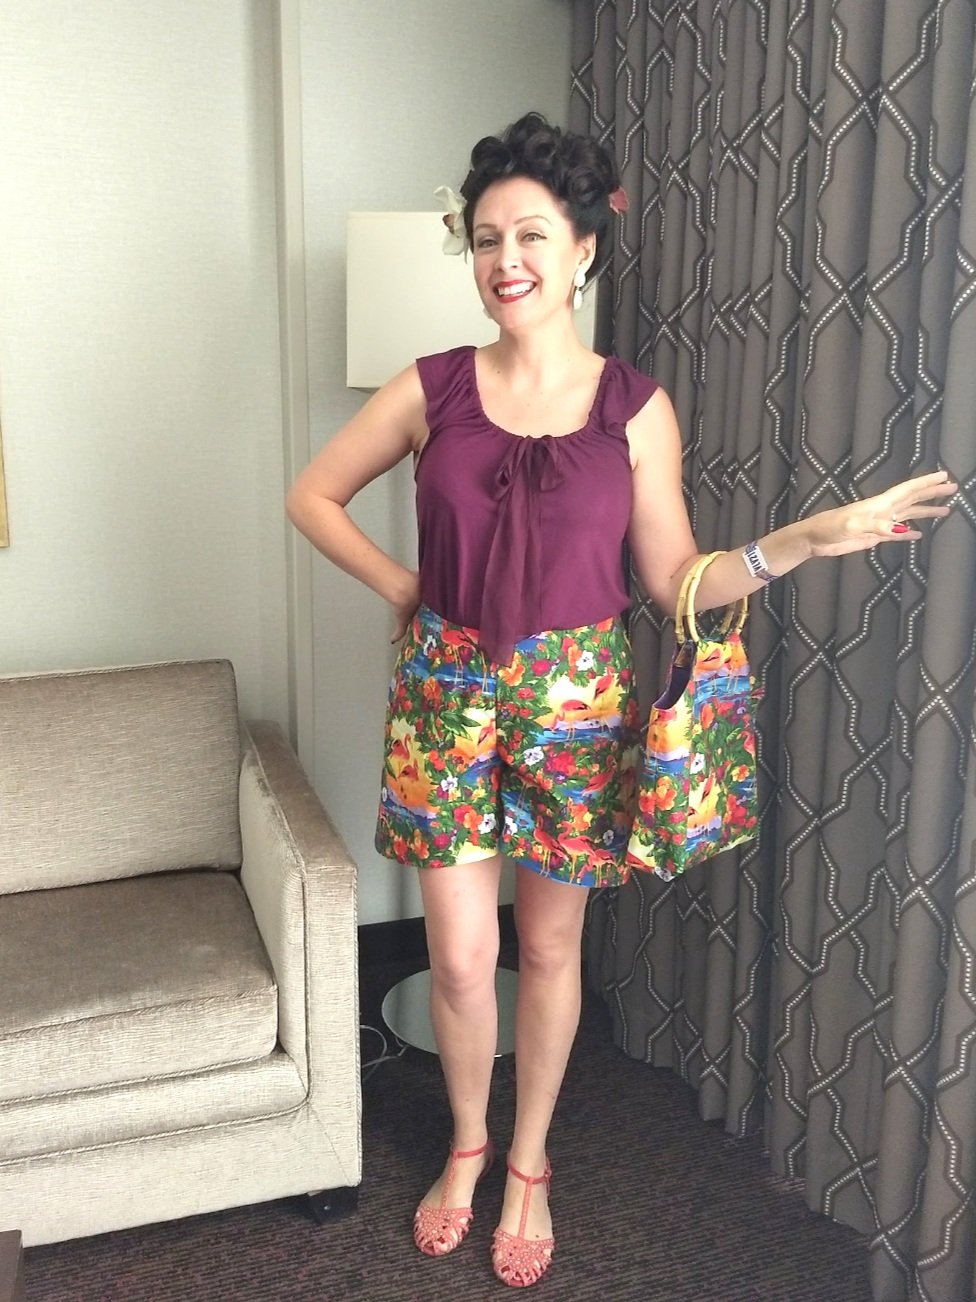
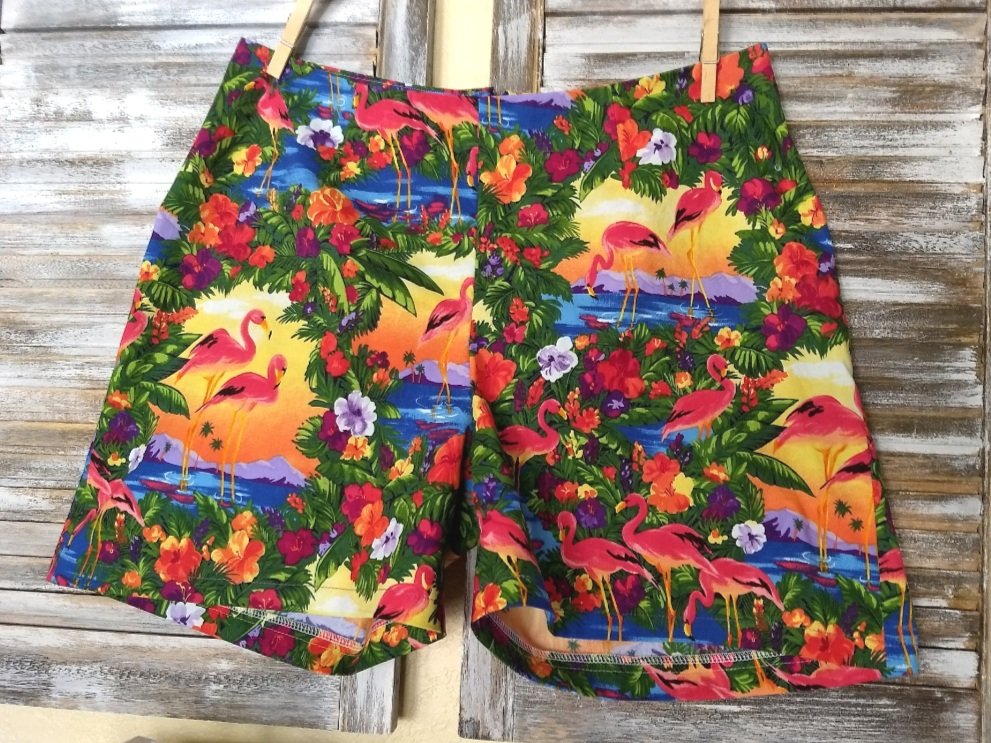
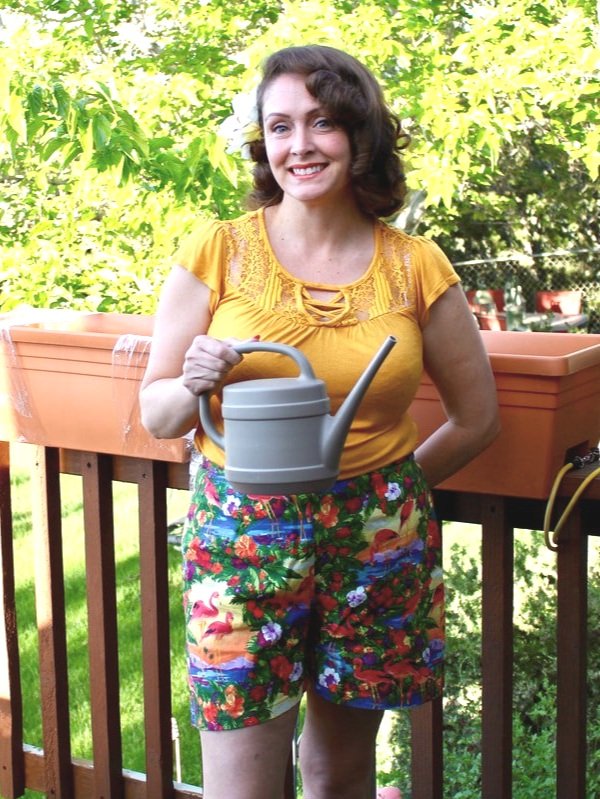
I also made the Flared Shorts Variation, on page 167. They are my favorite, can you tell?
I have a few pairs of these shorts and love the style and fit.
The flamingo pair has a tiki vibe and I didn't sew pockets in them. I regret that, of course. I made these to go on vacation, so I skipped the pockets. Don't skip the pockets. Haha
I made a red and white polka dot pair with pockets. I love these but don't reach for them as often. I usually pair the shorts with a black top and rock the Mickey Mouse look.
Well, that's it from this book. Do you have this book or any of her books? I reach for this book more than her others. I like a casual vintage style for every day.
Have you made any of these patterns? Or do you want to? Please share in the comments below.
XO,
Annette
Playful Butterick B6354 Bustier
How to sew plastic boning into a bustier. Butterick 6354 sewing pattern. Sew a quick form-fitting pinup style top.
Happy March!! Hope you are staying safe and healthy, and have enough toilet paper! Ha! Never thought I'd say that. Whew, what a world we live in right now. This month has not gone as planned for anyone, I'm sure. We were supposed to leave for a family cruise, but that was cancelled along with school, life, and everything else.
When life gives you lemons, get the peeler and enjoy the process.
I'm enjoying the time with my kids instead of having to drop off and pickup from school. We even have enough toilet paper. We luckily bought ours before the crazy hit the fan. LOL
I worked on this Butterick top all week and after trial and error, I finally got the sizing correct and finished it. For the cruise. That was cancelled. :/
I wanted to spend more time on the boning portion of this pattern for you guys. Do you search for tutorials before you make something new? It's nice to get a feel for things before getting your head in the game, right? I didn't see any in depth tutorials on how to insert boning. I wanted to spend time on the boning portion with this post. The pattern is pretty easy and straight forward otherwise.
This was the FBA that I ended up not needing. Ha!
Pattern time
1 yard of fabric + lining.
7" Separating zipper
Thread
2 1/5" yards of boning. I opted for plastic this time because this top will be used during warmer weather and I didn't want the bulk of the stainless steel boning. I grabbed 2 packs from my local craft shop. Each package only has 2 yards.
2 Buttons
All your sewing notions and machine
Scissors for cutting plastic boning that aren't your fabric ones.
Buttonhole foot
Zipper foot
Hand-sewing needle and thread
According to the pattern envelope, I needed a size 14. I also made an FBA (full bust adjustment) after my first muslin seemed snug. Well, it ended up being huuuge. No, I couldn't just take in a little at the side seams. This was big enough to fit the movie snacks, popcorn, sodas, and my kids!! Face-palm!
But at this point, I accepted the challenge. Game on!
"It's not sewing unless you use your seam ripper." - Me.
I unpicked the bodice, lining, and boning casings. I then re-cut to a size 14 minus the FBA. Sewed it up and it was still big. I could fit the snacks only, this time.
So, I unpicked it again and cut a size 12, no FBA. Size 12 fit well enough. I might try a size 10 next time.
After you decide which size you're going with, trace your pattern off. Grade between sizes if needed.
Transfer all the markings onto your pieces, especially the lining pieces. You'll need accurate placement lines to position your boning.
Sew your darts on all the pieces.
Pattern instructions always have you make one thing at a time, but I sew all the darts on the outer and lining at the same time. It makes more sense in my head to do it this way, but you do whatever feels comfortable for you.
After the darts are sewn, place the 2 front pieces together, RST (right sides together) matching notches and dart seams. Sew from the waist up.
Then, grab the front band pieces. Sew together and fold in half, if you haven't already.
You're going to attach this piece to the bodice you just sewed.
TIPS
I cut into the band’s raw edge after it was folded to make the sewing process easier. It helped me. You can do this if you want or not. I clipped into the raw edge 1/4".
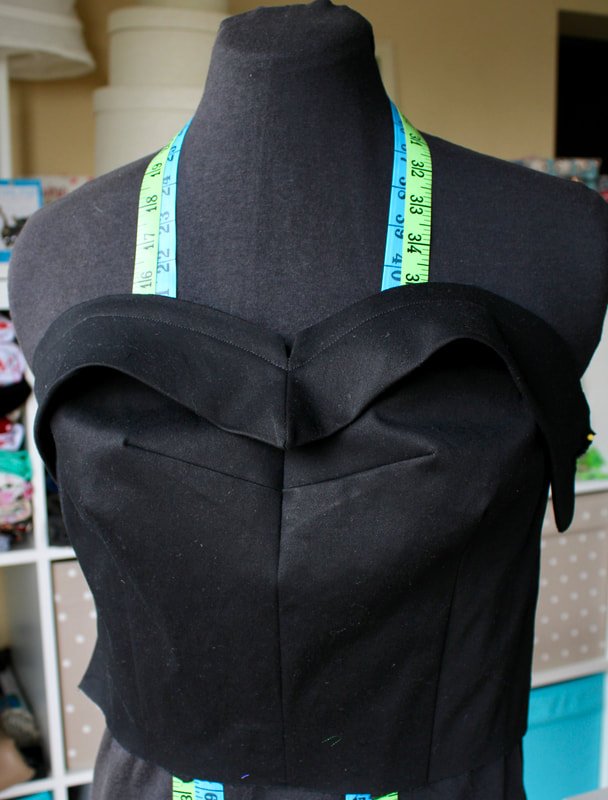
After I sewed the band on, I stitched in the ditch of the center seam to keep it from flopping around. I didn't like the look until I did the top stitching. You can see the photo below, I didn't stitch it down at this point. It was sloppy looking. The first photo was after I stitched it down. See the difference?
Insert your separating zipper. WOW! This was my first time using a separated zipper and boy was it easy. You're making a lapped zip, so be sure to press one seam 1/2" and the other 5/8". The left side laps over the right side, hiding the zipper in true vintage fashion. Follow the pattern directions for the insertion.
Sew the side pieces onto the bodice, matching notches. Sew from the waist up. Easy peasy.
Your top should look like the photo below.
Now onto the lining part with the boning. Take a deep breath, you go this!
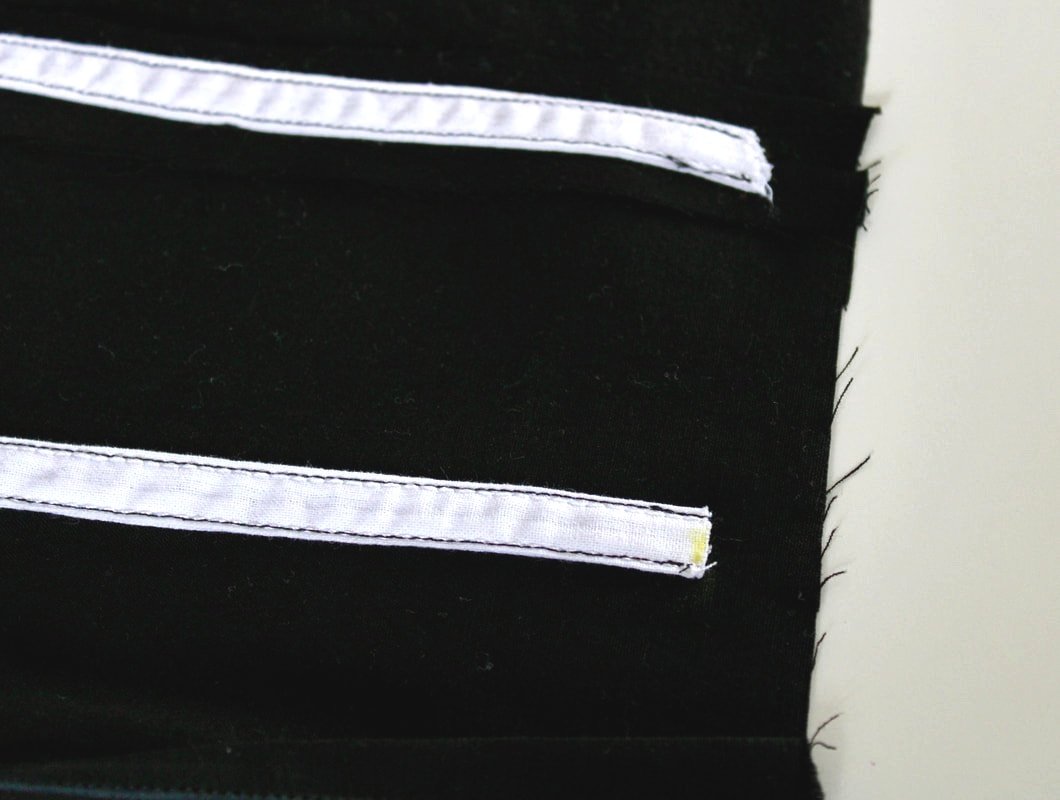
You want to measure and cut the strips of boning/ casing before you sew it in.
If you're having a difficult time with the boning being curled, steam the strips using your iron. Use the cotton setting with plenty of steam, and make sure the plastic is covered with the casing or a cloth. You don't want to melt the plastic. Wiggle the piece up and down, similar to how you would with a false eyelash. They should lie flat.
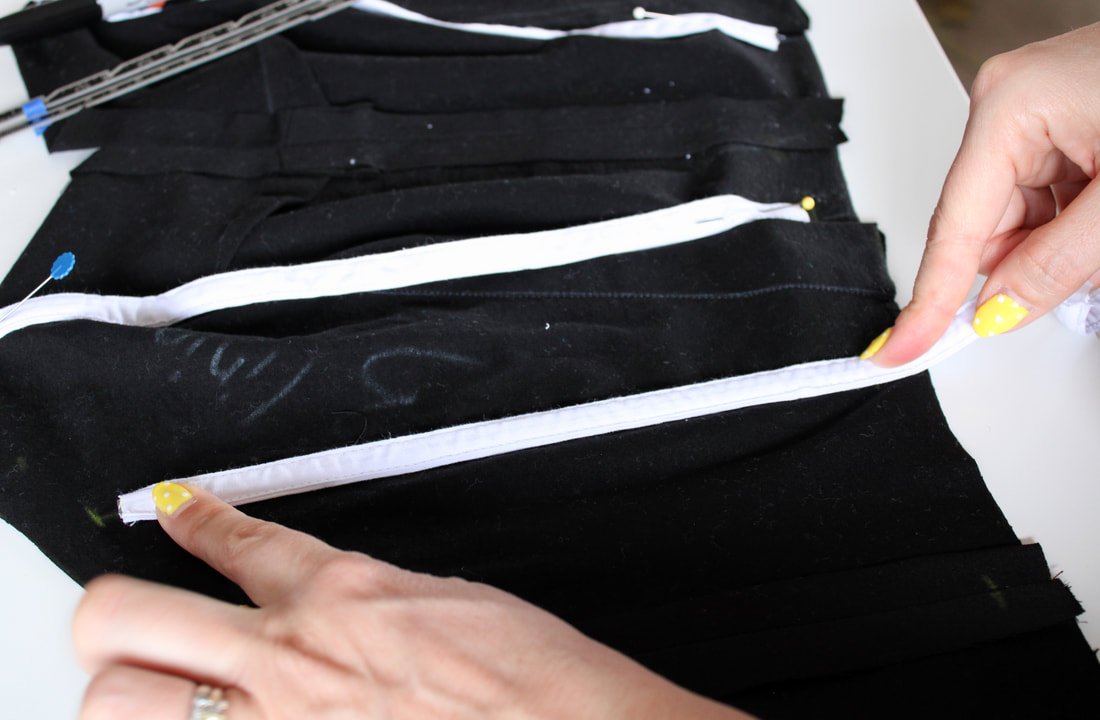
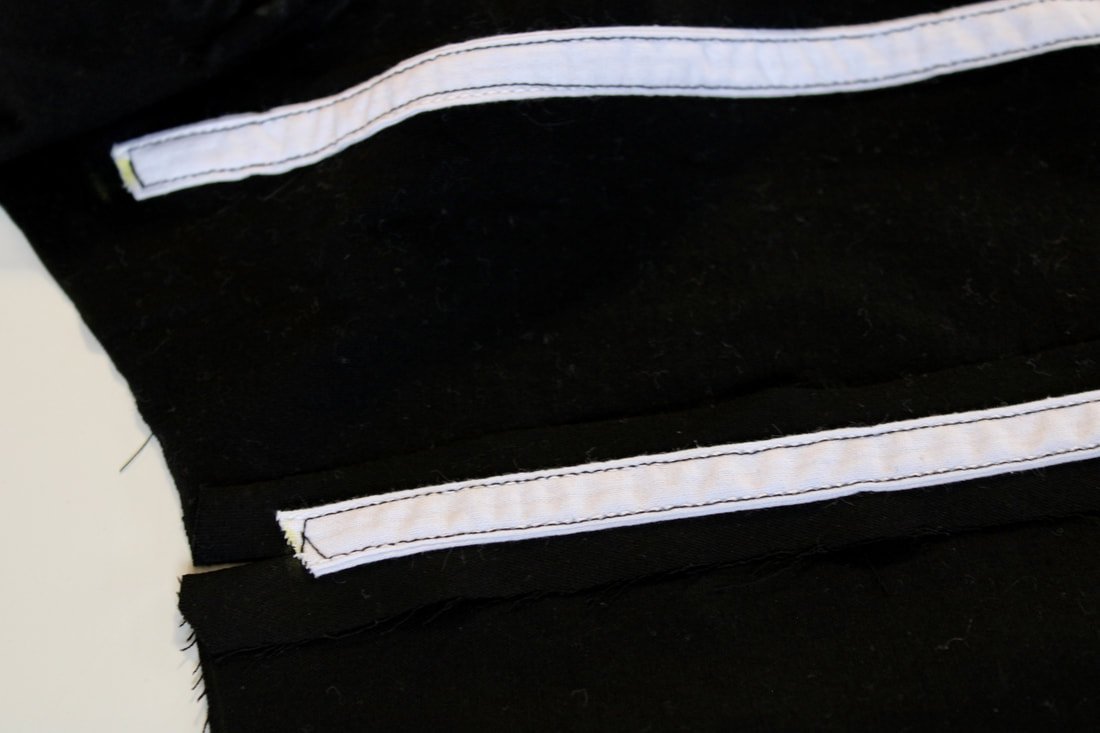
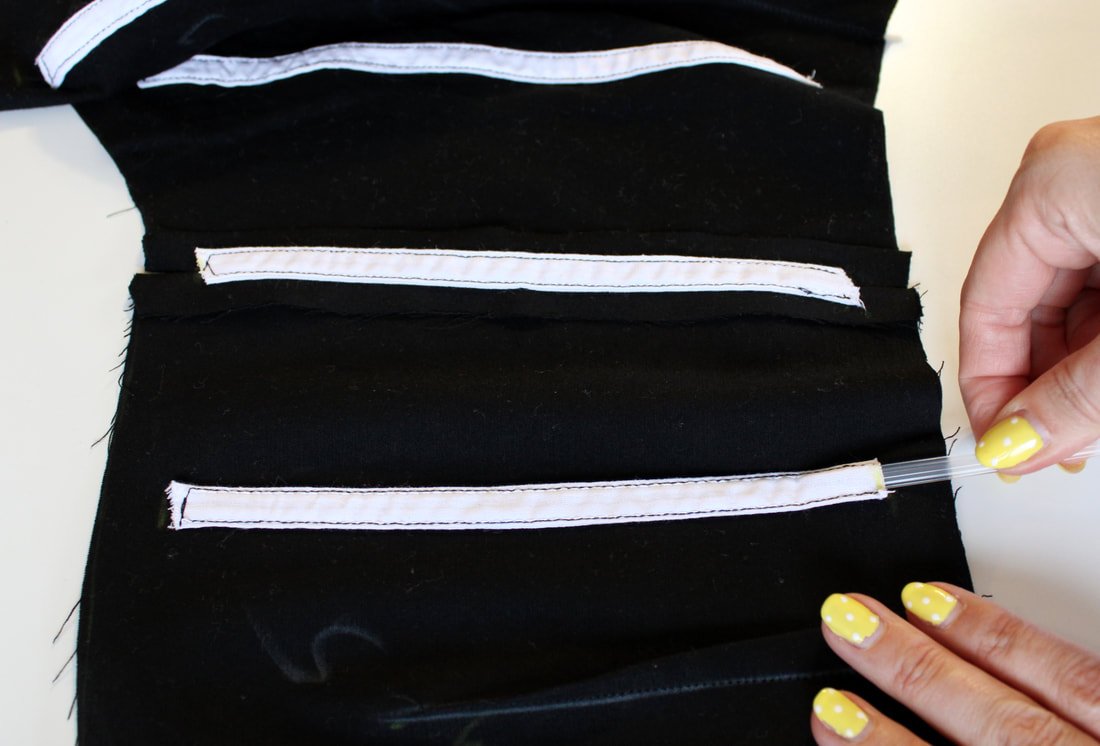
Sew the casing strips onto the bodice lining, leaving a 5/8" seam allowance between the casing end and the fabric edge.
Pin in place to keep them in order. Start on the top, backstitch, and sew down one line. Backstitch. Then, sew on the other side. Backstitch and sew the top short edge and pivot back to go down the long edge on the left side. So you're making a backward 7.
You need to leave the bottom open to insert the boning piece. Follow along the stitching line, it doesn't have to be 100% perfect, just try to sew a straight line.
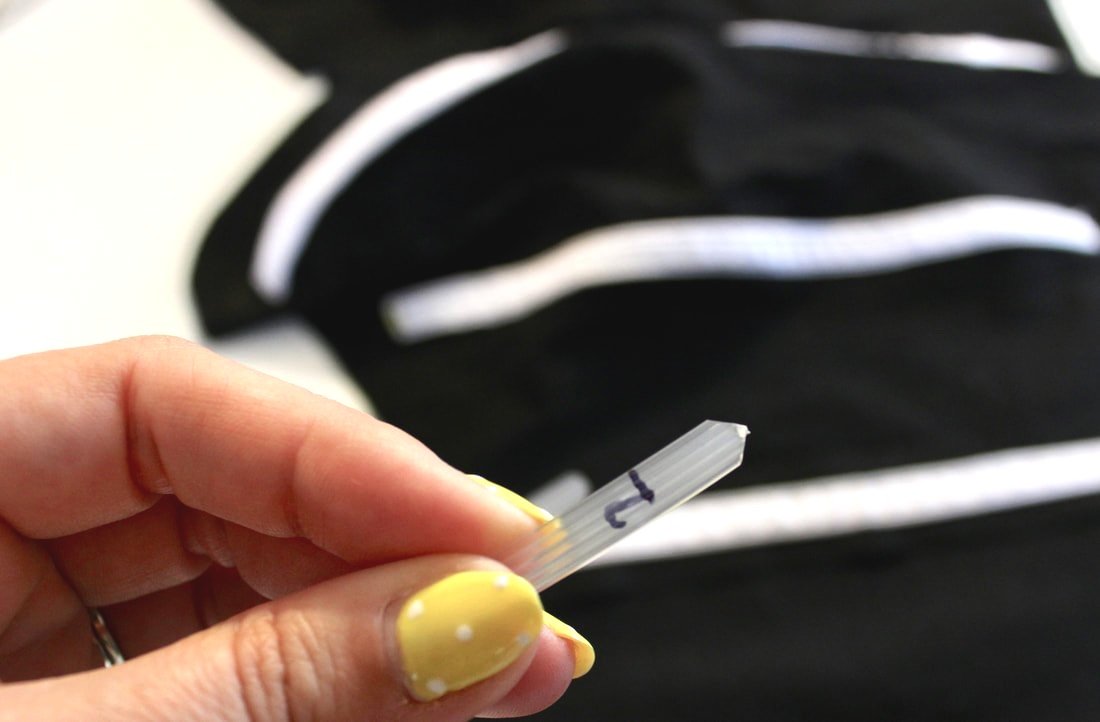
Preparing your plastic boning.
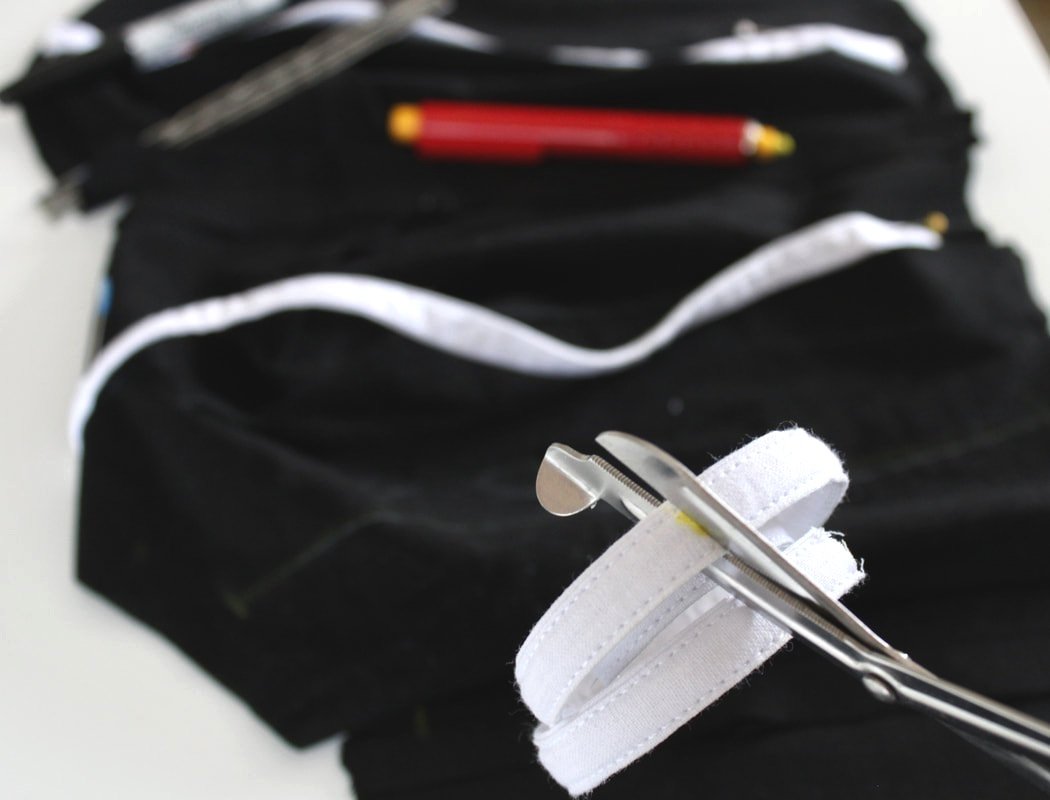
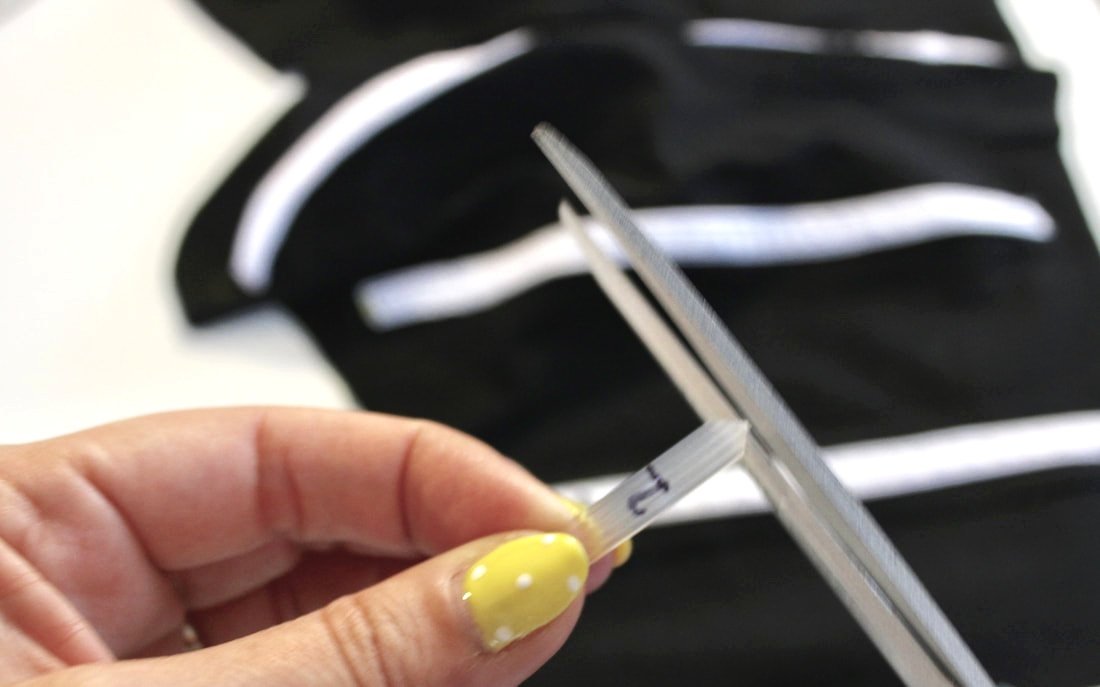
You don't want sharp edges that will poke you, or worse poke through your new garment.
Trim the plastic boning with a pair of scissors, not your fabric scissors.
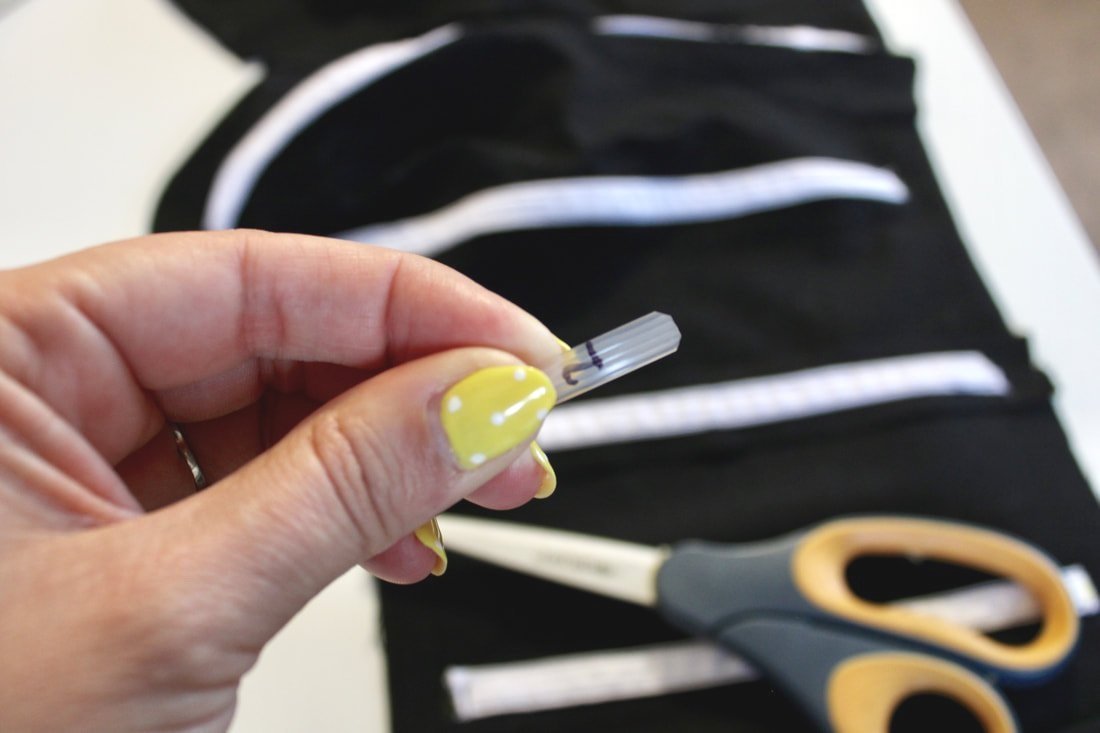
Bonus tip: use a permanent marker to number your boning pieces. Start from the left or right. This number system kept me from going insane. ;) Slightly...
If your boning is rounded still, steam the strips, and they flatten out nicely.
After all the boning is inserted, stitch the open ends closed. The pattern doesn't say to do this, but it's an extra precaution.
Match the bodice and the lining RST and sew across the top and across the bottom. Leave the sides open for turning out. Hand stitch the lining to the zipper tape.
Sew the neck strap and mark the spots for the button holes.
Try the top on and see if you need to move the markings to fit your body.
Check your manual for instructions on buttonholes if you need a refresher.
Match the button holes on the strap to the pattern piece.
Place the buttonhole markings and make them using your buttonhole foot.
Hand-sew or machine-sew the buttons into place, and you're done! Yay!!
Front View
Back View
I've started making one in zombie pinup fabric. Yes, I will wear it year-round. My inner goth gal can't resist. ;) I made a gathered skirt with the zombie pinup fabric, so I'll wear them together. Give me matchy-matchy any day!
I have a few other high-waisted pants I plan on wearing the black one with.
Have you made this top? Is it in your pattern stash? I say make it! It was really easy after I got the sizing figured out.
Share in the comments below if you plan to make this or another piece from the pattern. I made the bolero to match with this dress. The bolero is super duper easy!
As always, thanks for hanging out with me. Keep your seam ripper sharp and your bobbins full!
XO,
Annette

