Pattern Reviews, Sewing Hacks, Tips & Free Patterns
Sewing Blog Besties
A Photographer Skirt
Sew an easy skirt. No zipper needed! It has an elastic back and flat front. It’s cute and comfortable. Add some pockets too!
Camera fabric for a new skirt.
If you’re anything like me, you have many hobbies and interests. I love sewing, gardening, farm animal-ing, photography, cooking (sometimes, ha!), and Netflixing. As a photographer who sews, I have the skills to make my clothing in exciting prints that speak to me.
Novelty prints are my favorite. So, when I saw this fun camera fabric at Hobby Lobby, I bought the remainder of the bolt. I planned on making a skirt and hoped I had enough left for a few other small projects. Hint: I’m going to make another bag using leftover pieces.
This tutorial is super simple. We’re going to make a gathered skirt. It requires 2 yards or less of fabric. Since “Cove Cove,” aka the 2020 pandemonium, I’ve gained a few pounds. Elastic waistbands are my best friend, so I made the waistband with elastic in the back. The front has a flat waistband. Business in the front, party in the back!
Interested in making one? Let’s go.
What You Need:
2 yards of fabric
1” Elastic, measuring half the width of your waist, plus 1” for overlap
Matching thread
Sewing machine
Scissors, a chalk marker, ruler, etc.
Pins or clips
Safety pin to thread the elastic
Measuring tape
Pencil and paper to create your pattern
Scrap fabric for pockets
Pocket pattern piece
Pockets
If you don’t want to self-draft a pocket piece, here are a couple of easy ways to find a pocket pattern.
Grab a pocket piece from another sewing pattern you already own. Most skirt, dress, and pants patterns usually have a pocket. Check your envelopes to find an in-seam pocket pattern piece.
Look online for a free PDF one. A quick Pinterest or Google search will give you lots of patterns.
Cut 4 pieces from some matching or contrasting fabric scraps. Sometimes it’s fun to have colorful pockets. Use solids, patterns, polka dots, or cut animal print fabric for your pockets. Make it fun!
Pocket pattern and yellow fabric for the pockets.
Skirt Instructions
Measure the length from your waist to your leg (calf, above, or below your knee) that you want your skirt, then add 2-4” for a hem. I wanted to make mine 20” long. So, I cut my fabric 22” long. I used quilting cotton that was roughly 44” wide. I cut my fabric 22” by 44”.
Cut 2. This will be your front and back.
My waist is 35”, so this created a lightly gathered skirt. If your waist is larger, you will have less gathers. If you like lots of gathers you might need more fabric. If your waist is smaller, you will have more gathers.
Pinning the pockets to the front of the skirt.
I measured 1.5” down from the top and made a notch. This is where you want your pocket to be placed. This is customizable, depending on how tall or short you are.
Pin the pocket RST to the front of the skirt. Then sew using a 1/4”-3/8” seam allowance. Press open. Repeat on the other side.
Do the same for the back skirt piece. You will now have two pieces that look like rectangles with floppy elephant ears.
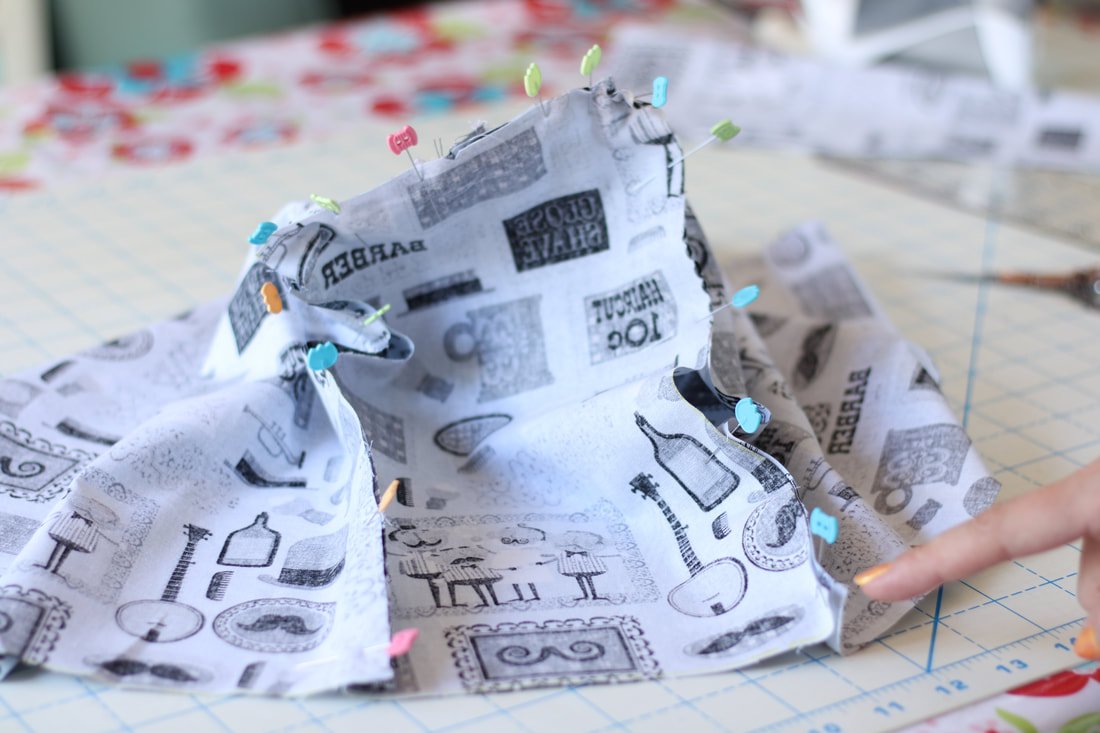
Place front and back pieces RST, and pin the side seam starting at the bottom, going around the pockets, and up to the top. Sew in that order, sewing around pocket pieces. Use a 5/8” Seam allowance.
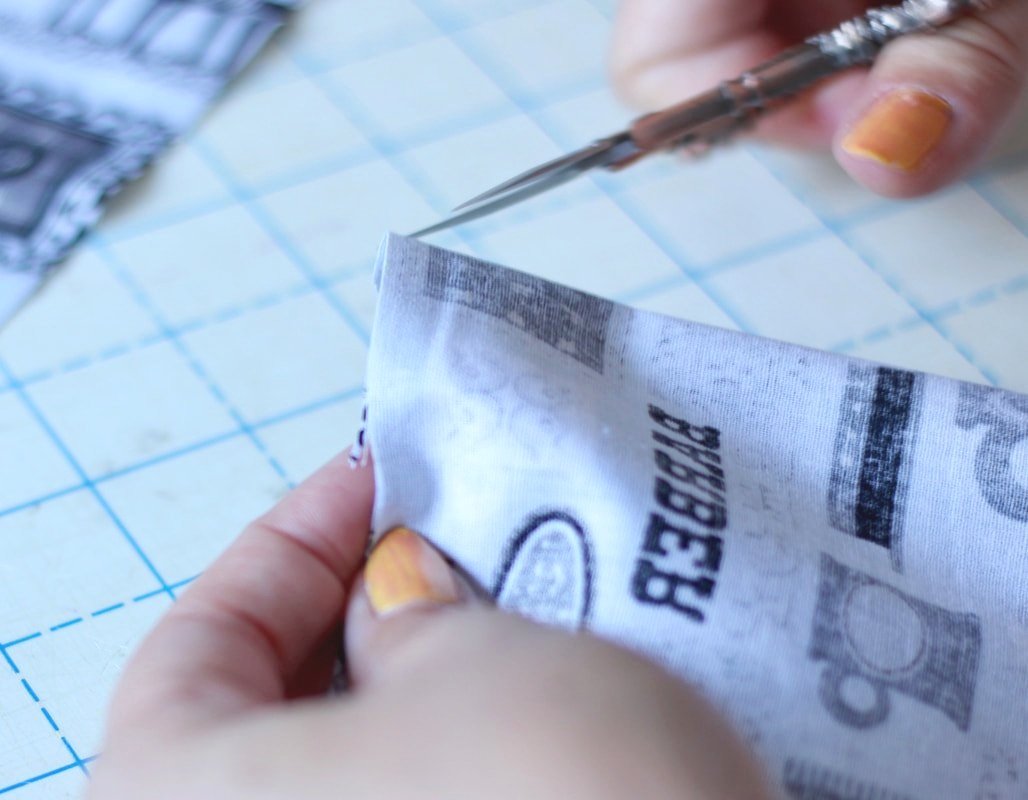
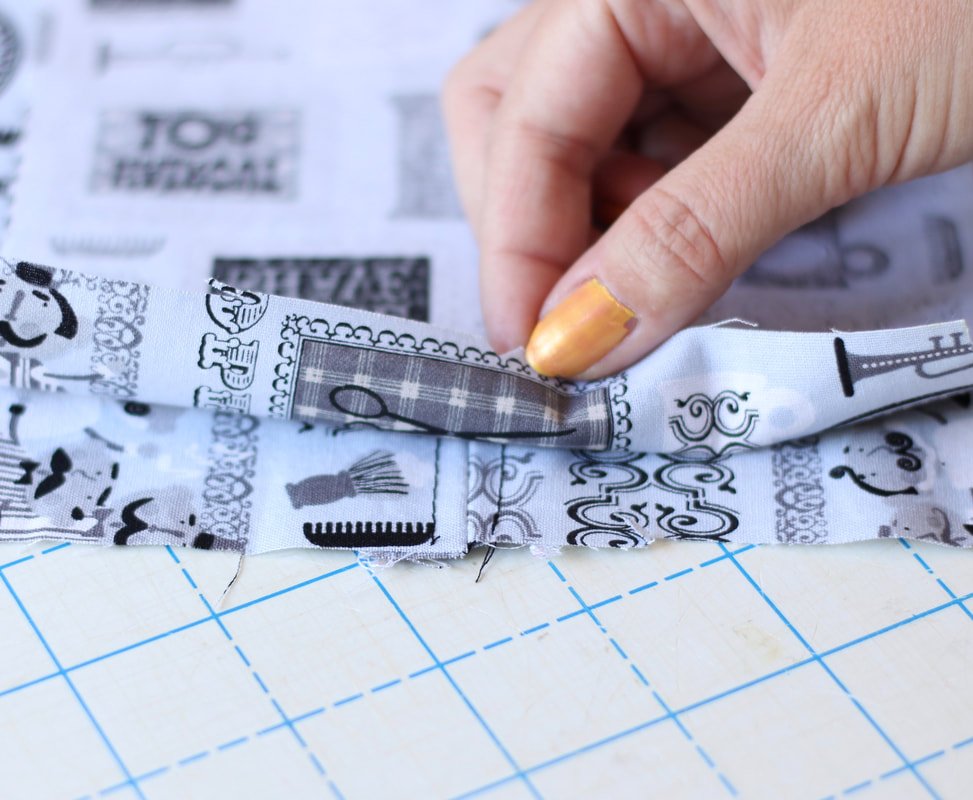
As an extra precaution, I do a few extra back-and-forth stitches at the corners where I pivot for my pockets.
I chose yellow pockets to match the branding for my photography business. I usually wear this skirt when I have a vendor show or meet a new client. It’s a fun conversation piece.
Sew around the pinned pocket. It will get pressed and tuck away nicely within the skirt seam.
You inseam pocket should look something like the one below. Yes, I used the selvedge of my fabric and we all know that’s a big no-no. Shhh, don’t tell anyone.
The pocket is tucked inside nice and neat.
Secret yellow pocket.
Gathering your skirt.
Sew 2 rows of stitching along the top with a 5-7mm length. Pull to gather the skirt. Go slowly so you don’t break a thread.
Waistband Fun
Time to sew the waistband. This part is a little more tricky than a regular waistband. You’re going to gather the back with a piece of elastic while leaving the front flat. It gives a nice look while adding comfort.
Cut the front waistband strip half your waist measurement, plus 1” for seam allowance. If your waist is 30”, cut the piece 16”.15”+1”=16”. Use a 1/2” seam allowance for the waistband. I like easy math.
I made my waistband 2.5” tall, this is completely customizable for you and what you want.
Example: Cut 2 front strips 16” wide by 2.5” tall.
Add interfacing to one strip, this will be the outer piece.
Sew right sides together, along the top long edge, only. Press open.
Making your waistband.
For the back waistband piece, you’ll cut 2 strips the same height, 2.5” (or your preferred height) by the fabric width measurement.
I cut mine 2.5” by 35”. The width can be fudged a little here, it’ll be gathered anyway. Sew along the top with the 2 pieces facing RST, just like you did with the front waistband. Press open.
Pin and sew the short sides of the waistband pieces together, creating a super-duper long loop. Press the seams open.
Pin the waistband to the skirt gathers, starting at the side seams.
Pin your waistband strip to the skirt along the gathered top.
Pin at the side seams first.
Then, pin the front waistband piece along the front skirt.
Fold the back piece in half and mark it with chalk. Pin that to the center back of the skirt. This can be finicky because you’re pinning 2 gathered pieces to each other, go slow and it’ll work out. Use lots of pins or clips.
You can hand sew the waistband- which is the correct way but, hand sewing is not my favorite thing. I turn the edge under on the inner waistband and pin it from the outside, making sure I catch the seam.
Pin from the outside and remove the pins as you stitch in the ditch.
Tricky Part of the Waistband
Stitch in the ditch when sewing the waistband. This means keeping your needle in the area where the waistband and skirt meet up. It’s a hidden stitch.
Make sure to leave a 2” gap in the side seams for inserting your elastic.
Use a bodkin or safety pin to insert your elastic.
Use a safety pin or bodkin to insert your elastic into the waistband. Insert through one open side seam.
When you get to the other side, stitch over the side seam to lock the elastic in place. Repeat on the other side. Gather back fabric evenly, then stitch to close the openings.
You are “locking” the elastic in place by sewing over it, on the side seams. The elastic will only go in the back of the skirt.
The front looks nice and flat, the back is gathered for comfort.
Closer look at the gathered back waistband.
Front waistband is flat.
The hem is the easy part. Fold your hem up however much you want1-2”, then press, then fold up again 1-2”. Pin, and stitch using a 3-3.5mm stitch length. I chose to do a shorter hem here, but I usually do a 2” hem.
I love my skirt! I made this to wear when I have events for my photography business. I usually pair it with a yellow top to match my branding. It’s simply perfect!
What do you think? Do you plan on making a skirt with elastic in the back? I call it a mullet skirt. Business in the front, comfort in the back. LOL
Happy sewing,
Annette
Back of the skirt hanging on my dressform.
Front of the skirt on the dressform.
Cat Mug Rug
Sew a cat-shaped mug rug. These make perfect gifts for parents, neighbors, teachers, and anyone else who drinks warm drinks. Great scrap-busting sewing project and a free sewing pattern. Sew cat-themed things for the home.
The leaves are starting to fall, the mornings are crisp, and evenings are getting chilly. It's almost sweater weather! If you love fall, I bet you dream of warm mugs filled with cocoa, hot tea, fancy coffees, or hot toddies. I know I am. Cue the cat mat, rug mug, or coffee coaster; you decide the name of it. I want to share a cute kitty mug rug pattern with you all. Here is an easy, beginner-friendly sewing project you can whip up in an hour. It’s a great scrap-buster project too.
A mug rug will help protect your kitchen table from the heat of a hot beverage. With the holidays approaching, these would even make perfect gifts. Neighbors, moms, uncles, friends, and teachers will love them. They can also be great for kids. Add a hot cocoa packet inside a cute mug for an easy holiday gift.
I kept this post simple and short. Less time reading, more time for sewing. Let's go!
Supply List
Large scraps of cotton fabric, or 2 fat quarters
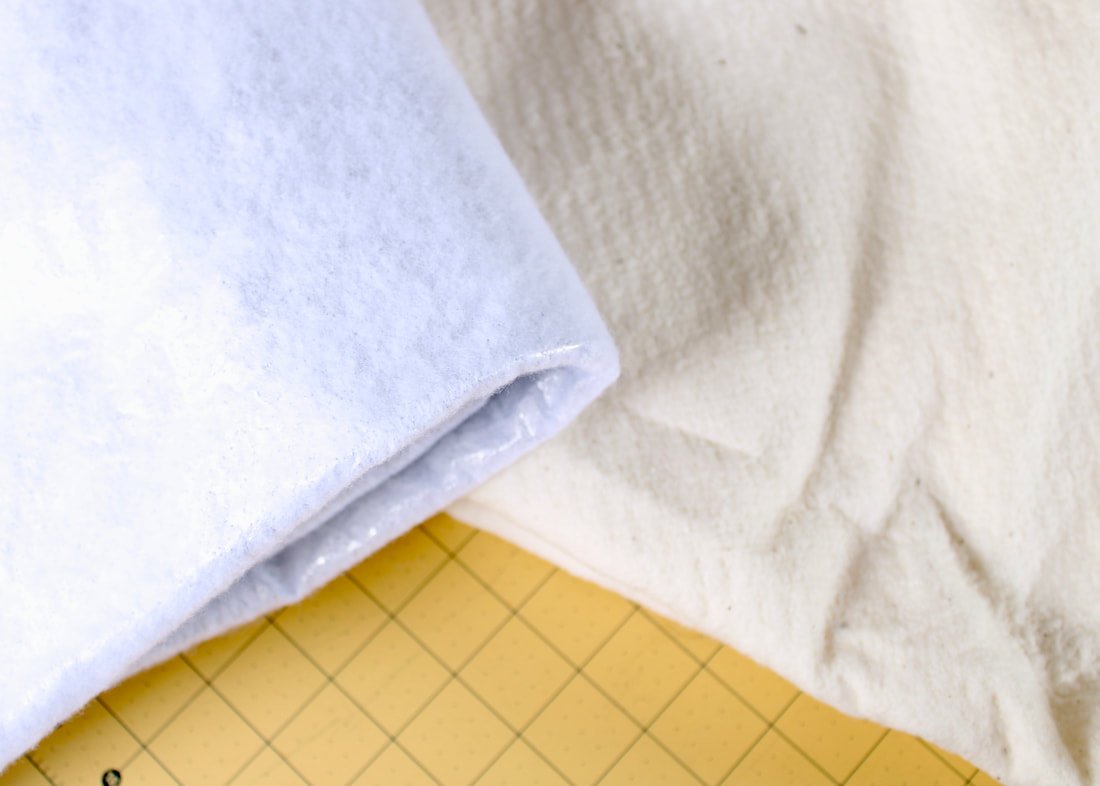
Batting. You can use quilting batting, Insul-Bright, Wrap N Zap, or fusible fleece
Clips or pins
Sewing machine
Air soluble pen
Scissors
Cup of something hot to place onto the mug after it's sewn :)
The finished size is approximately 6.5" wide by 6.25" tall.
Cut and Trace the Pattern
Print and cut out the PDF pattern with non-fabric scissors.
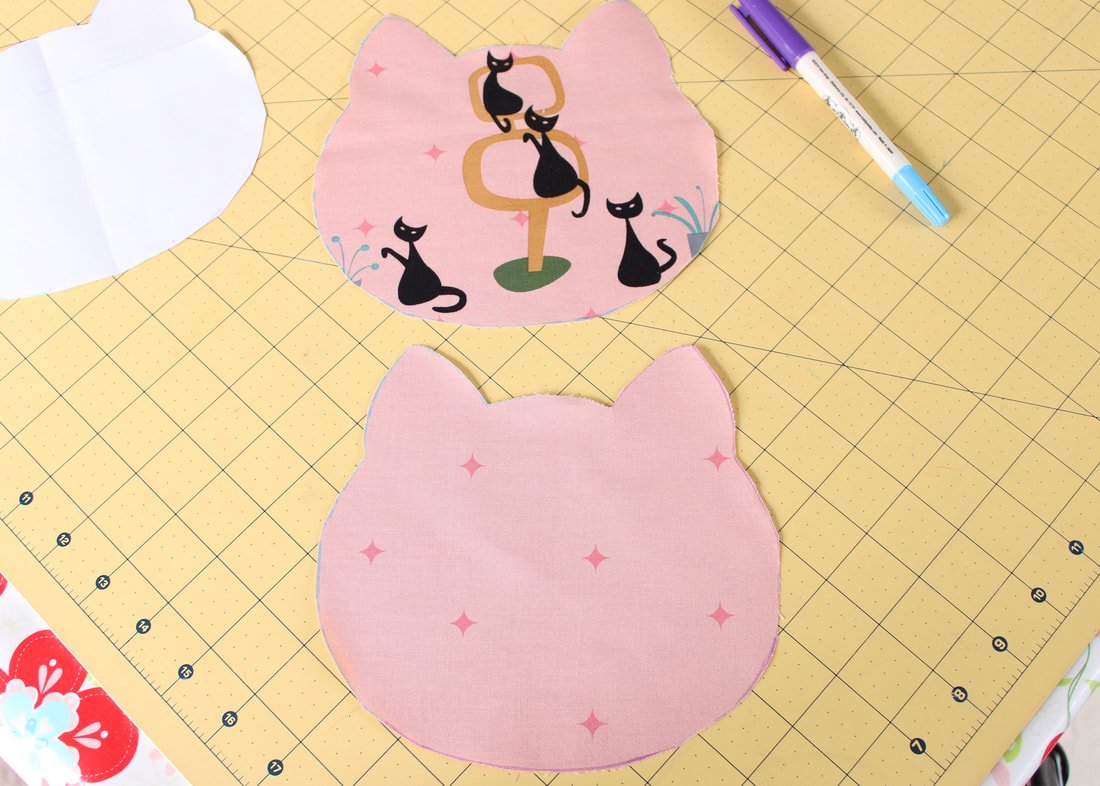
Place the pattern onto the fabric and trace it with an air-soluble pen or other marking tool. Transfer the markings onto your fabric. Trace and cut 2 pieces of fabric.
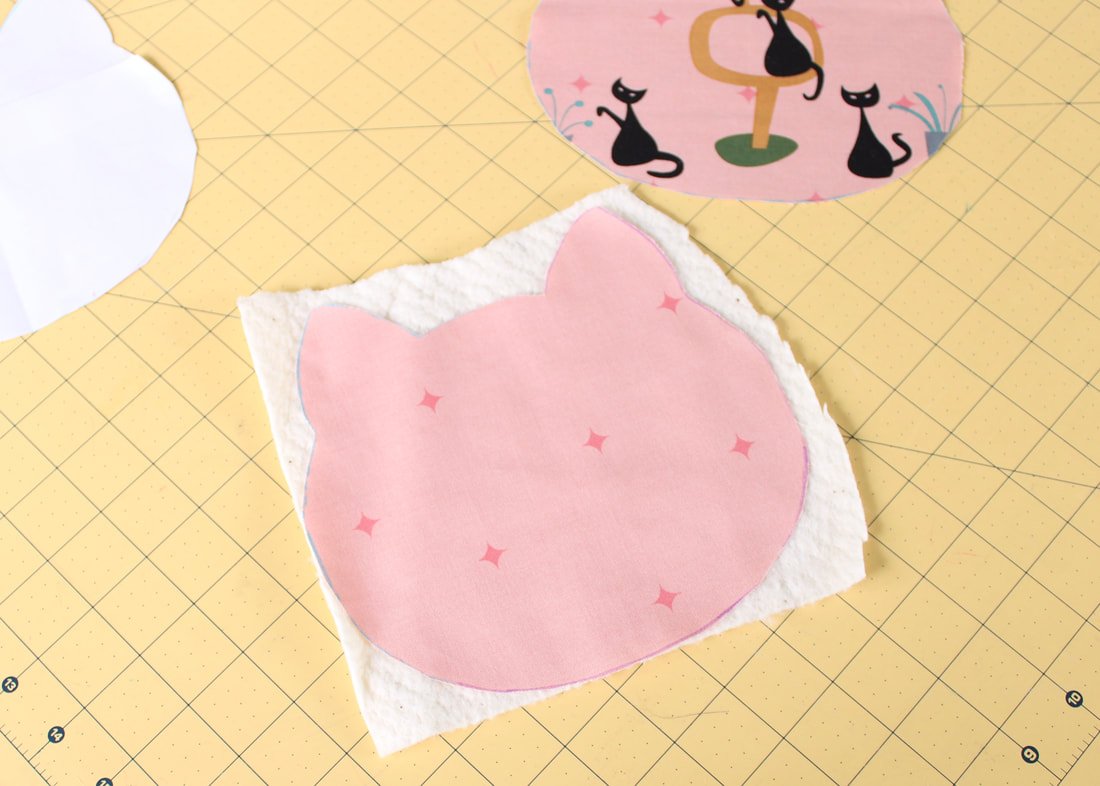
Cut out a piece of batting. (I prefer to cut it larger than the fabric because it will shift during sewing).
Pin Layers Together
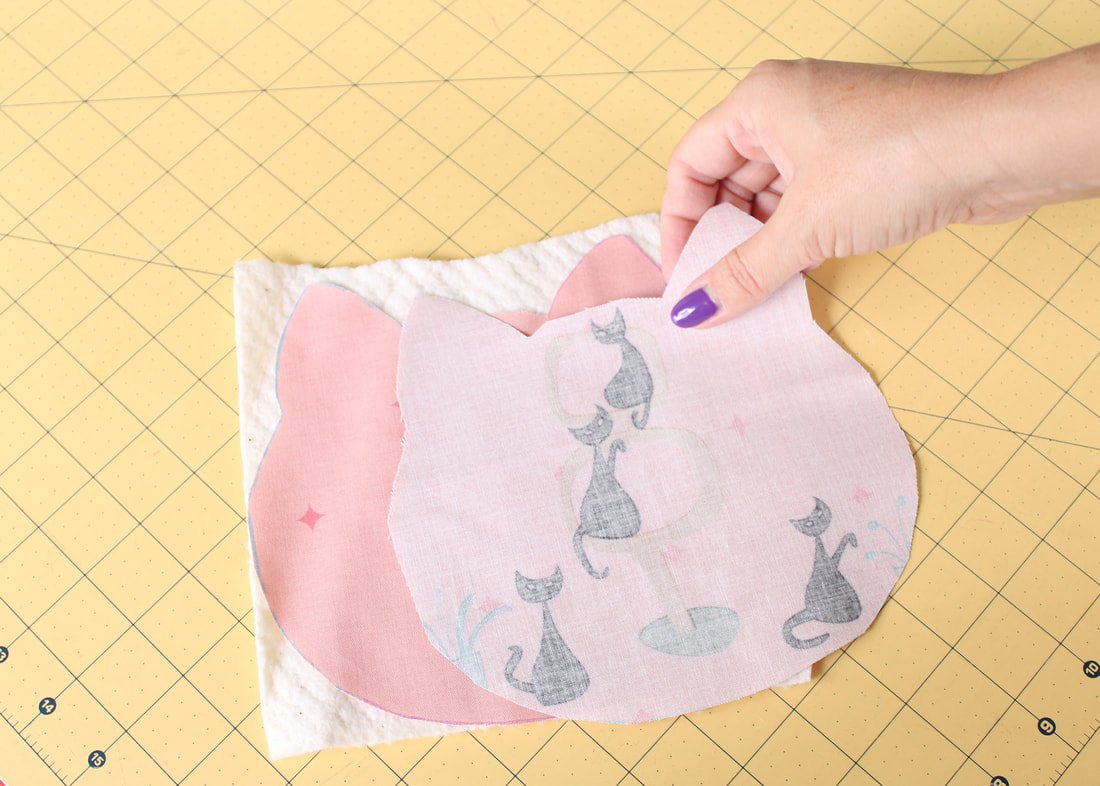
Place the batting onto the table. Then, place the wrong side of the fabric onto the batting. Take the second fabric and place it right side facing down. You'll have a fabric sandwich now. The 2 pieces of cotton will be facing right sides together. Pin or clip the 3 layers together.
Batting, fabric, fabric.
A note on batting: if you use Insul-bright or fleece, do not put your mug rug in the microwave. Fleece is polyester and will melt. Insul-bright has metal and will spark. If you plan on putting your coaster in the microwave, use cotton quilting batting or Wrap n Zap only.
Sew it Together
You'll sew the mug rug using a 1/4" seam allowance. Start sewing at one of the marked spots on the bottom, don't forget to backstitch. Sew all the way around. Go slow around the cat ears, it can get tight. Backstitch when you get to the other marking. You should have a small opening for turning out.
Clip your threads.
Sew from one bottom end, backstitch, then sew around to the other side, backstitch. Leave a gap open for turning.
Clip Curves and Turn Out
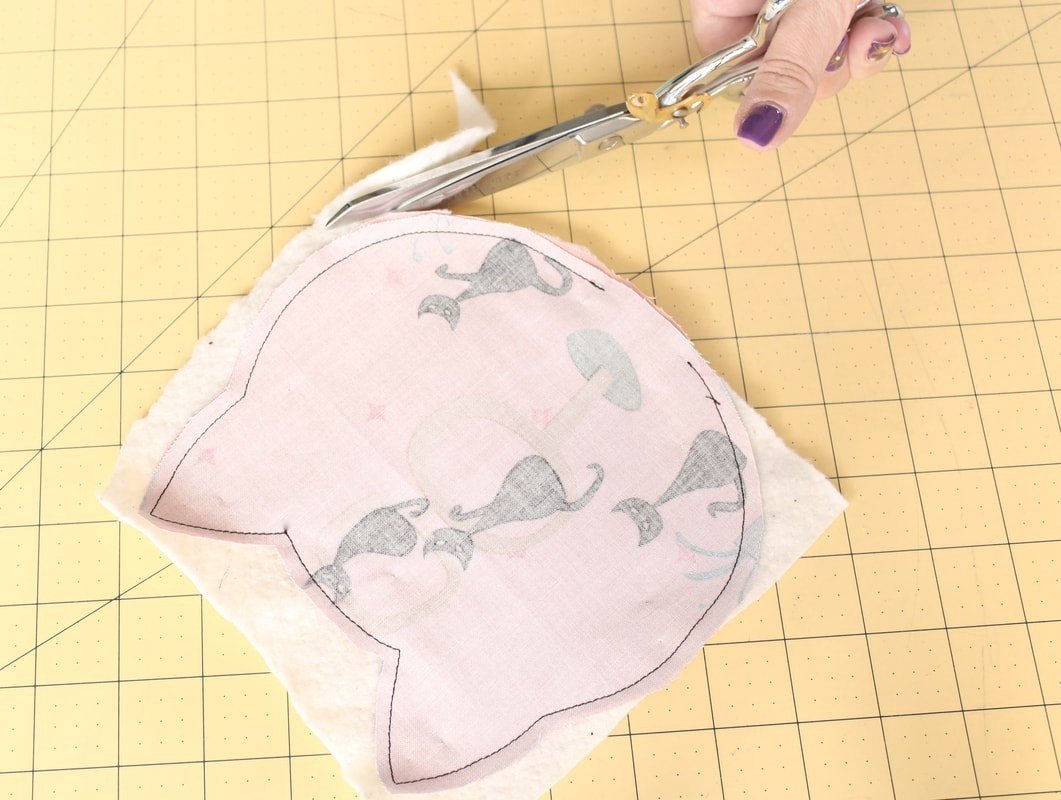
Trim away the excess batting.
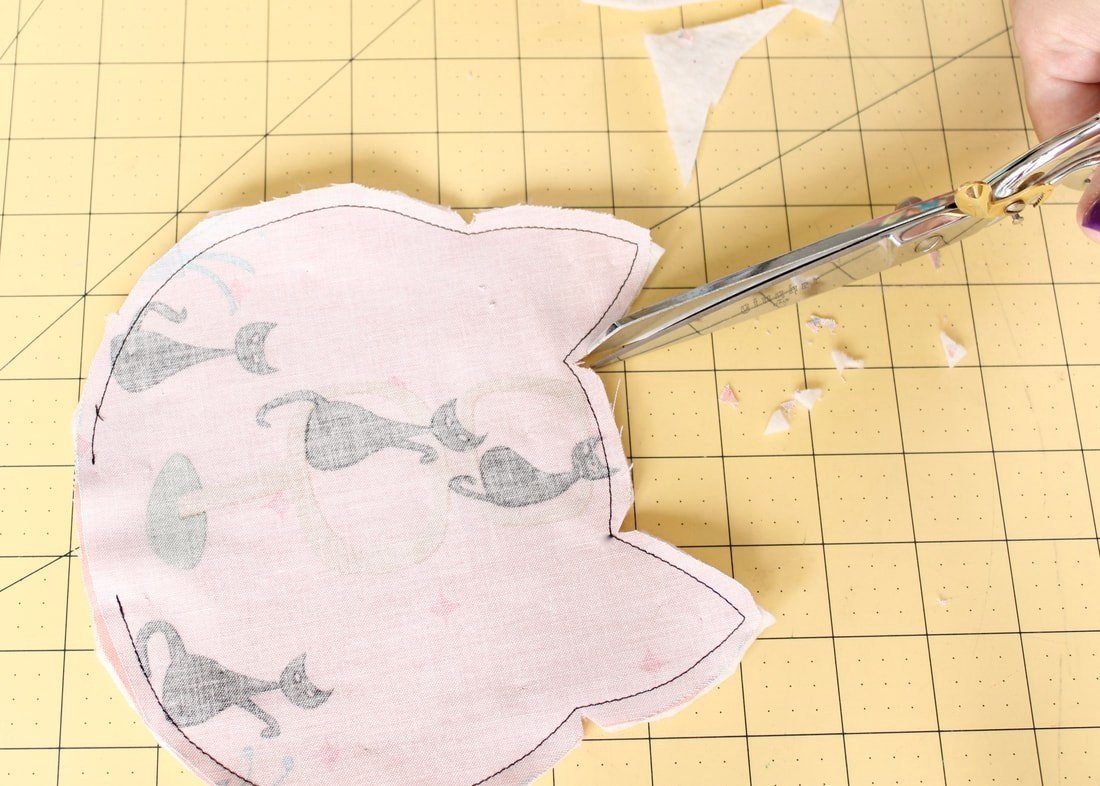
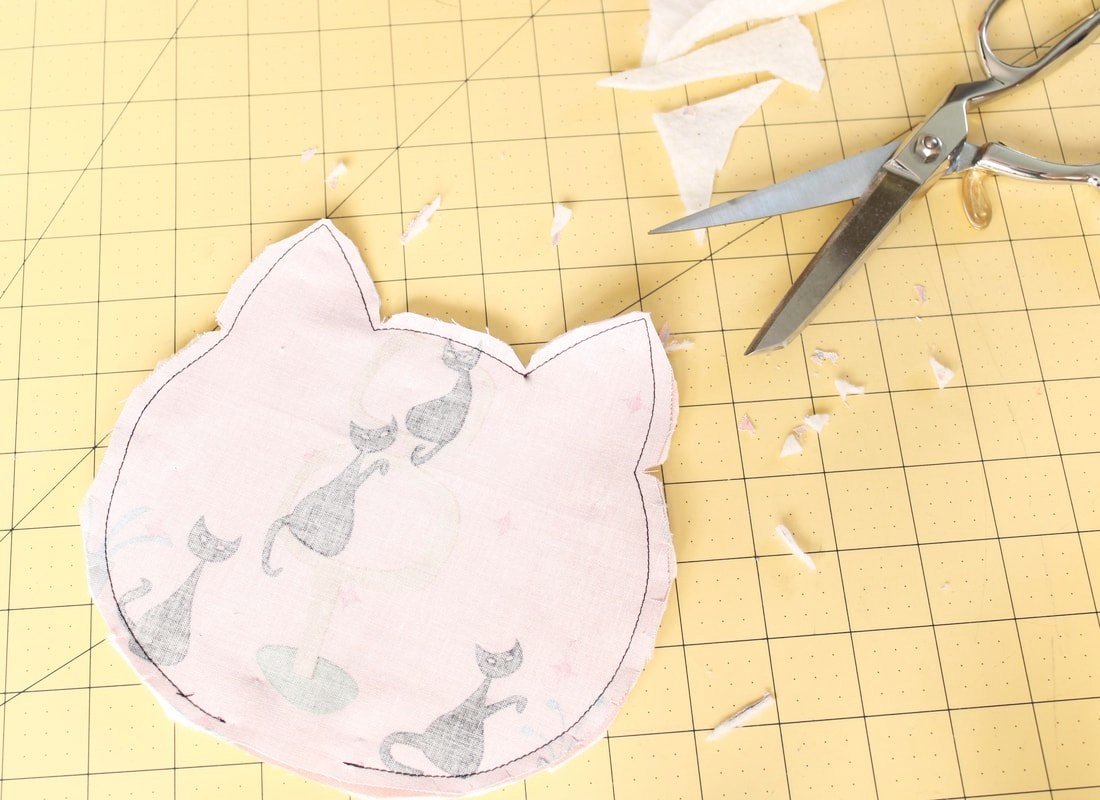
Clip the curves and trim the corners. Clip the sides and top of the cat head. Cut tiny triangles into the inner curved areas near the ears. This makes them turn out nicely without any bunching.
Grab a chopstick or blunt pencil to poke out corners and seams. Press nice and flat.
Tip: Use the chopstick in one hand to push the seam out, while using the iron in the other hand to press. This is the same pressing method I use to make my wide Rockabilly headbands.
Use a chopstick to push out corners.
Topstitch around entire mug rug to close the opening.
Finishing Up
Give the whole mat a good press. Top stitch the opening closed, be sure to backstitch at the beginning and end. Or, you can top stitch around the whole coaster. Stitch using 1/8"- 1/4" from the edge.
You're all done! Now go brew a cup of something warm and tasty, and sip in style. Make one for each holiday or day of the week.
Extra Tips:
Make a few different sets of these to give as gifts. Wrap them with themed ribbon or twine. Add a fun, informative tag to let the recipient know what they are. Using themed fabric can make it extra personal. If your sister-in-law is a nurse, use medical fabric. If someone is a book lover, use their favorite movie or some comic book fabric.
Add some rick rack to the front or seam for added color.
Piece together and quilt to use up tiny fabric scraps.
Add piping to the outside. Go slow around the cat ears because it can get really tight on the inside corners.
Use 2 different fabrics to make it reversible.
A word of caution, these mats are made for beverages that are usually dark in color and can stain. I wouldn't recommend using white or really light-colored fabrics. Fabrics that are dark or heavily patterned work the best. Think of fabrics that will hide stains easily.
Wash your cat coasters with cool water, gentle cycle, tumble dry low, or air dry. Give them a good press if needed. I keep one near the coffee pot as a spoon rest, too.
Cheers to cat mug rugs.
Enjoy the pattern! And, enjoy sipping a cup of something delicious while you use this cute cat mug rug on your desk or table.
As always, thanks for stopping by, and happy sewing!
Annette
DIY Easy Sewing Machine Cover
Sew a cover for your sewing machine. Free pattern that’s easy and customizable. Sewing machine tutorial pattern on how to sew a cover.
Is your sewing machine looking a tad boring? If it's a newer sewing machine, the answer is probably yes. The newer ones lack style and color. If it's a vintage machine, the answer is probably no. It's already gorgeous and full of vintage flair! Either way, let's add some new life to your machine with a dust cover. They're easy to sew and you can make one for all of your machines.
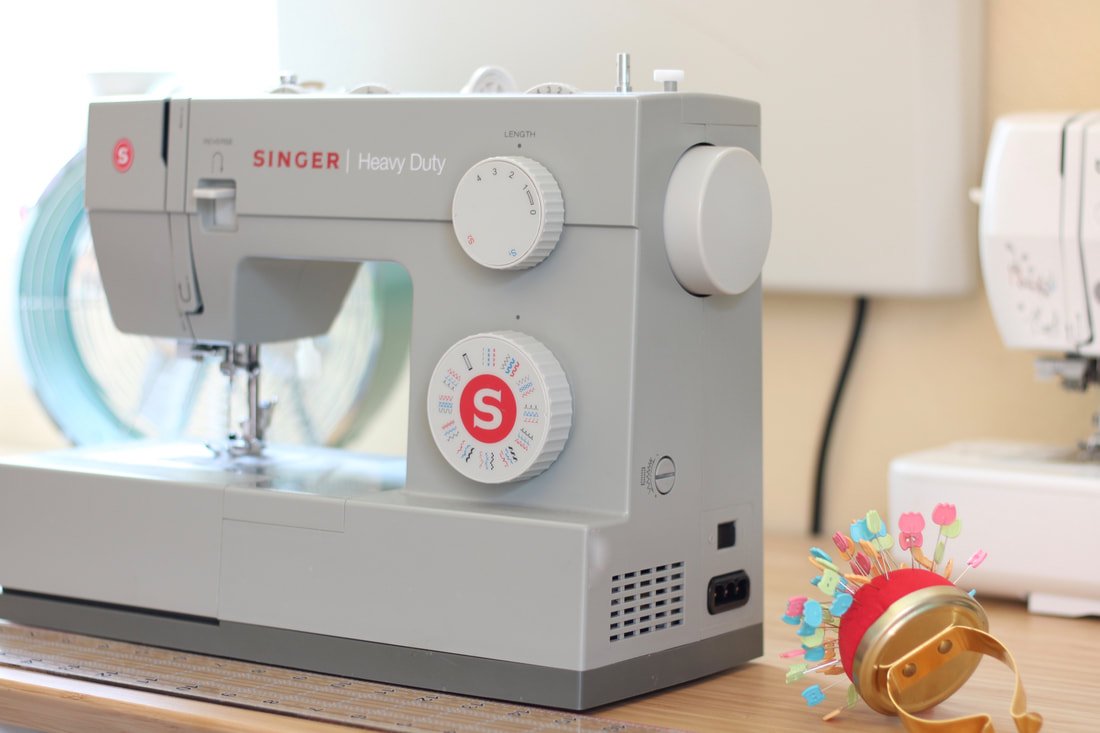
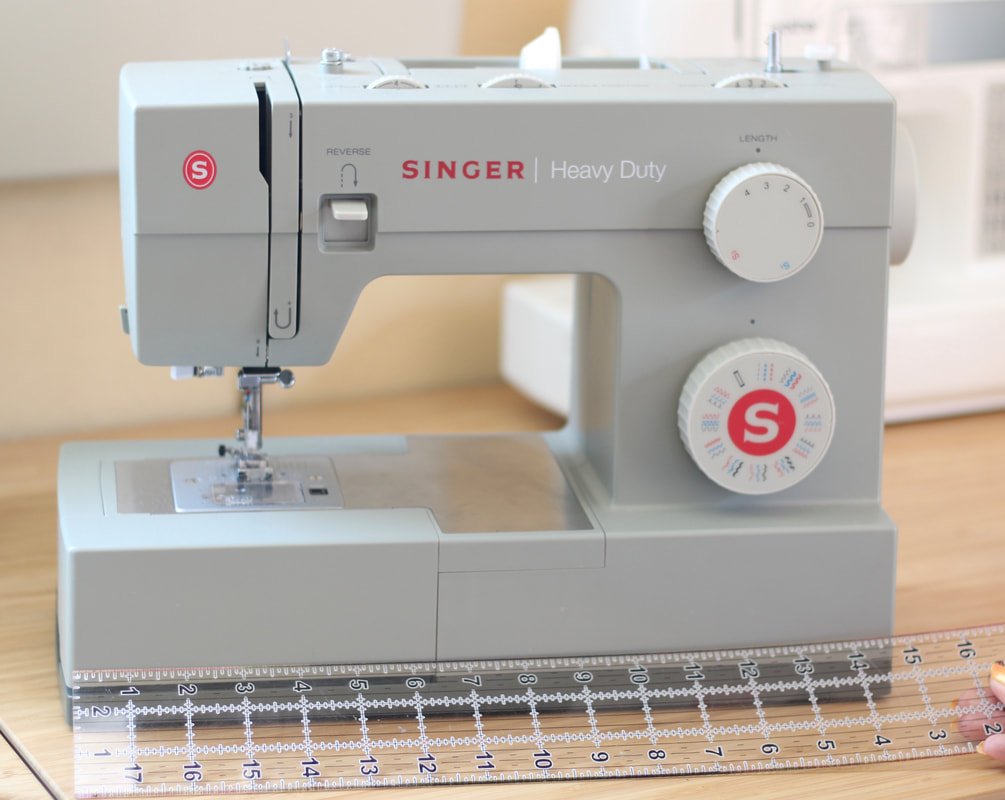
Back in the early pandemic days, mask-making was a big thing in this house and my husband bought himself a Singer machine. I'm a Brother fan through and through but, he liked the Singer's grey color. Of course, it's been sitting for over a year, untouched, and needs a little makeover. It's going to get a new fabric cover!
Let's make an easy sewing machine cover. You'll learn how to get the measurements and sew one up in an hour. Covers add fun to your sewing space and they keep your machine protected as well. Dust be gone! Speaking of dust begone, we just changed our AC filters. YIKES! They were long overdue. This is a friendly reminder to change your filters if you have an AC. ;) Go now, I'll wait.
Supply List
1/2 yard of fabric. Cotton, vinyl, canvas, denim, use whatever you want here.
Matching thread
Sewing notions: scissors, a marking tool, pins, etc.
Ruler
Serger for raw edges, or use a zigzag stitch if your machine has it
Sewing machine
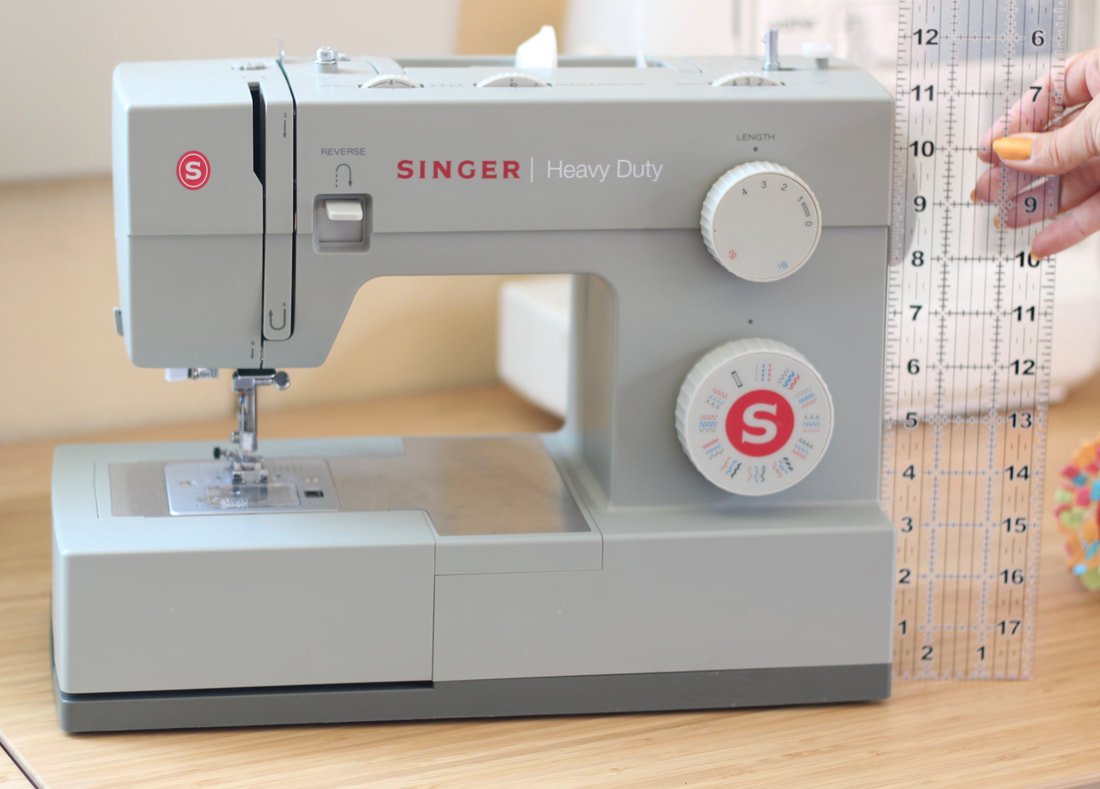
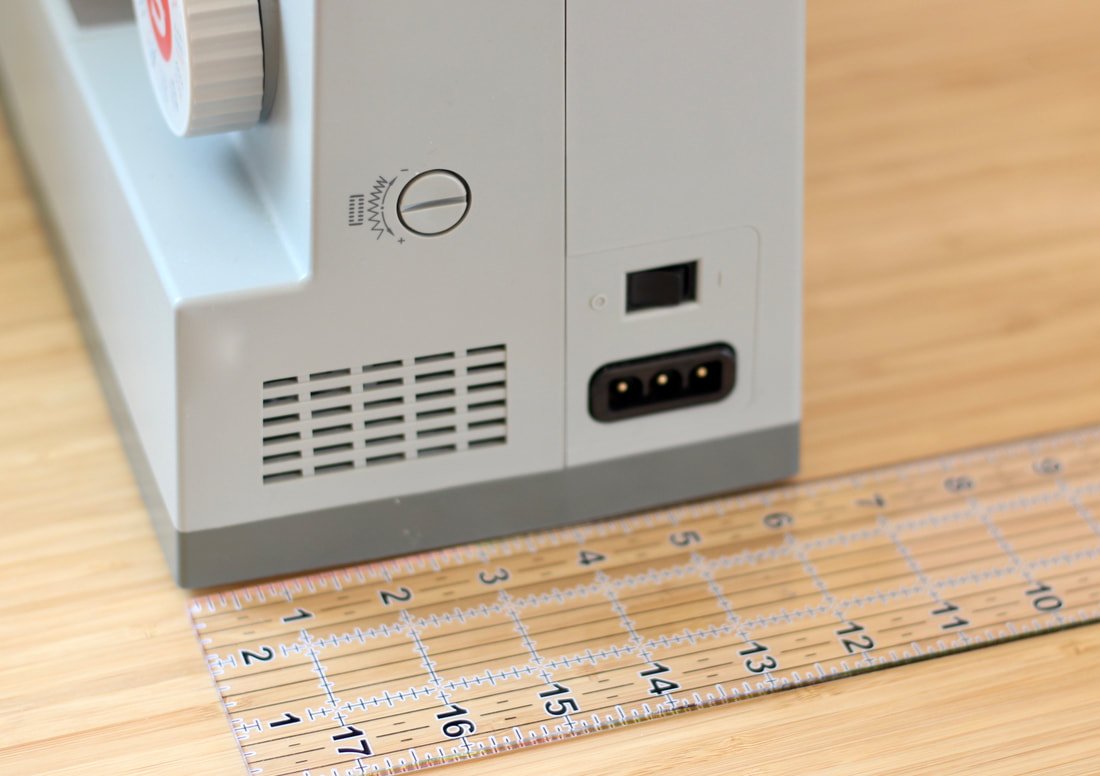
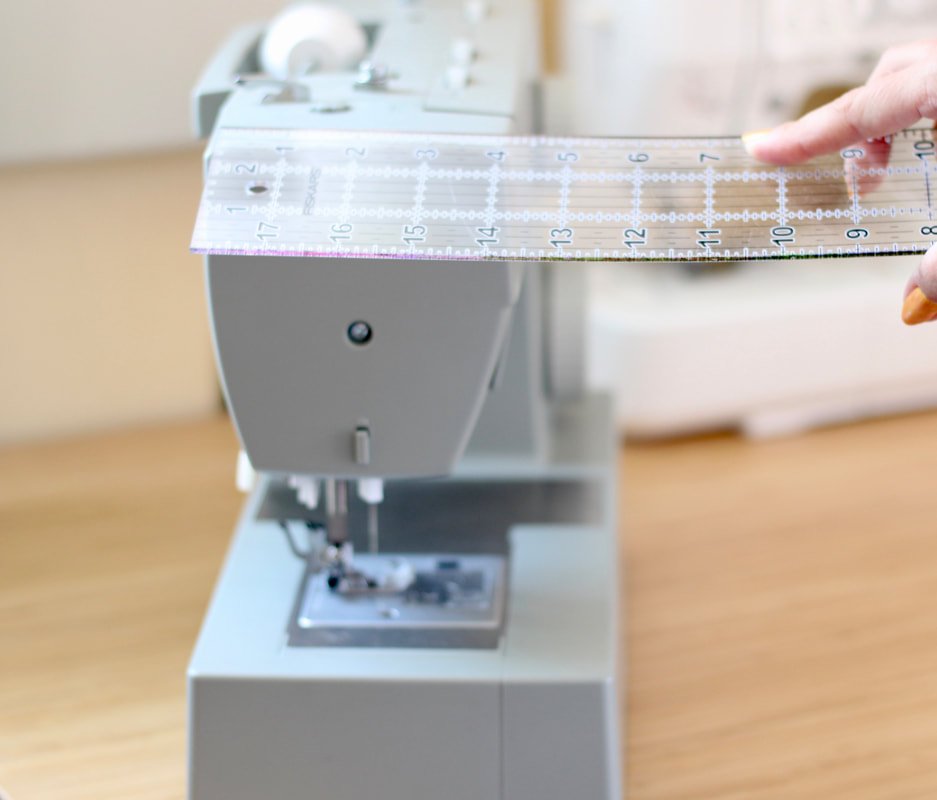
Grab some paper, a pen, and a ruler. You can use a tape measure but, the hard ruler makes it a little easier to get an exact measurement.
Measure all the sides of your machine.
Time for Math, (insert tears here).
Now it's time for some math. I don't do math so, hopefully, I explain this correctly.
You'll be using a 1/2" seam allowance. So, you'll add 1" to each measurement number. (Each seam takes half of that inch.)
My machine is 12" tall by 15" wide. So, I'll add 1" to both of the measurements.
12 + 1 = 13. 15 + 1 = 16. So, my final rectangle will be 13x16. But, we're not done yet.
Next, you'll add 2" to your height. This will allow the front and back to "roll over" the top.
The new measurement will be 14x16. These will be my front and back pieces. Cut 2.
* If your machine is extra deep, you may need to add more than 2" to the top height.
The sides will need 1" added to your measurements.
My side measurements are 6.5" by 4". Add 1" to each and they'll be 7.5" by 5". *If your top is narrower than your bottom, use your ruler to connect the top and bottom lines to form a trapezoid (a pyramid with the top cut off). Cut 2 mirrored. There might be a left and right side due to the angles. ;)
I hope I explained this correctly. Math is not my strong suit, so send me a message or leave a comment if you need help. I'll try my best to help, but no promises. ;) LOL Others might offer help in the comment section too.
Bonus tip
Cut out your 4 fabric pieces. You should have 2 sides and 2 front/back pieces.
This is where you can have fun and make it your own. Cut out four different colored fabrics or use different fabrics for the sides. You could piece together different fabrics to make a quilted look, or add some embroidery to the front. The possibilities are endless.
OPTIONAL:
If you do add embroidery or make a quilted one, you might want to line yours.
In this case, sew 2 covers the same size, pin right sides together, and sew along the bottom edge, leaving a 3" gap for turning out. Top stitch the bottom to close the gap and you'll have the embroidery stitches/quilting seams enclosed.
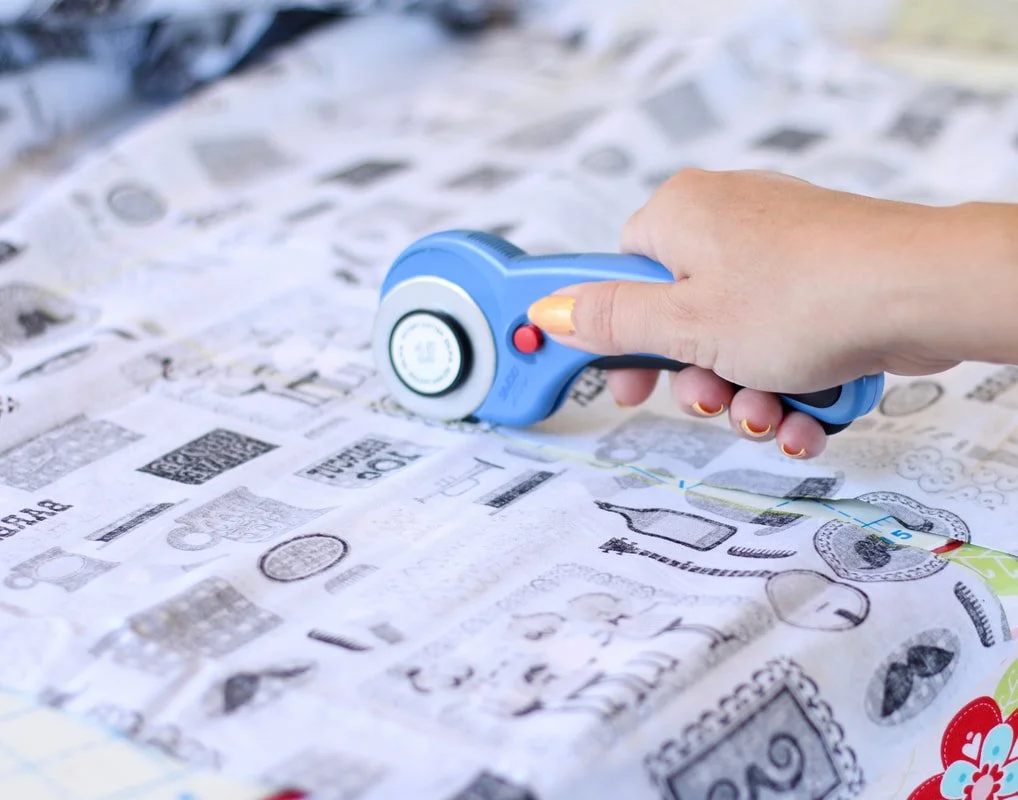
Using the rotary cutter and mat for the rectangles.
Sewing Time
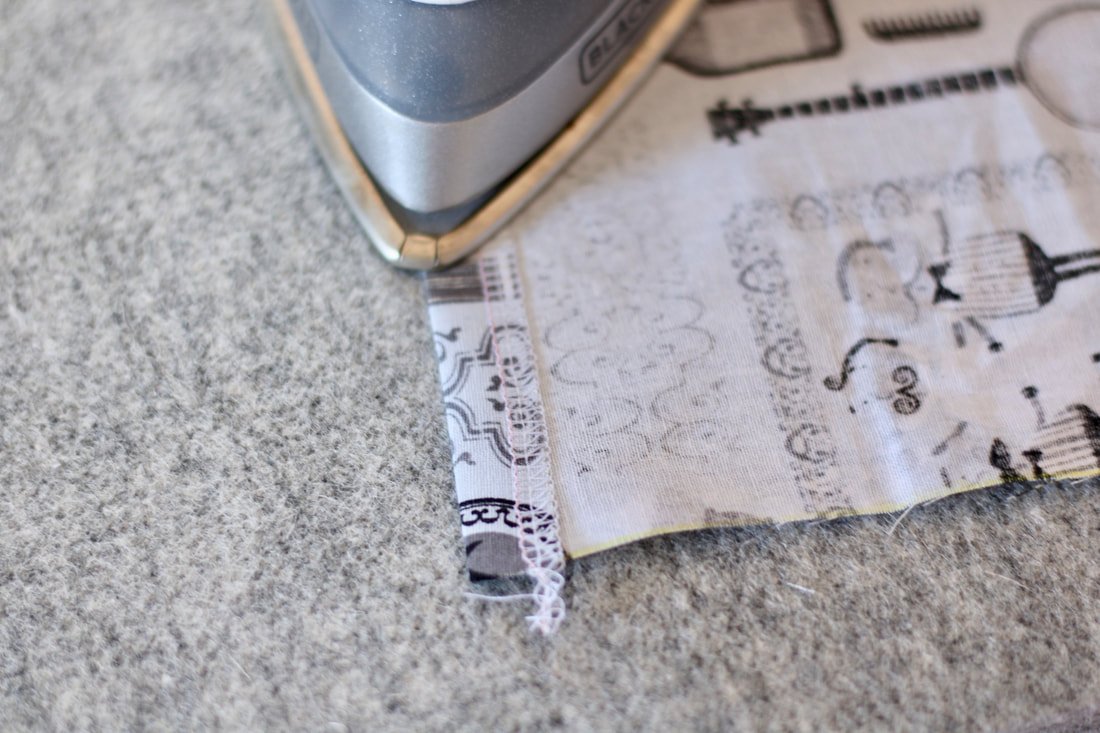
Start by serging or zigzagging along the top edge of the front and back pieces only.
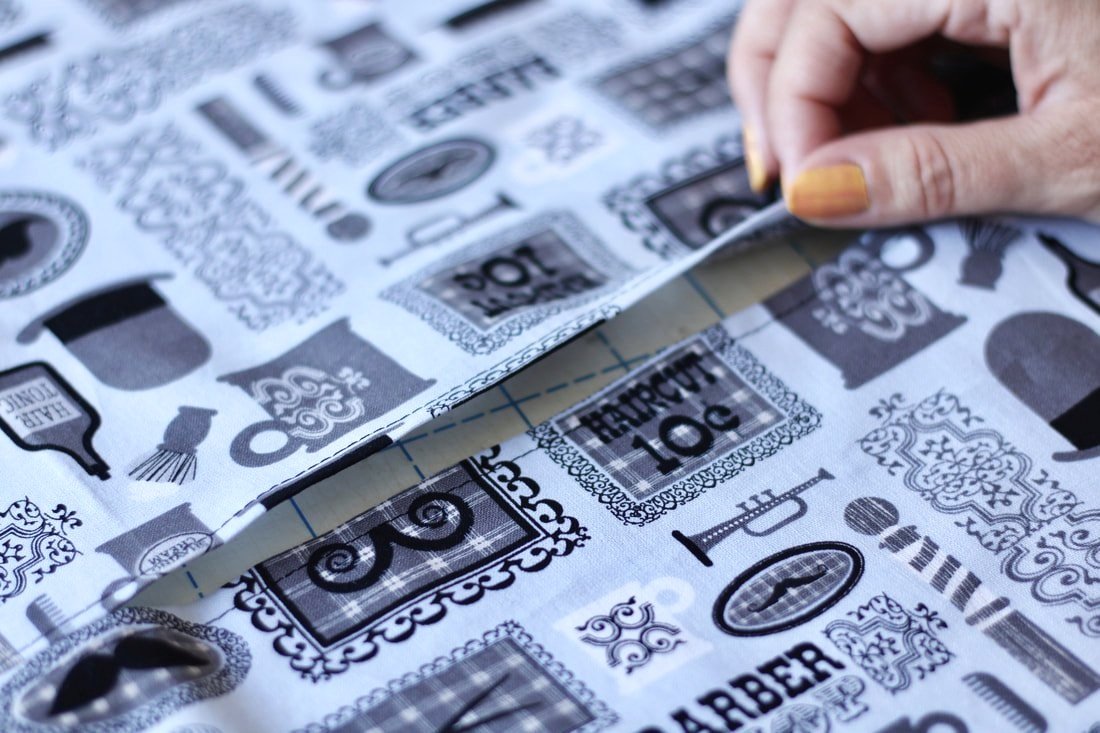
Fold the serged edge down 1/2", then press. Topstitch 1/4" away from the edge. You're going to create a slit opening for your handle. *You can skip this part if you want. But, it's nice to have access to the handle when taking the machine to the repair shop or moving it to another spot in your sewing space.
Place both pieces RST (right sides together) and pin 2-3" from the sides, leaving the middle unpinned. You may need to adjust this measurement according to your machine. Sew from the side edge to the pins, only. Don't forget to backstitch.
The middle will be left open for the handle to pop out of.
Take a side piece, and fold it in half to find the center top. Make a little snip or mark with a pen. Do the same to the other side piece.
Next, pin the side piece to one front/back Right sides together, by starting at the top. Put a few pins at the top, then go down to the bottom and start pinning upwards from there. This ensures your hem matches up. Next, you'll want to ease the curve of your corners. This may get wonky but, pin as well as you can. It doesn't need to be perfect.
Sew, using a 1/2" seam allowance.
It may be helpful to sew from one end upwards as far as you can go. Then, sew from the other end up and around the curve. Puckers might happen, but this way felt easier to me.
After one side is sewn, try it on the machine. Check the fit. Is it too long? Will the other side fit properly? Does it hang like a baggy bag? If there are any issues, fix them now.
If it's too big, make the seam allowance larger. (Use 3/4"-1")
If it's too small, unpick it and make the seam allowance smaller. (Use 1/4" instead)
If it's too long, trim away the excess or make a deeper hem. (Make a 1" hem)
Luckily the sewing Gods were on my side and I was fortunate for mine to fit perfectly. Yay, math was on my side, for once.
If it fits perfectly, move on to pin and sew the other side piece. Go about it the same way you did with the last side piece. After it's sewn, give the seams a good press. Slip it over your machine and admire it for a few seconds.
You're almost done. The hem is all that's left to do.
Serge or zigzag around the bottom edge. Fold up 1/2" and press. Topstitch and you're done.
If the bottom is too short because math is hard, just add a strip of ribbon or pom pom trim. It'll look like you did it on purpose. ;)
Easiest hem ever, serged edge and folded over once.
My husbands sewing machine will be dust free now.
Hole for the carrying handle.
Ta-da! Now go give your sewing machine some flair and keep it dust-free.
If you make one for your machine, tag me on Instagram @sewingtothemoon. I'd love to see what you create. Now, I am off to sew a new cover for my serger.
Happy sewing,
Annette
How to Sew an Ironing Board Cover
Want to spruce up your sewing space? Make your own ironing board cover. Pick out cute fabric that matches your aesthetic. This is an easy, beginner-friendly sewing project that will take less than one hour. Make laundry and ironing fun again, with a personalized ironing board.
Recover Your Ironing Board in About an Hour
Spruce up your dingy ironing board, it's simple and quick. There's one thing almost every sewist says, "I only iron when I sew." That rings true for me 95% of the time. I'm not a big fan of wrinkles so, I do iron the occasional laundry basket of clothes. However, my ironing board lives in my sewing space. Unless we have people over, it hangs out in sewing land.
There's nothing fun about pressing open seams on a musty crusty ironing board, am I right? I've bought countless pads for my board over the years. They've worked fine enough until they flatten and get ugly. It was time to make my own cover.
After going down the rabbit hole that is Google, I discovered people using felt blankets on their boards or Insul-Bright. You're going to use both for your new cover! No more wimpy covers that leave board indents on your project or, dare I say, laundry.
Your new board will be thick and lofty, oh and it'll look cute too. Yay for pretty things. :D
Are you ready to re-cover your ironing board? Let's do this.
Supply List:
2 yards of pretty cotton fabric, you may end up with some leftover
2 1/2 yards of elastic, 1/2" wide at least
1 wool blanket (buy it new, thrifted, from a military surplus store, or an old one in the closet)
2 yards Insul-Bright
Thread
Sewing Machine
Pins or clips
Iron and ironing board, of course
Ironing boards come in all shapes and sizes. 2 yards for the fabrics should be more than enough. Measure your board length to be sure, don't forget you'll need extra for the seam allowances.
This whole project takes about an hour. You'll be pressing those seams open on a pretty new cover in no time.
Let’s Get Started
Start by removing your old cover and after you've washed it, stuff it inside this floor pillow. ;)
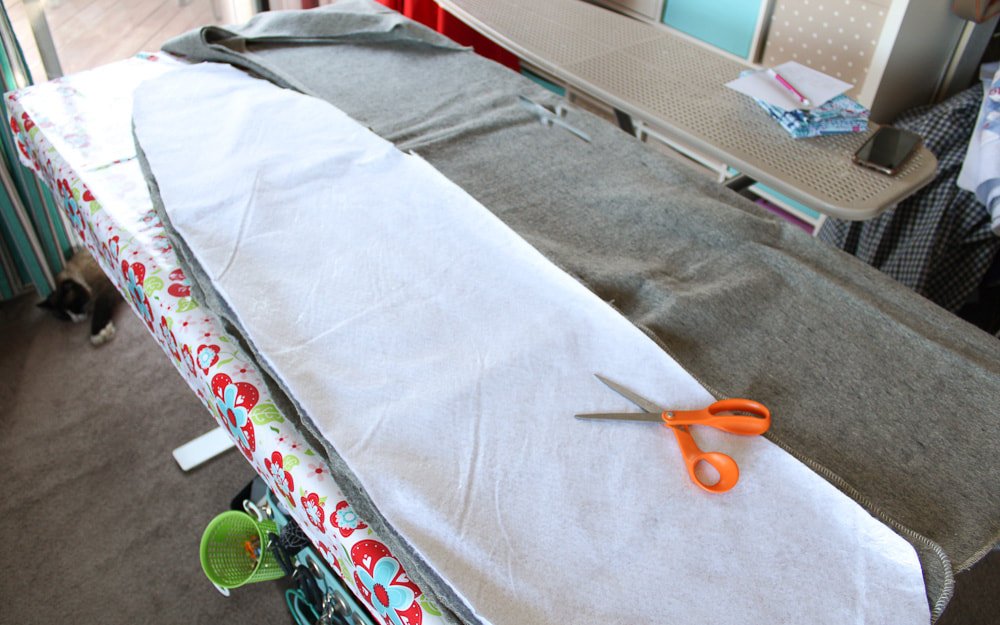
Use the thin foam piece as a cutting guide for the wool and Insul-Bright layers. If you don't have one, just eyeball it. This is an easy project, and it's all about winging it here.
Cut 2 layers from your wool blanket
Cut 1 layer of Insul-Bright batting
I cut the wool and Insul-Bright pieces one inch larger around. Set aside.
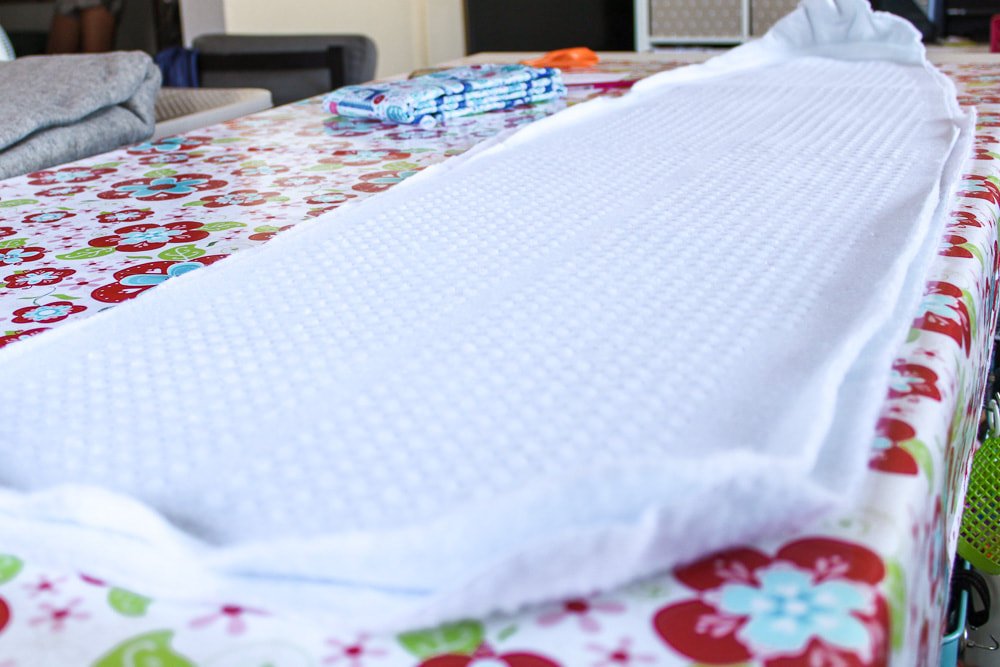
Place the 2 wool layers onto the board, then the Insul-Bright layer on top. Iron over the layers to smooth them out. Look at those wrinkles. Yikes!
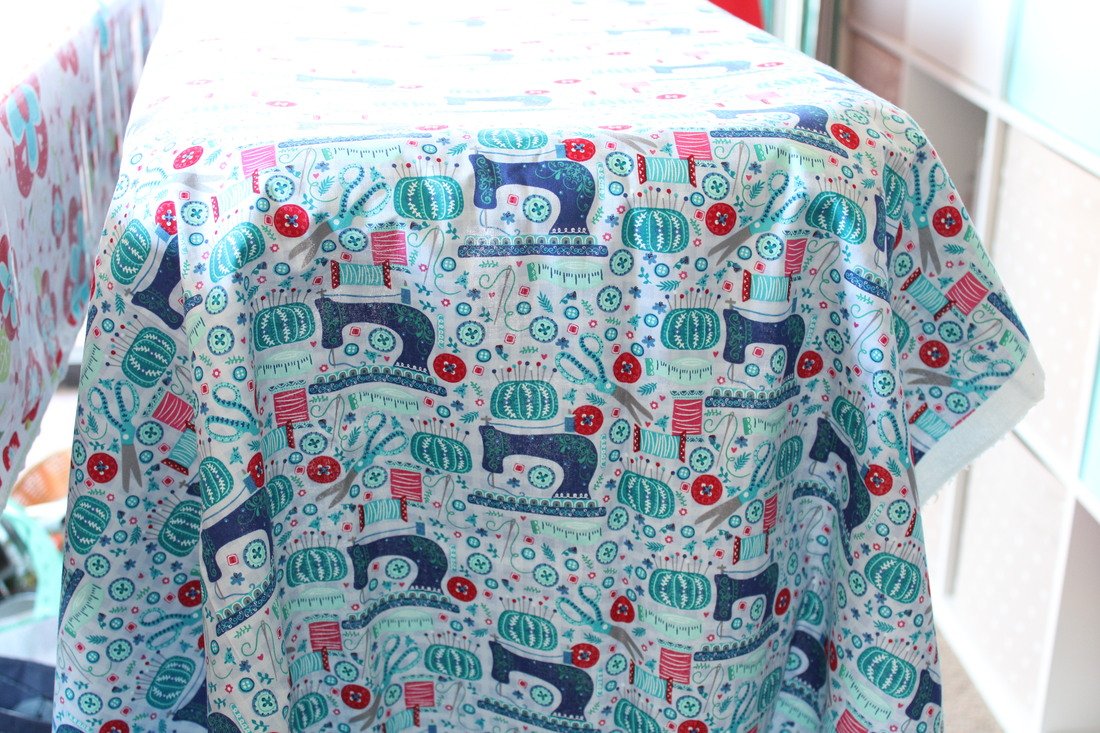
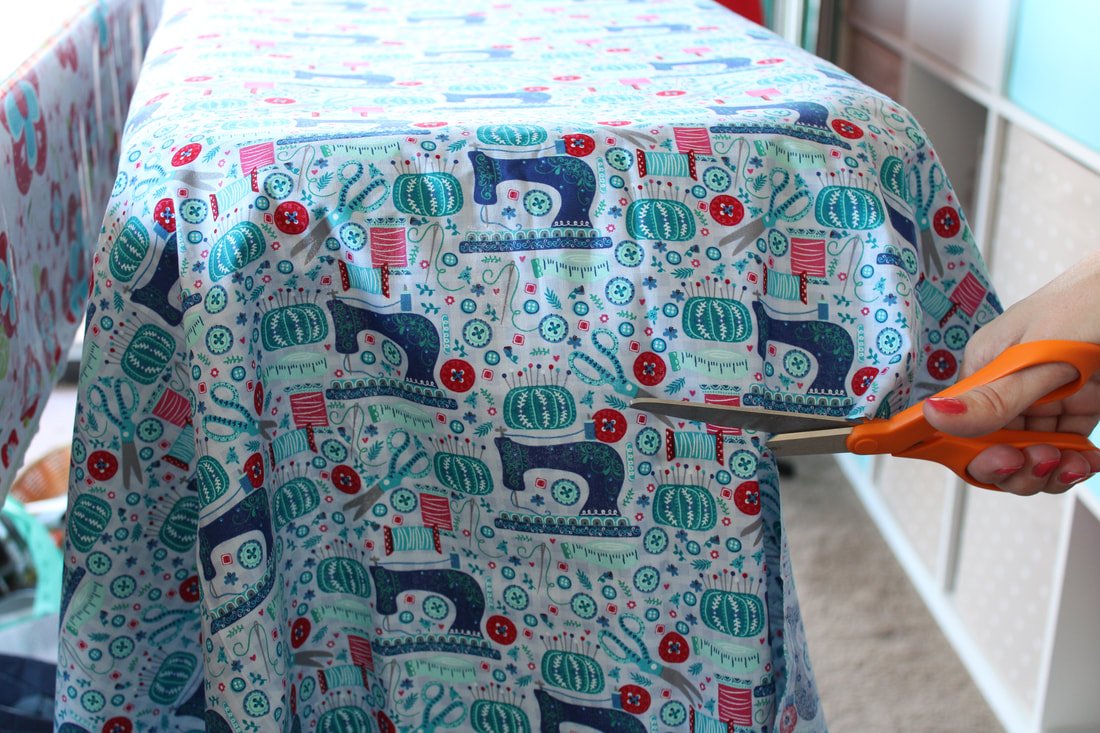
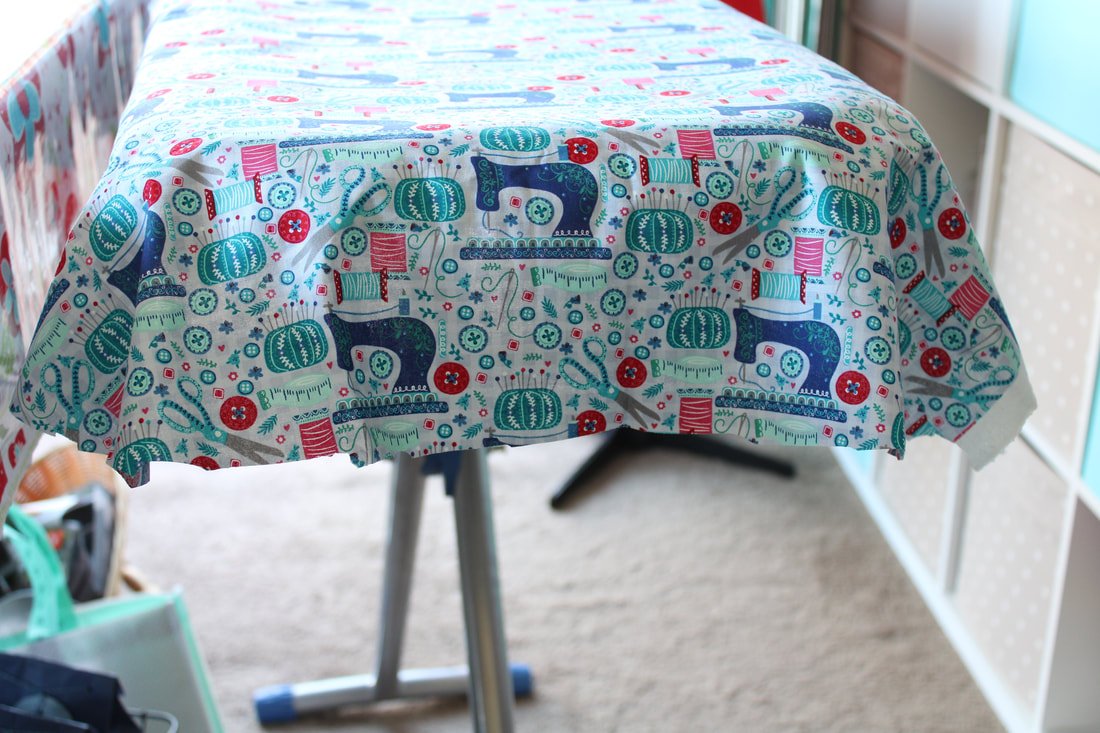
Drape your cotton fabric over the board. You'll want it to hang 4" all around. Give everything a good press, sliding your iron back and forth over all the layers.
Cut your fabric, it doesn't have to be perfect but, make sure your edges are smooth and not jagged. I'm speaking from experience. ;)
Fold it in half and even out the shape.
Fold the fabric corners onto themselves to create curves. Pin. Do the same thing for the nose of the board as well. Then, pin the long edges 1/2" under.
You could pin the whole cover under 1/2" or not. I found pinning helped but, it's up to you.
Sewing Time
Take your fabric cover to the machine. You're going to sew with a 1/2" seam allowance. Use a 2.5 or 3mm stitch length. It doesn't have to be perfect, the seam will get covered.
Sew using 1/2” seam allowance.
Now, grab your elastic. You're going to sew a zigzag stitch over the seam you just sewed with the elastic on top.
Pull the elastic taught with one hand while gently pulling the fabric behind the machine with the other hand. Use a zigzag stitch and sew. You want to pull the elastic tight enough so it will make the cover fit nicely and snug over your board.
Sew the elastic on with a Zigzag stitch. Place the elastic over your raw seam edge and sew, pulling the elastic as you go.
The zigzag stitching isn’t perfect, but nobody will see it except you. The elastic covers the raw edge of the folded seam.
You will have something that looks like mine up above. If not, grab that seam ripper, grab a cup of tea, and start ripping.
If your fabric doesn't fit snugly enough, clip a piece of elastic and attach it on the underside along a long edge. Clip. Then, pull it toward the other side to get a snug fit. Clip or pin. Take it to the machine and zigzag over both ends. You may have to slide it on and off the board a few times to get a perfect fit.
My old cover came with elastic straps that fit like this, except they had a button. That's where I got the idea. I added two elastic strips under the cover. One at the nose and one at the bum. ;)
Yay!! You just made a cute ironing board cover and it will work much better than any store-bought one.
Add a crosswise piece of elastic to tighten the fit. This will sag over time due to the steam. Add a new piece every year or two.
Maybe I'll like doing laundry again with my new, pretty ironing board cover. Nah, probably not!
I've wanted to recover my ironing board for a while, and I'm so happy I finally did it. With the multiple layers, everything presses nicely and quickly too.
Are you excited to make your ironing board cover? Or is it something you'd rather not make? I'm curious, so tell me in the comments below if it's something you're excited to make.
Thanks for hanging out with me today. Now go sew something fun. :D
Happy ironing,
Annette
Looking for something else? Click through the posts below.
Have a ton of fabric scraps? Want to use them up? Sew a floor cushion.
Are you new to sewing and want to jump right in? Read this Budget-Friendly sewing post here.
Is your machine not working properly? It might need a quick cleaning session, find out how here.
Do you love vintage style and want to incorporate it into your everyday wardrobe? Grab this easy free pattern for a vintage headscarf.
Do you have chickens? Yes! Well, you need an egg apron. Grab the free pattern and tutorial here.
DIY Floor Cushion: Stuff Fabric Scraps Inside
Sew your own floor pillow, they are great for game rooms, kids rooms, or even the pets. Sew one and use fabric scraps as the stuffing. These are fun and easy. Floor poufs are the coolest scrap busting projects!
Are you a fabric scrap saver? Do you have dreams of using them up for something? Yes, of course you are. Maybe you don't save them all but, you do save pieces big enough to use for something special. My rule is if its big enough to use for a pocket, it gets saved.
I've discovered the best fabric-busting project of all time. It uses all your fabric scraps up. Okay, it doesn't technically "use" them but, it does put them to use. You're going to sew a simple floor cushion and store all your scraps inside!
You'll want to plow through that list of sewing projects so you can cut into fabric and have more scraps to fill the floor cushion. Whew! Trust me, I'm speaking from experience. ;)
Cozy Meets Functional
The floor cushion itself is not a good scrap buster. You might need to buy fabric to make it. But, it'll free up space in your sewing area, I promise.
I was lucky enough to have leftover grey chenille from my pop-up trailer makeover, so I used that. You'll want to use an upholstery-weight fabric or something similar. This cushion is going to take a beating.
If you have upholstery thread, you can use it here. If you don't, good ole polyester thread works fine. This whole project takes 2hrs give or take. It's a quick sew and gives a huge reward!
My son uses it as a foot rest while he plays videogames.
If you're still on the fence about making one, think ottoman, pet bed, kid's seat, etc.
My cat claims it as his bed when my son isn't using it for his feet. It gets carried from room to room and makes a great coffee table game chair as well. I'm surprised it hasn't been involved in a pillow fight yet.
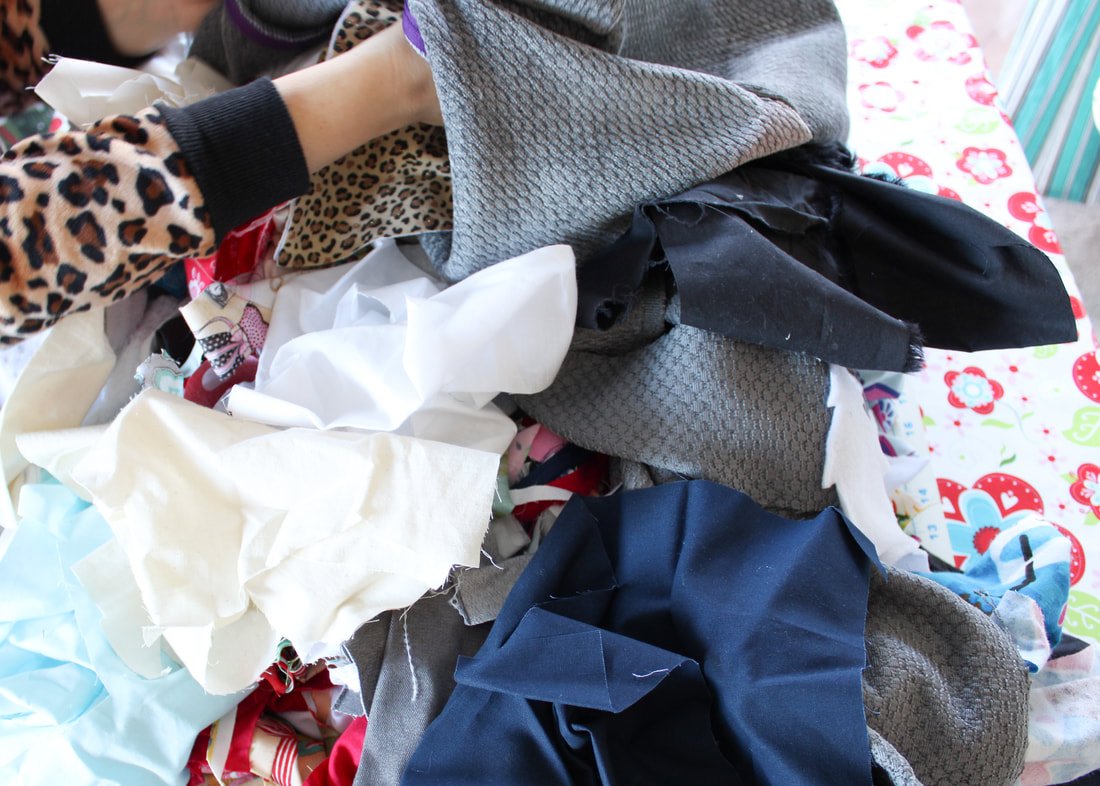
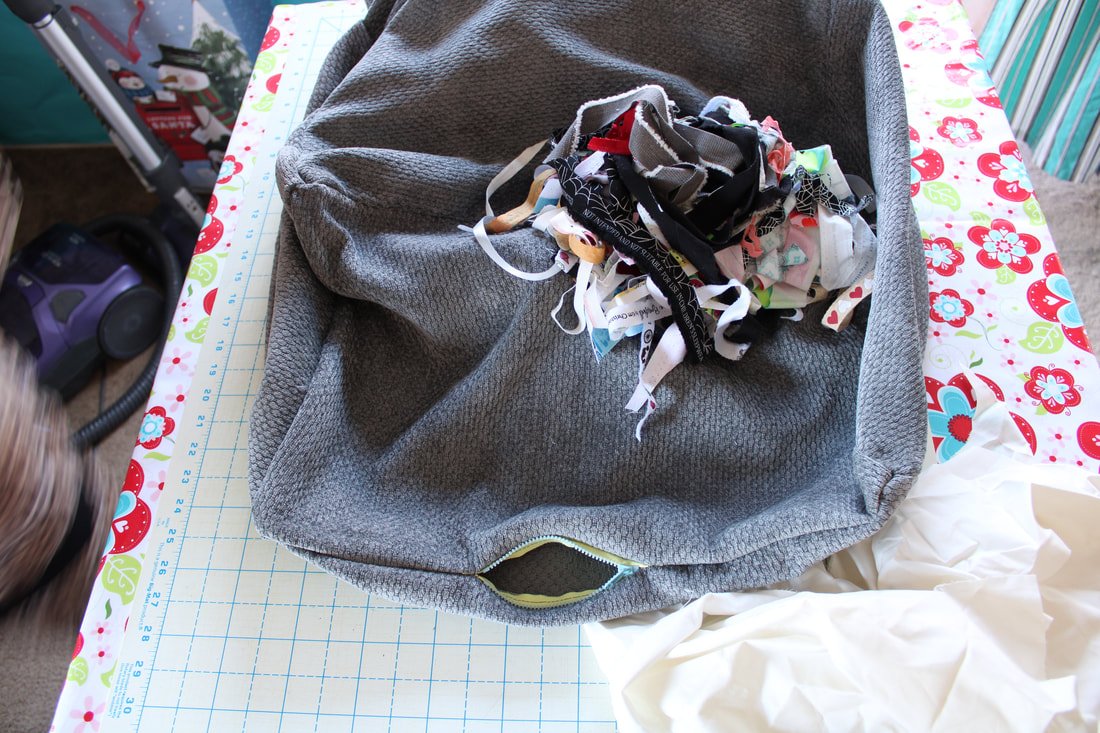
All these scraps are going inside the poof.
Supply List:
2.5 yards upholstery fabric or similar weight fabric (you'll have a little bit left over)
Thread
Clips or pins
14" Zipper
That huge pile of fabric scraps
Sewing machine
Wash your fabric if you want. I didn't. When I need to wash it in the future, it'll shrink a little and be fine.
You're going to sew a large cube and fill it with your fabric scraps. Hooray!
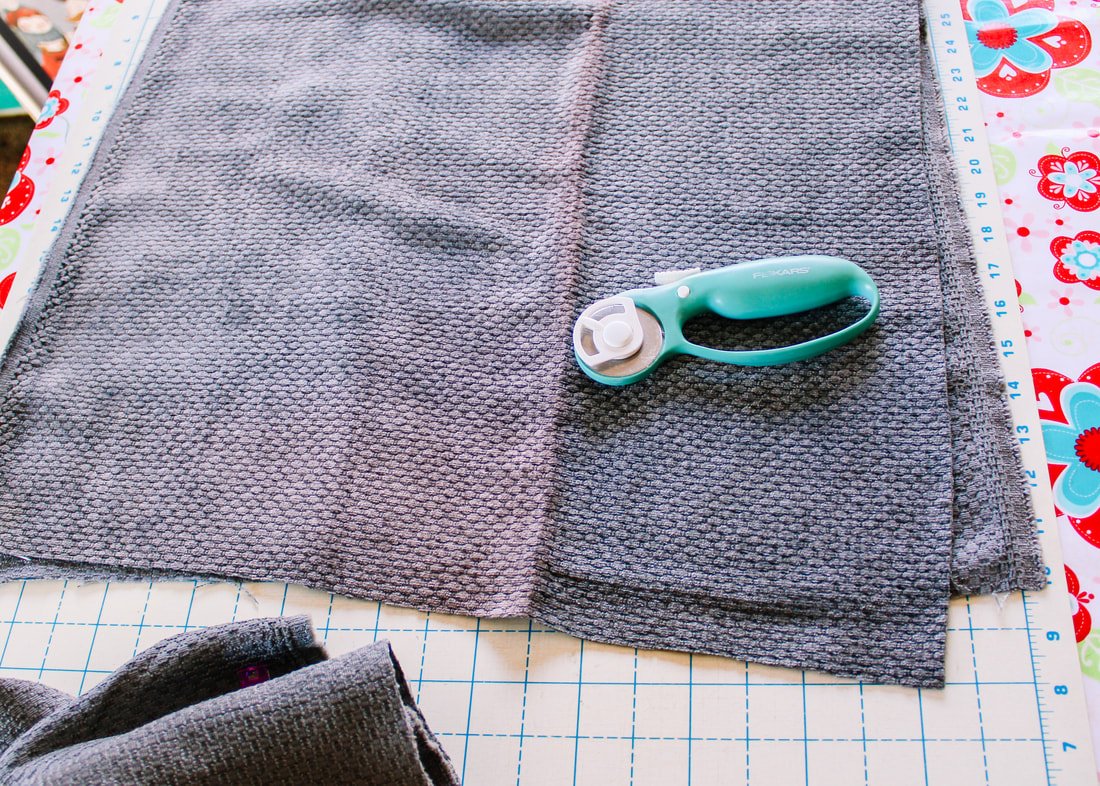
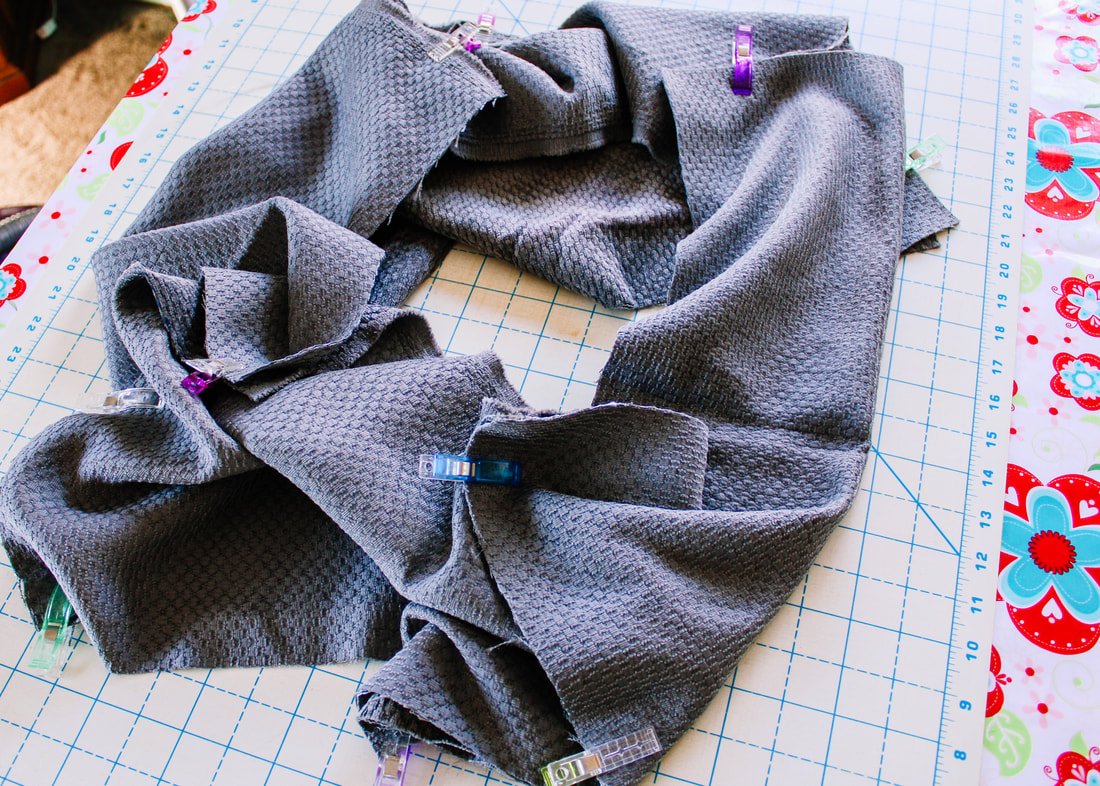
1. Cut 2, 21" squares. Cut 4 rectangles measuring 15.5" by 21". Serge or zigzag over the raw edges. Upholstery fabric loves to fray.
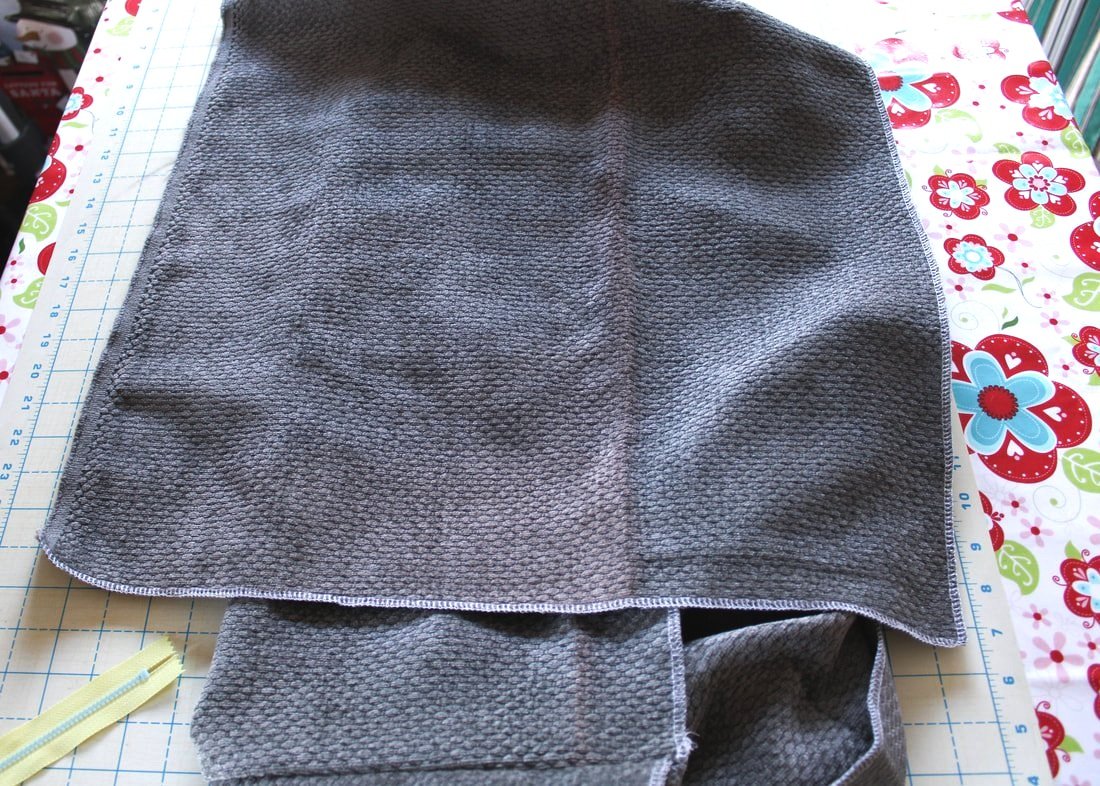
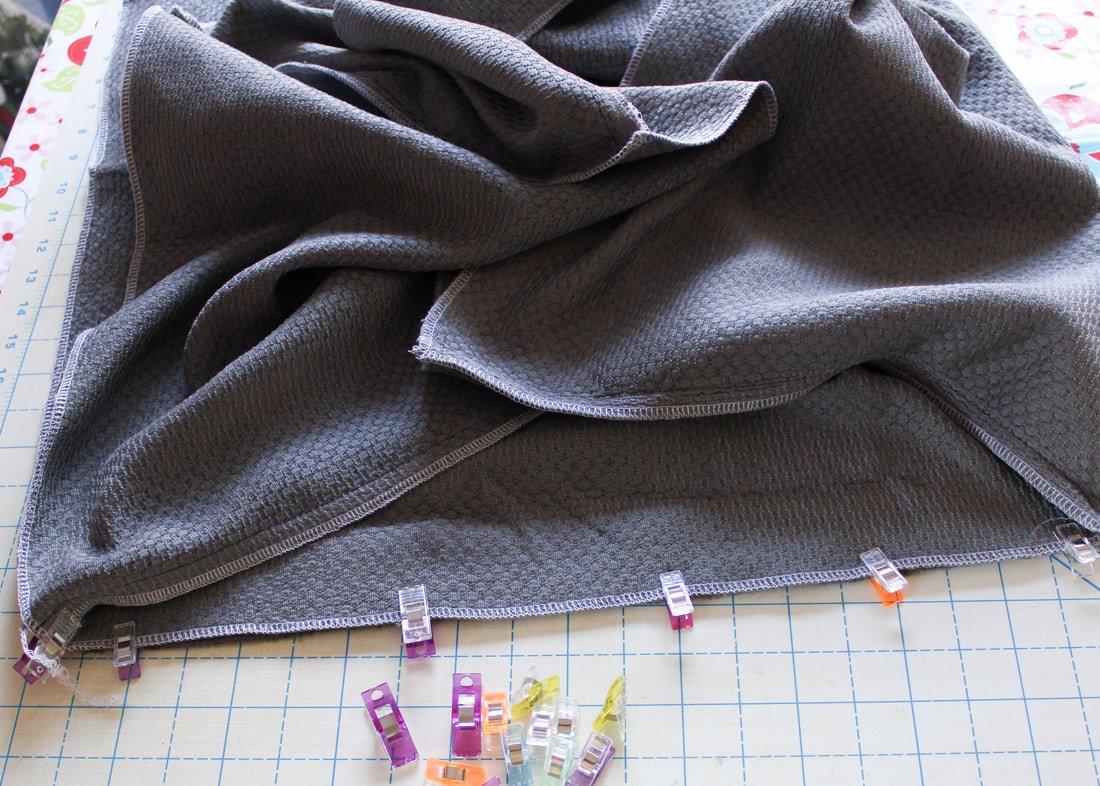
2. Clip or pin the rectangles together along the short sides, right sides together. You're making a loop. Sew up the short sides using 1/2" seam allowances, backstitching at the beginning and ends.
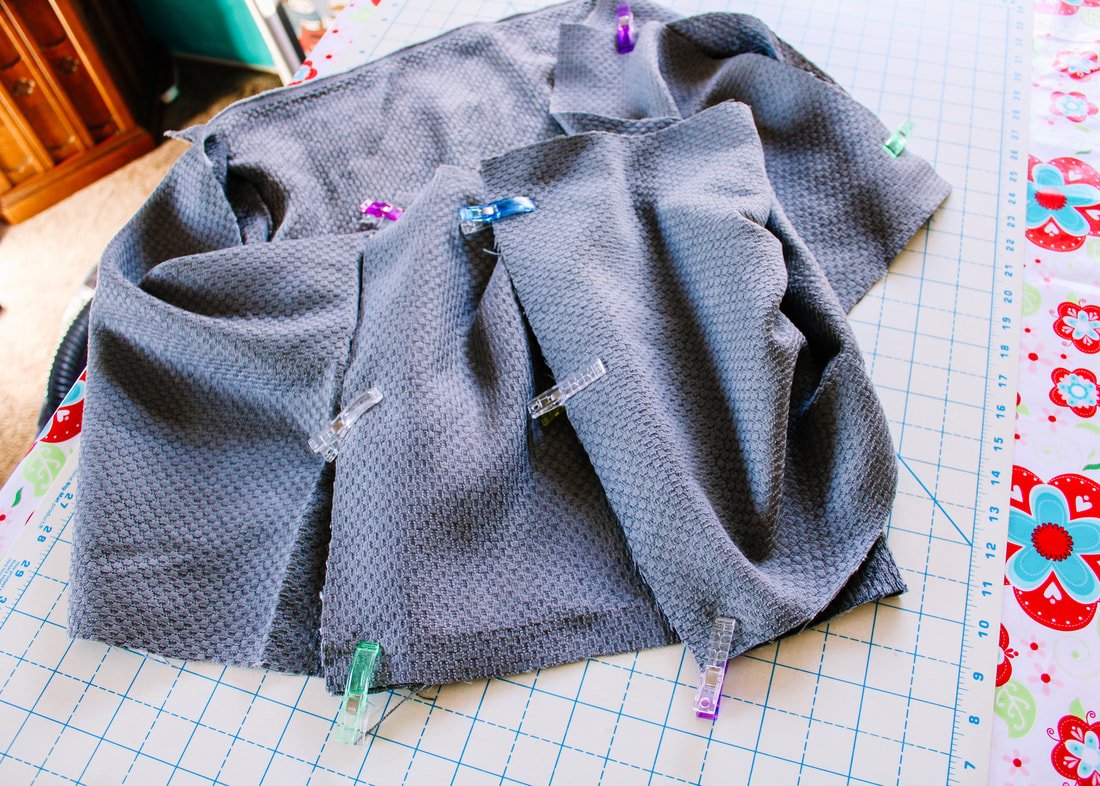
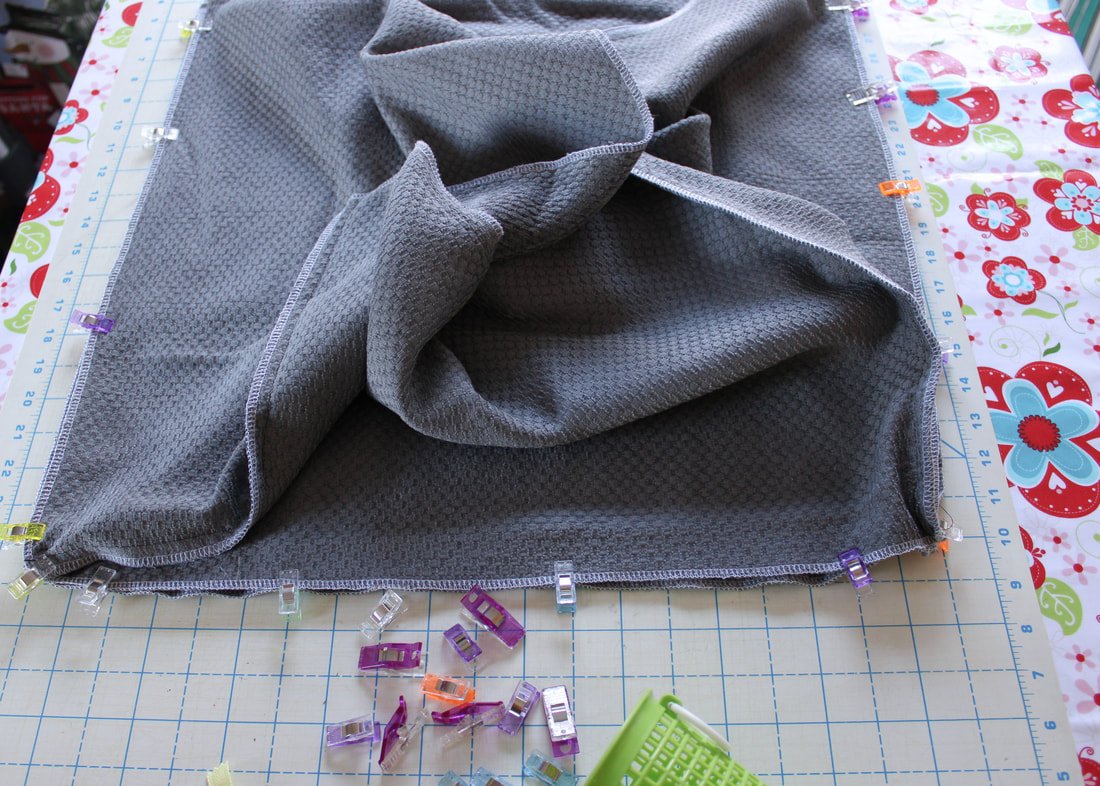
3. Lay one square right side up on your table. Clip one side of the loop you just made from the rectangles, onto the square, RST. It's easiest to clip the corners of the square to the side seams first. Then, ease the side seams in. Your upholstery fabric might have some stretch in it but, you tell it who's boss!
If you don't want to insert a zipper, sew along the edge using 1/2" seam allowance.
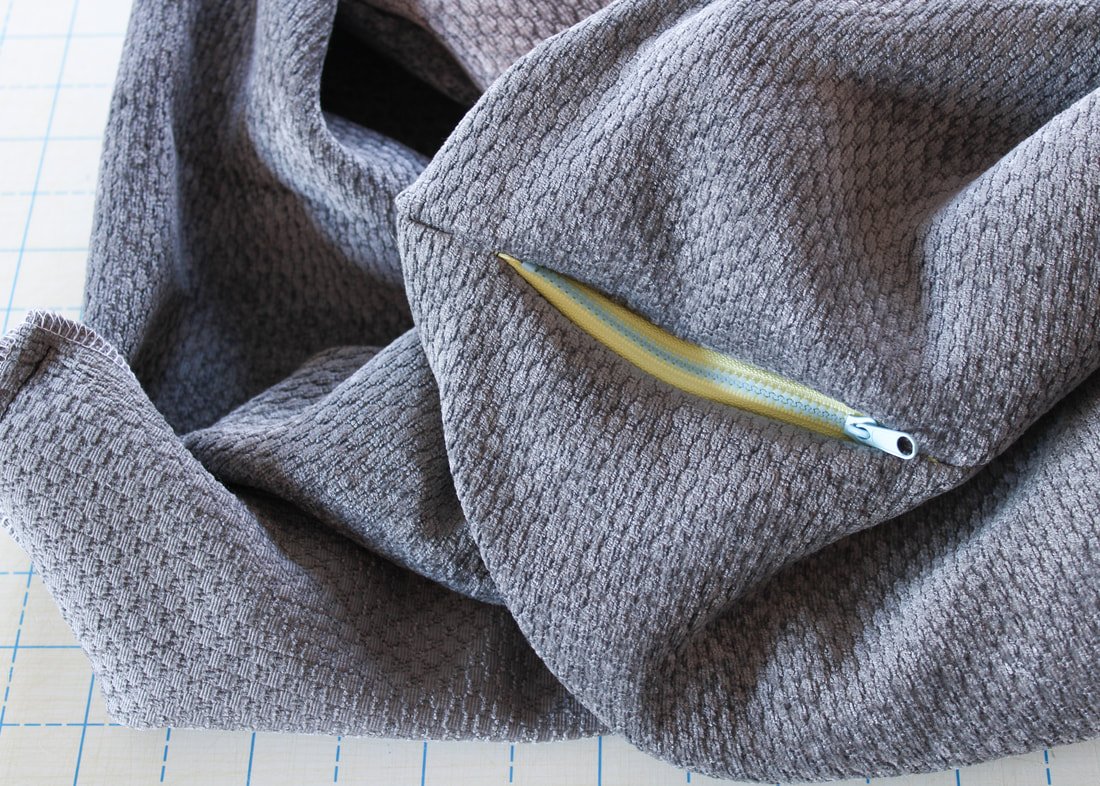
4. Here's where you'll insert your zipper if you want one. This is a little different than inserting a zipper into a bag so, bear with me.
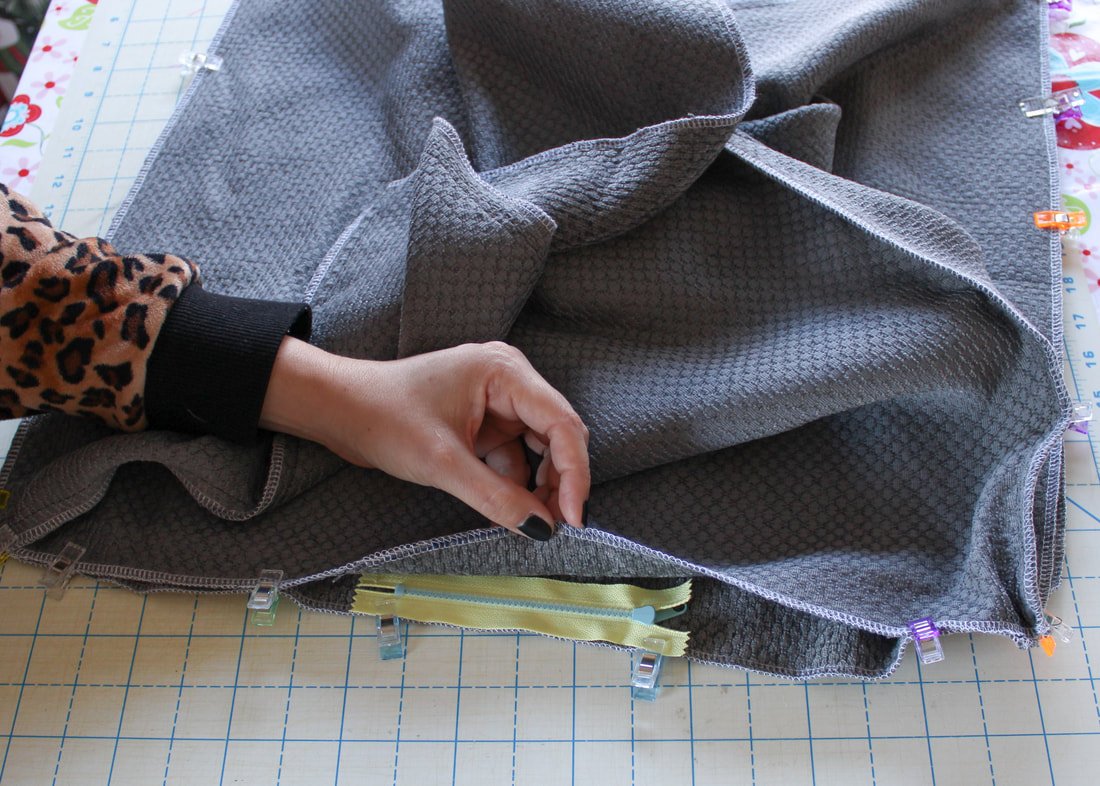
Clip/pin one side of the zipper to a rectangle edge. Sew the zipper with a zipper foot.
Open the zipper and clip the zipper tape to the square bottom edge. Sew using the zipper foot. You might have to sew one side of the zipper tape facing down which feels awkward but is totally fine.
Switch back to your regular sewing foot to sew around the whole square. Start at one end of the zipper and end at the other end of the zipper. Open and close the zipper to make sure it's lined up, if it isn't smooth, unpick one side and resew it.
*It's easier to sew with the flat piece down and move the rectangles out of the way as you sew.
To get the seam and zipper area to match up nicely, sew an extra 1/8" inside the zipper seam allowance when you get to the zipper.
It's a little trick that's used when inserting invisible zippers.
5. Now that the hardest part is over, it's time to sew the top square on. Clip the top the same way you did with the bottom square. Start with the corners first, then clip the sides. Sew all around using a 1/2" seam allowance.
This might look tricky but, take your time. Go slow and make sure you're only sewing over the 2 layers.
Sew around the top.
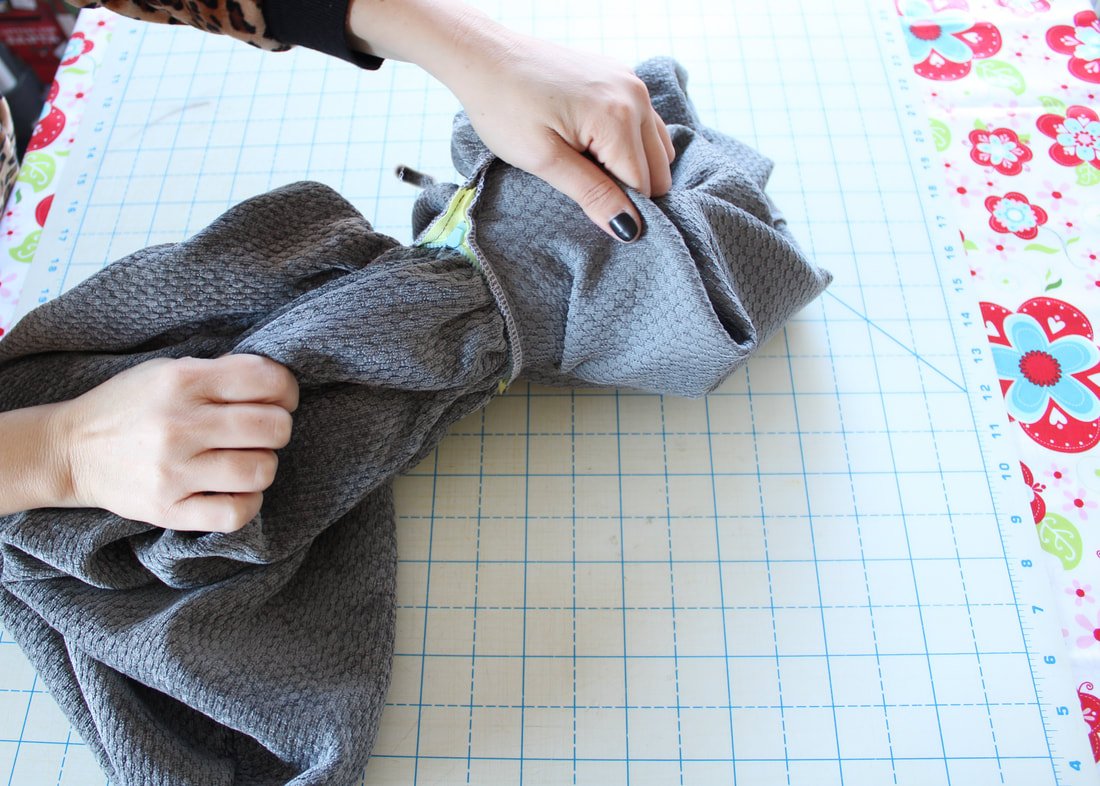
6. Turn the cushion right side out and pop out the corners. You don't have to worry about trimming the corners unless you want to. I left them alone. Press the seams open as well as you can.
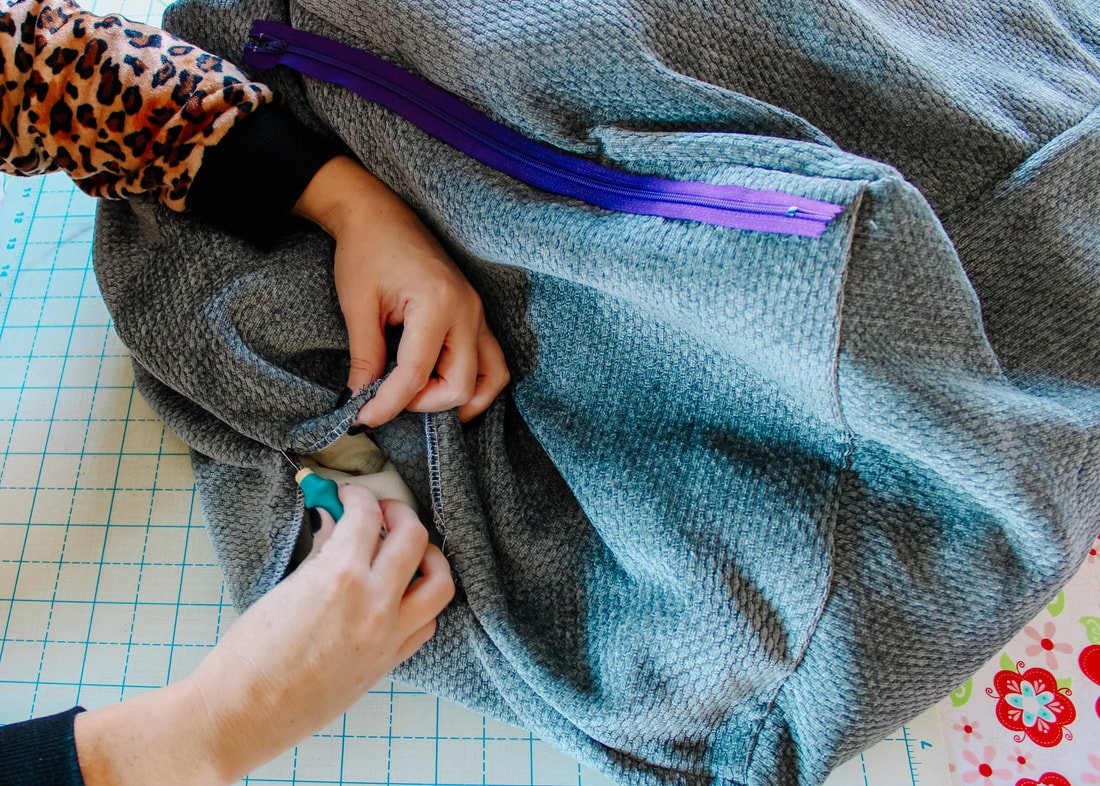
Pull it through the opened zipper. At first, I used this tiny 4” zipper. Ha! It was too small. I had to rip it out and use the purple one.
Ta-da! You've made a floor cushion, bean bag, floor pouf, or whatever you want to call it. You made one!
7. Stuff it with all those fabric scraps inside. It's very therapeutic. If it feels empty still, toss some extra yardage inside if you'd like. I had yards of fleece, minky, and faux fur from my baby gift making days and that really helped to fluff it up.
You can even fill it with those random pieces of interfacing you're probably saving. ;)
All that's left to do is use it. Who gets to use it first? The kids, your kitty, or you?
Read Below for Extra Tips:
Use a long enough zipper to get your hand in and out. Originally, I used a tiny 6" zipper thinking I'd never need the scraps again. Haha!! It was quickly ripped out and replaced with a longer 14" one. It's fun and easy to add more scraps. And, if you need a pocket or other scrap-sized piece of fabric in the future, you can look through them easily. Dump everything out onto a table and sift through them all.
If you have random pieces of heavy-weight fabrics, use them to make the cushion. Use a different piece for each side, top, and bottom. It'll give it an eclectic and lively look. Faux fur would be fun too!
I used the sun faded piece for the bottom.
You can make a set if you have buckets and buckets of scraps lying around. Oh, a set would be great for a kid’s room or game room as well.
Now I'm off to tackle that sewing to-do list. I need more scraps!!
It’s waiting for more scraps.
So, are you ready to put all those scraps to use? Well, store them in a fun way at least. If you do, tag me on Instagram @sewingtothemoon so I can see them all.
Happy stuffing!
Annette


