How to Sew a Custom Handbag
I made this cute handbag as a fun little distraction during quarantine. I planned on using it sooner than later, but we all know how that turned out. Ha! Days turned into weeks and it's all a blur from there.
I had some marine vinyl leftover from another project and I came up with this little purse.
Want to make a cute little handbag for your next shopping trip?
Here's what you need:
1/2 yard of marine vinyl or other faux leather-type fabric
1/2 yard of cotton fabric for lining
Thread
Sewing machine and notions
Microtex needle
Scrap paper for making a pattern
Ruler and pencil
Interfacing if needed ( I didn't use any. Gasp, I know)
Purse feet (optional)
Cut 2 outer, 2 inner, 2 interfacing pieces.
Decide on your sizing
Start out by ironing any wrinkles in your lining fabric.
Grab some paper or cardstock, freezer paper is my go-to because it's inexpensive and wide.
Figure out how big you want your bag to be.
My pattern size is 9" tall x 14" wide.
Mark 2" square cutouts on the bottom of the pattern. Cut out the paper pattern.
Once your pattern is made and cut out, it's time to trace onto the fabric. Cut out 2 pieces of vinyl and 2 pieces of lining fabric. Iron on or sew in the interfacing to the lining.
Next, cut 2 strips of the marine vinyl 3" wide by 18" long. These will be your purse straps.
If you'd like to add a pocket, make that now. Decide on the size you want and cut a piece of fabric twice as long. You will fold the fabric in half RTS (right sides together) and sew all around leaving a 3" gap for turning out.
Press the pocket flat after you turn it out. I stuck my phone on top to figure out how wide I wanted my pocket widths to be. They aren't exactly the same width. Draw a line where you want the pockets to separate with chalk or a water-soluble pen.
Pin in place and stitch onto one lining piece. Sew in a "U" shape, do not sew the top you want it to stay open so your items can go inside. Reinforce the openings by backstitching a few times. Press.
Pin sides and bottoms together. Leaving tops open.
Using clips, clip the vinyl pieces, right sides together and pin the lining pieces RST. Sew the sides and bottoms using 1/2" seam allowance. Be sure to leave a 3" gap in the lining for turning out. Press the lining seams open. You shouldn't iron the vinyl, it may melt. Just finger-press those seams. Set both pieces aside.
Let's make the handles
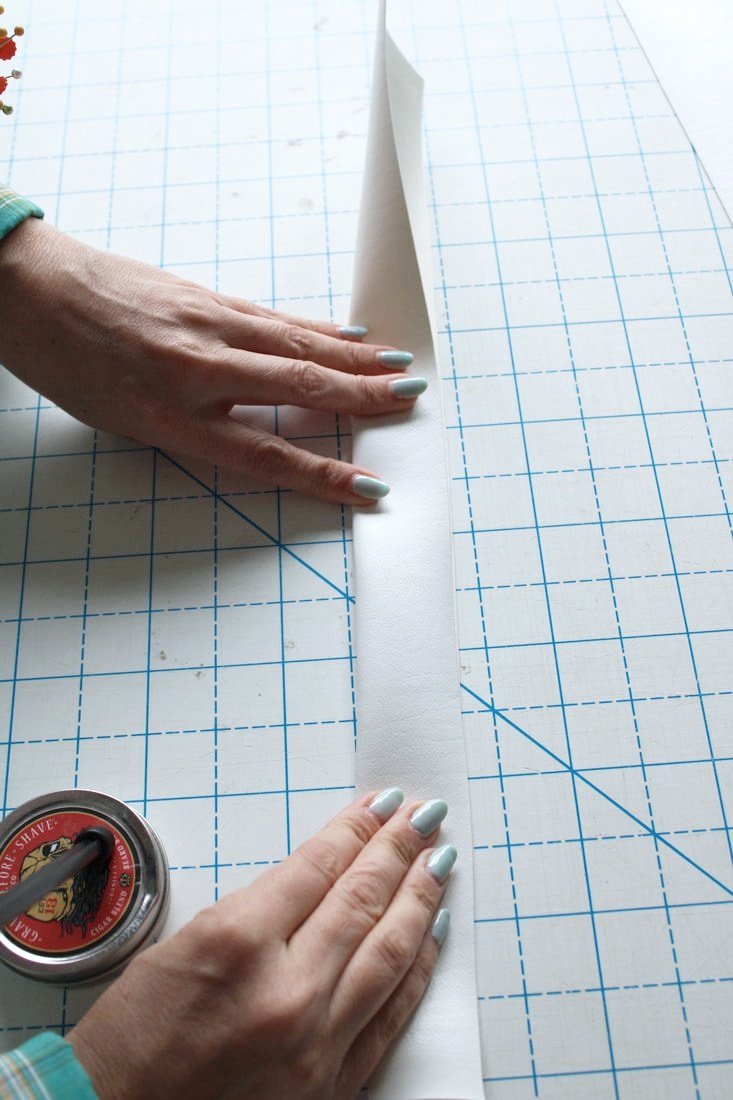
Grab the 2 long strips of vinyl and all your clips. You do not want to use pins because they create permanent holes. Yikes!!
If you don't have fabric clips, use double-sided tape, chip clips, hair clips, your child’s teeth, or anything you think that will be strong enough.
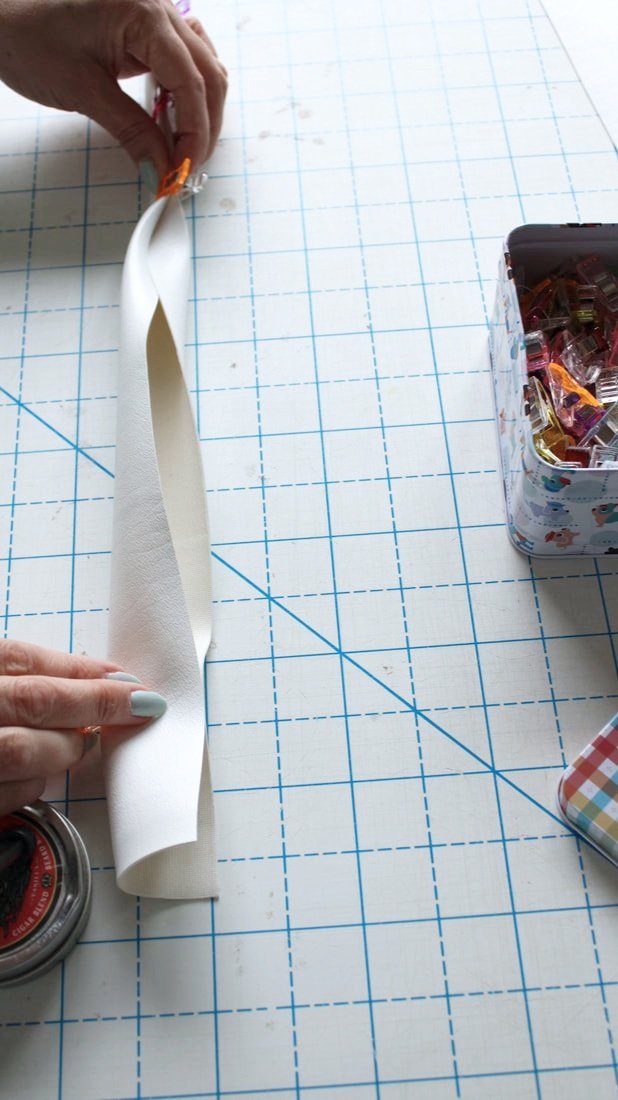
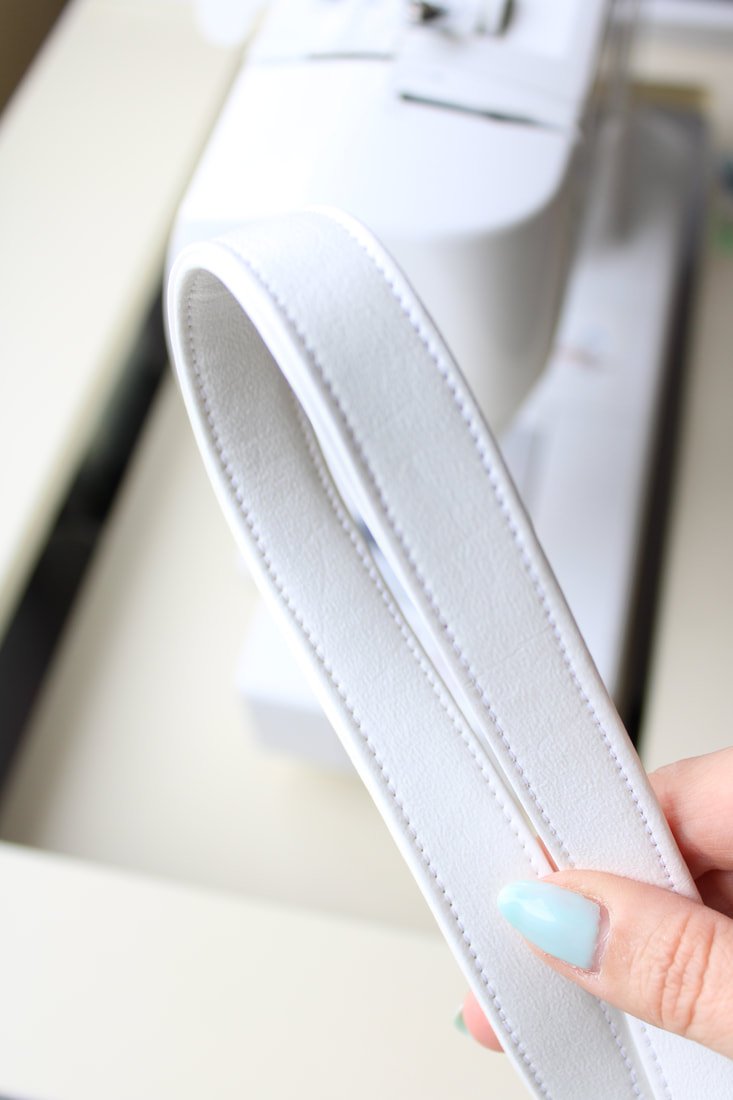
Fold in half and carefully fold those sides into the middle. It takes some finagling, but you got this! Don't let the vinyl beat you. LOL!!
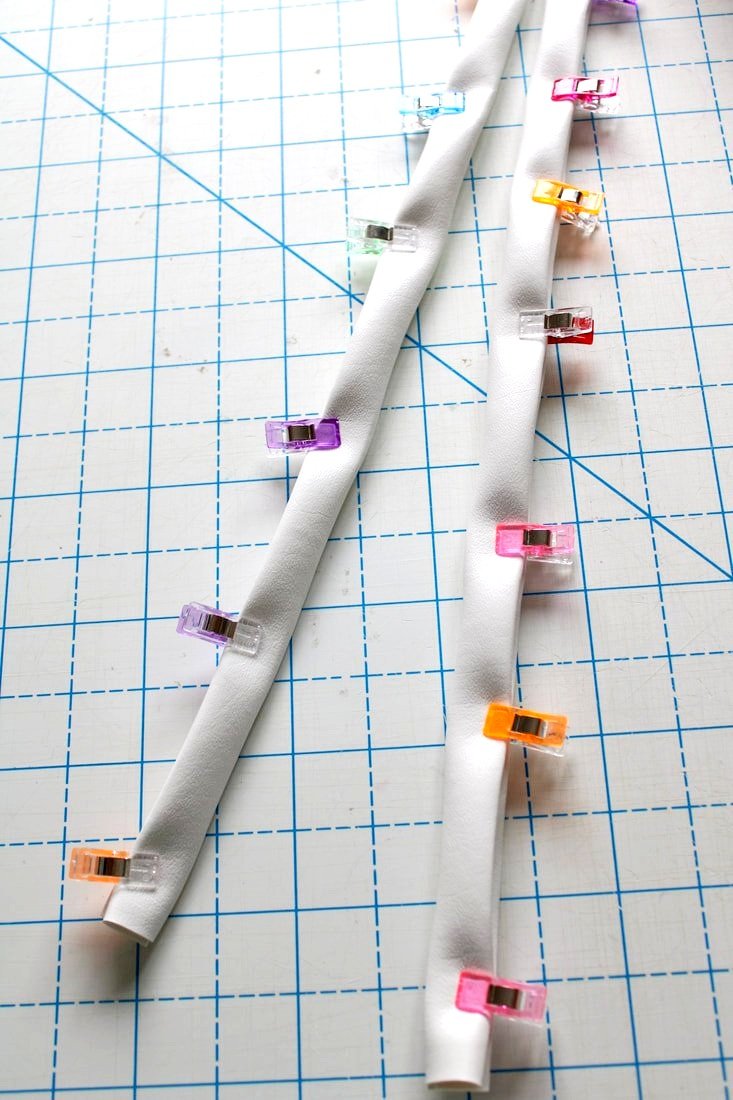
Clip along the end once you have it molded into place.
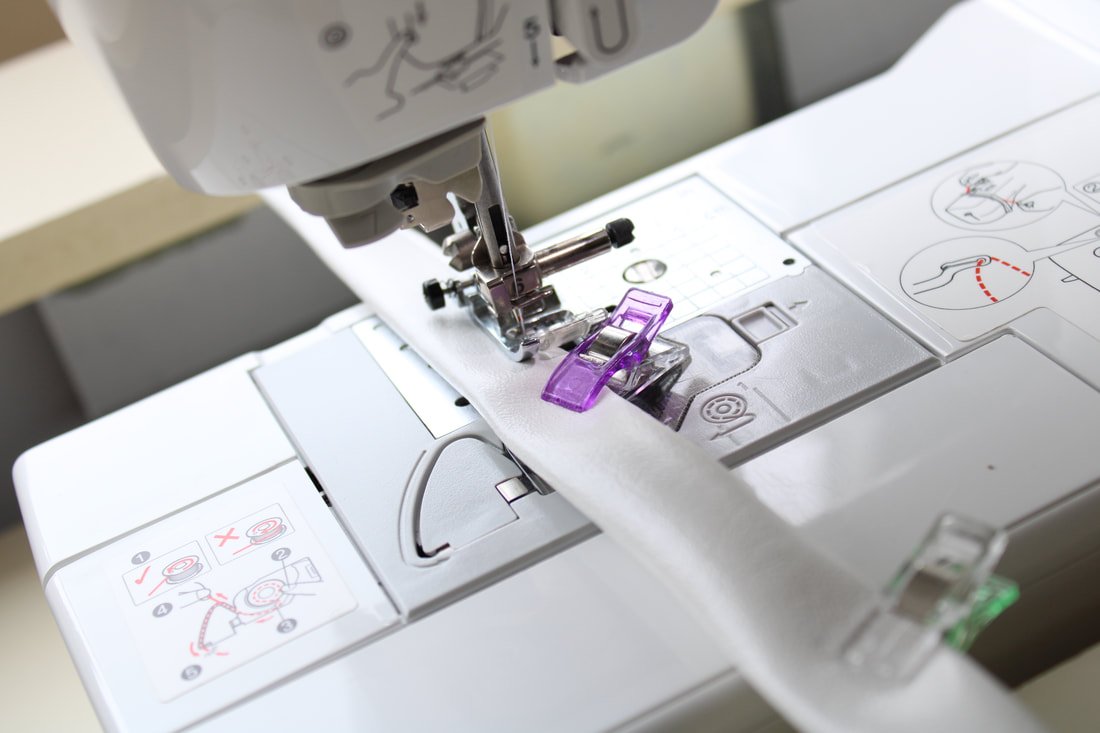
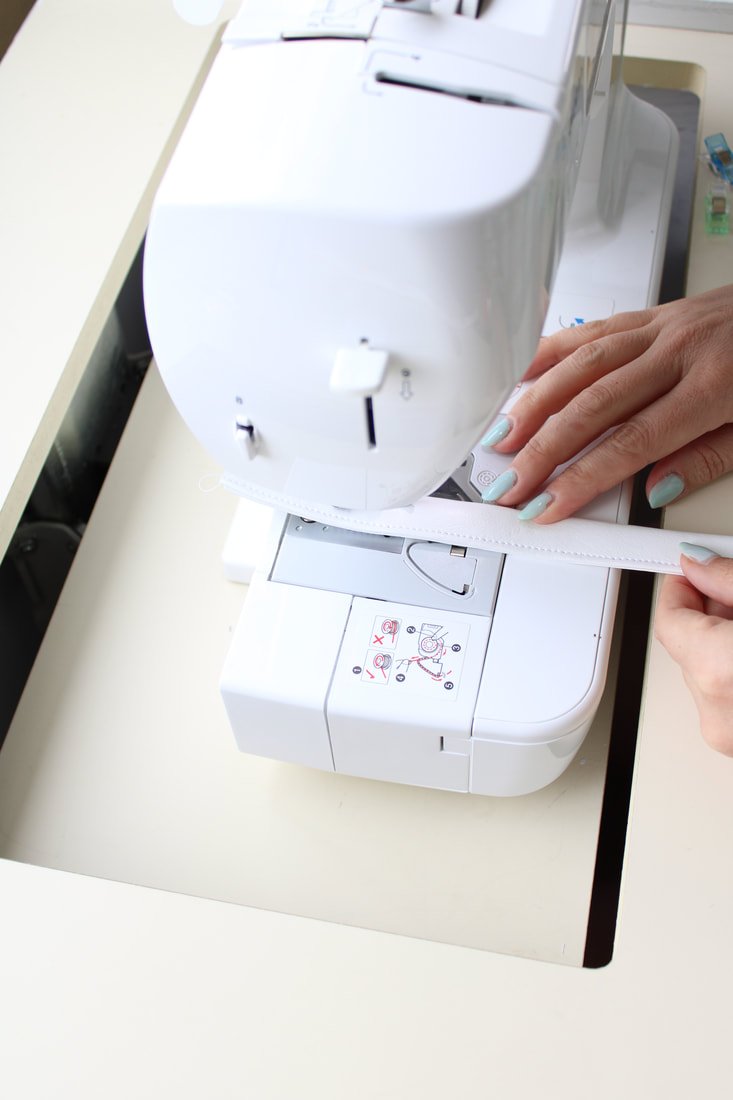
Sew the open edge first, then the folded edge.
Scroll through the photos to see how to create your handles. I use this method for all of my purse handles.
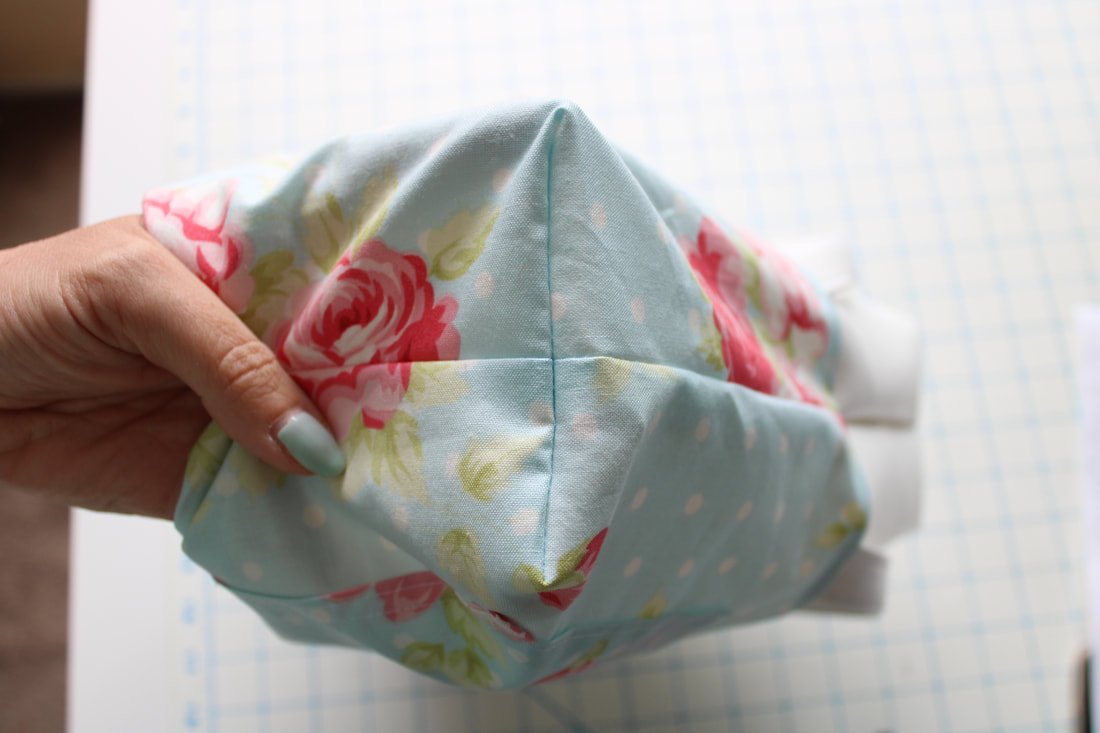
Grab the purse's outer and inner pieces, you're going to box the corners before sewing everything together.
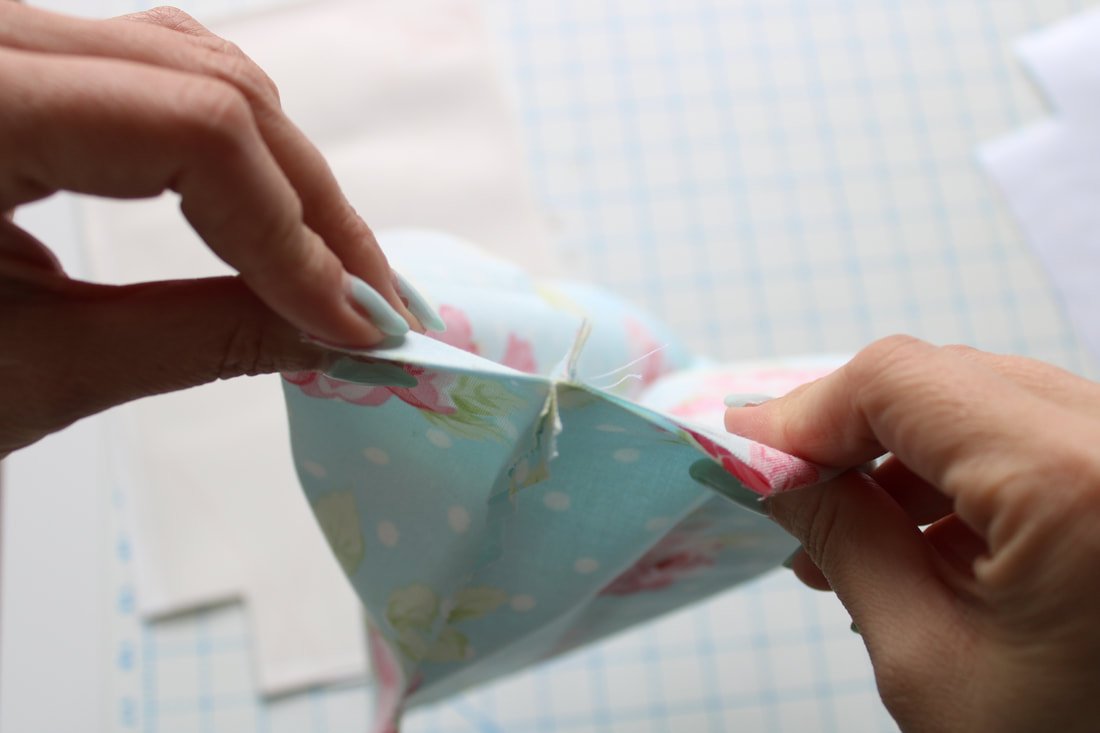
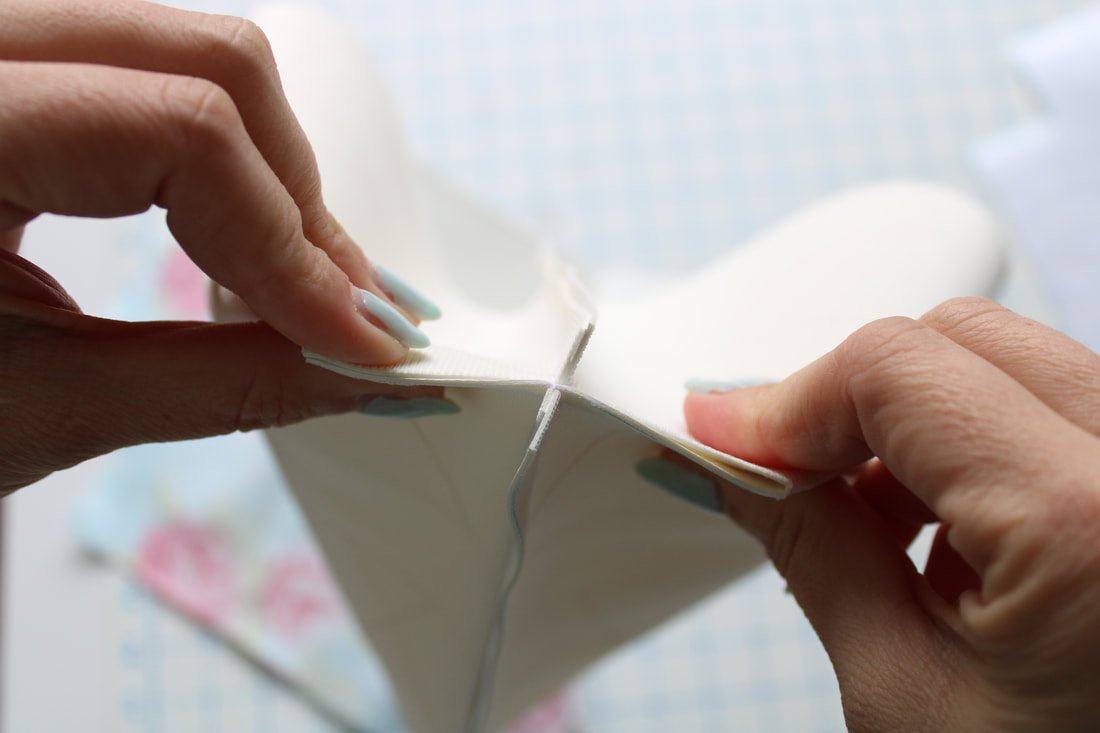
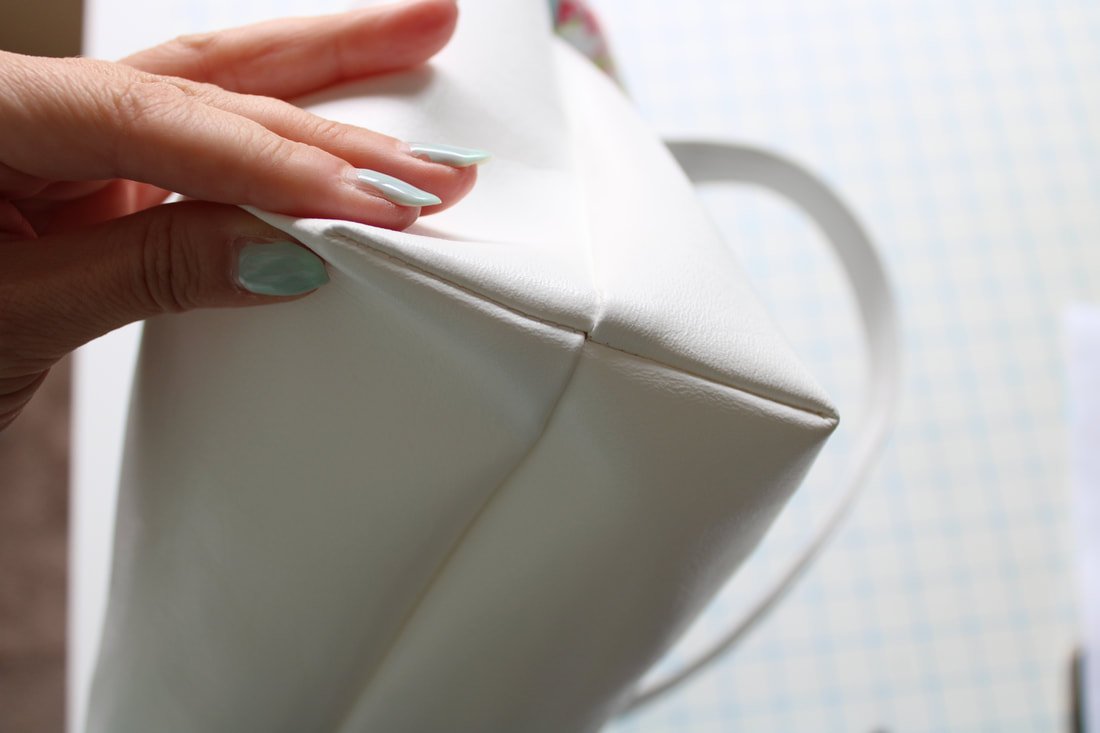
Boxing the corners is easy, pinch the seams together and sew 1/2" away from the edge. Do this with both lining and outer bag corners.
Your seams and corners should match nicely like the photos above. If they don't match perfectly, no biggie. You'll be the only one who knows and I'm not telling anyone. ;)
*If you have a set of purse feet lying around, you can add those following the feet instructions. I didn't have any, so I didn’t add feet to this purse. They do make a nice addition though. Next time.
Next, you're going to stitch the handles to the bag to keep them in place. Mark how far you want them from the edge. I positioned mine about 2" from the side seams. Make sure they are flipped the correct way and not twisted.
Base stitch them to the bag with a 1/4" seam. This is just to keep them from moving while you sew the bag pieces together.
After the handles are stitched in place, grab the lining piece. Keep the outer bag piece flipped inside out. Turn the lining inside out as well. Both pieces should be facing right sides together. This is important, check twice. ;) You should see the ugly sides of the fabric for both pieces.
Using clips, attach the lining to the outer matching the side seams.
Sew around the top with 1/2" seam.
After you sew the lining to the outer, reach inside and flip the bag out. This takes a little more patience because the vinyl doesn't want to give. Just tell it who's boss and that it'll be happier once it comes to the bright side. It works, I promise!!
Bagging Out
Find the lining hole.
Reach through the hole and pull the bag through the lining.
Pull. Yank, lightly. Pull some more to get the vinyl out.
After you pull out the lining, push it back in and make sure everything fits nicely. Poke out all the corners.
Look over the handbag and nothing is wonky, and there aren’t any seams with holes, pull the lining out and sew the opening closed. You can do this by hand or machine.
Sew the opening closed.
Stuff the lining back into the bag, topstitch around the whole top, and you're done! Yay!!
I decided to keep the lining showing for an added pop. However, the lining doesn't sit in the bag perfectly after doing this. If you decide you like this look, add 1" in length to your lining pieces. This was a spur-of-the-moment sewing project which are my favorite because I can experiment. I like the bag size for a day out. However, I would make it 2-3" deeper if I used it as an everyday purse.
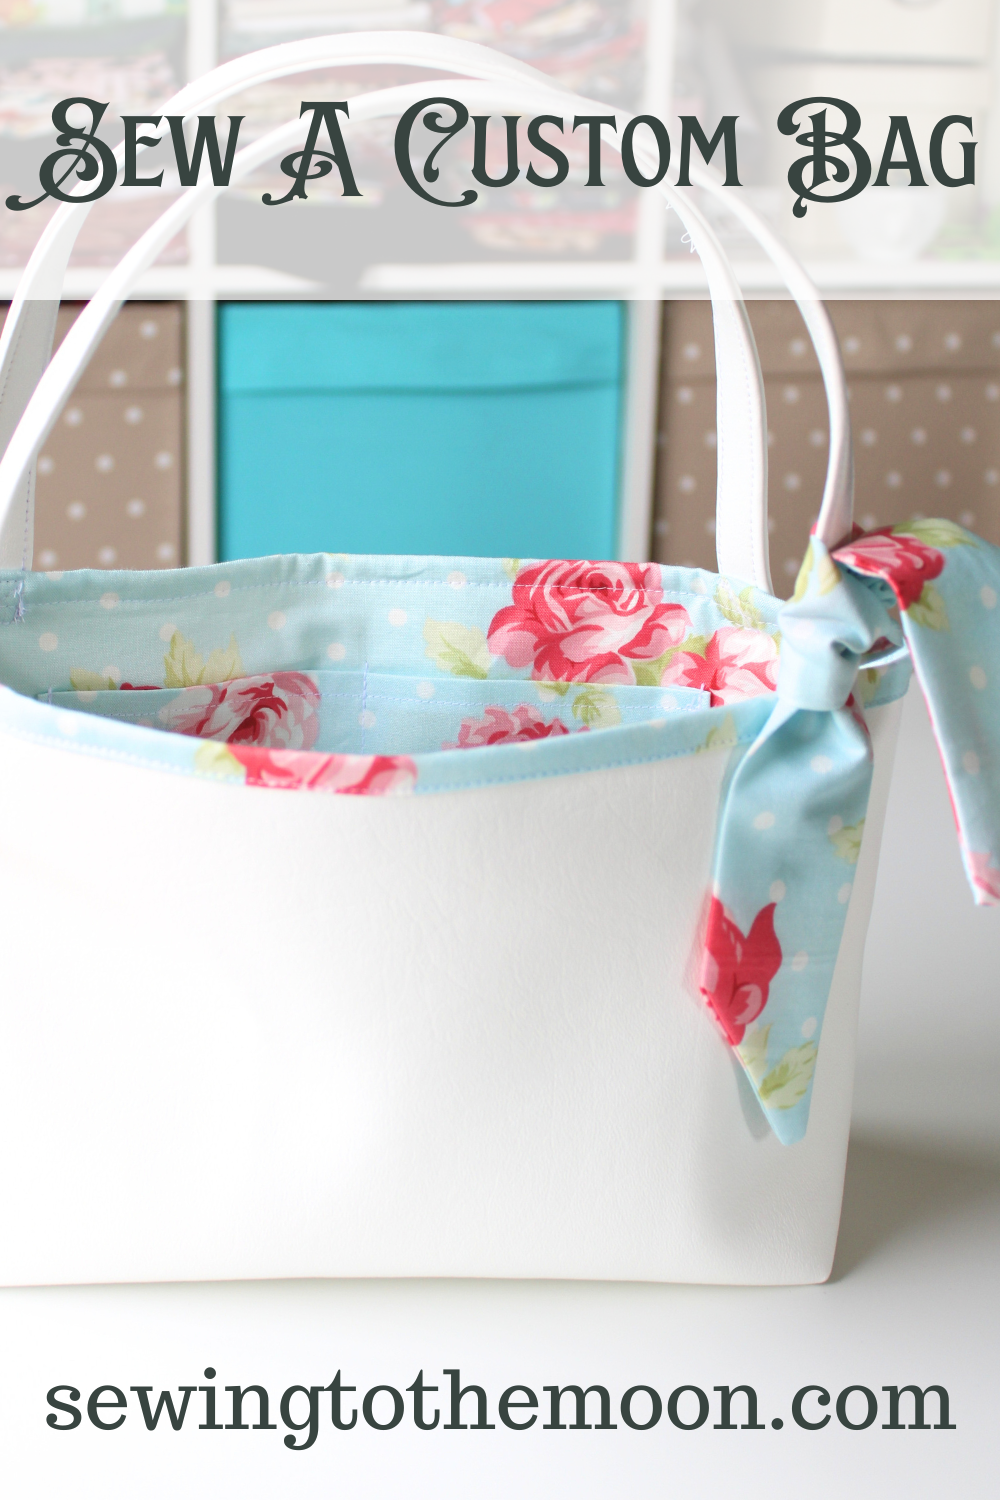
Oh, and I also added a little tie to the bag as well. If you have enough extra fabric, you can make one too. The white vinyl was just too plain and boring for my taste.
Cut a strip about 14" long by 5" wide. Fold in half and cut the short ends at an angle, if you'd like. Stitch the open ends, leaving a 2" gap for turning.
Clip your corners, turn out, and press. Stitch the opening closed and tie it onto your bag handle. Now you have a cute accent piece on your purse.
Where are you going to strut your new bag first? The mailbox? The grocery store? The living room? The possibilities are endless. Haha!
Oh, quarantine...
I think I want to try making this bag again but with darker vinyl. The white is fine because it'll wipe clean. But, I'm thinking bright yellow or blue for summer would be fun. Let me know if you make this bag. Remember, you can alter the sizing to your liking- make it taller, wider, shorter, etc. Sewing is the best, isn't it?
Thanks for sticking around for this tutorial!
Virtual high fives and hugs,
Annette


