Pattern Reviews, Sewing Hacks, Tips & Free Patterns
Sewing Blog Besties
Halloween Sewing Projects
Sew your own Halloween home decor pillows or trick or treat bags. It’s easy to do.
Once upon a time, there was a not-so-old lady who bought some fabric she didn't have any plans for. She saw it online and had to have some. No clue what she'd sew with the fabric, she bought it anyway.
That's the tale of every sewist at one time or another, right? We buy fabric without a clue what we'll use it for. We just love fabric. Give us aallll the fabric!!
Here are some spooky things you can make with your new or old Halloween fabric. Disclaimer: they're not really spooky. ;)
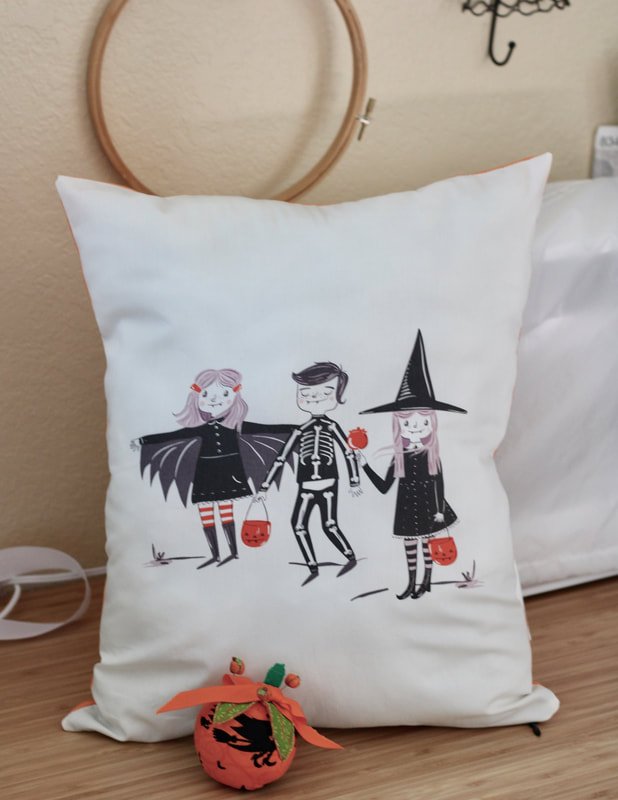
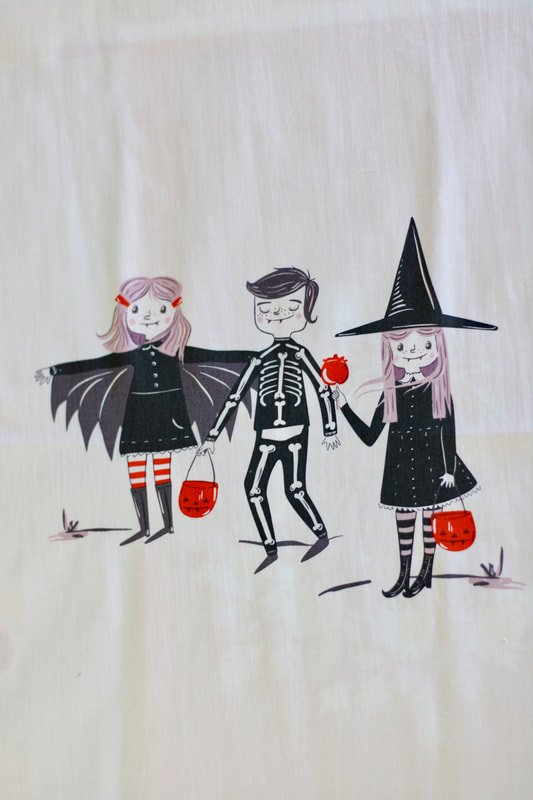
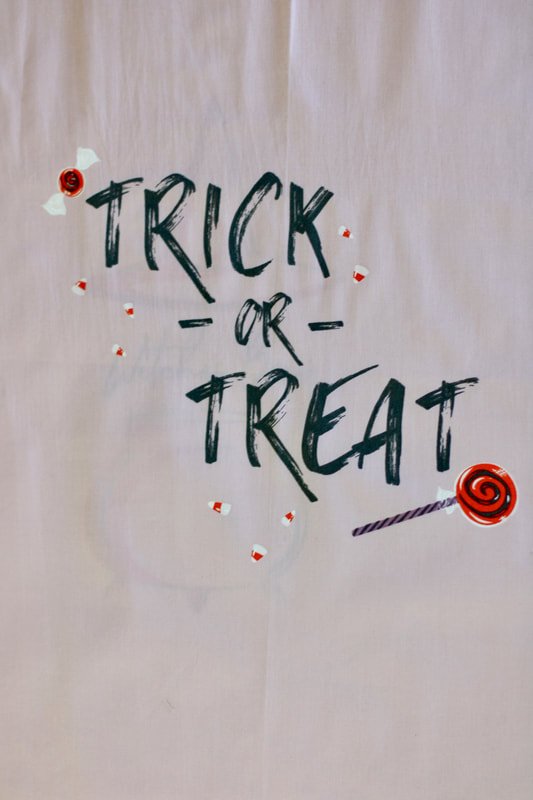
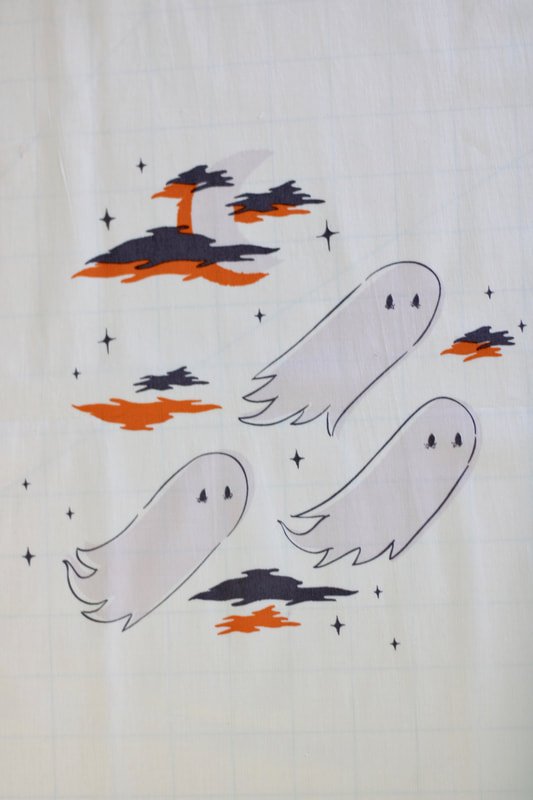
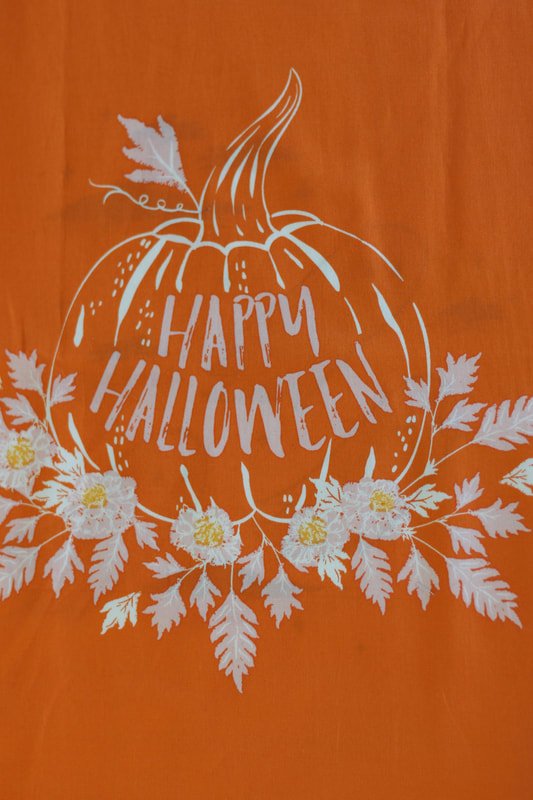
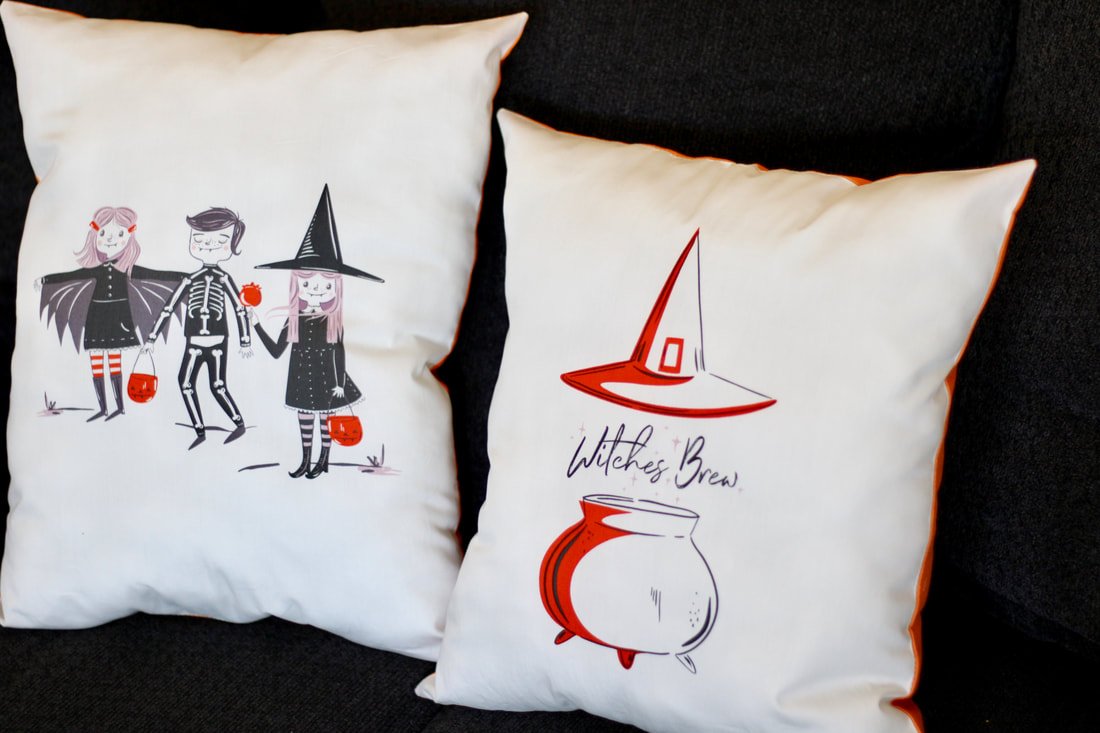
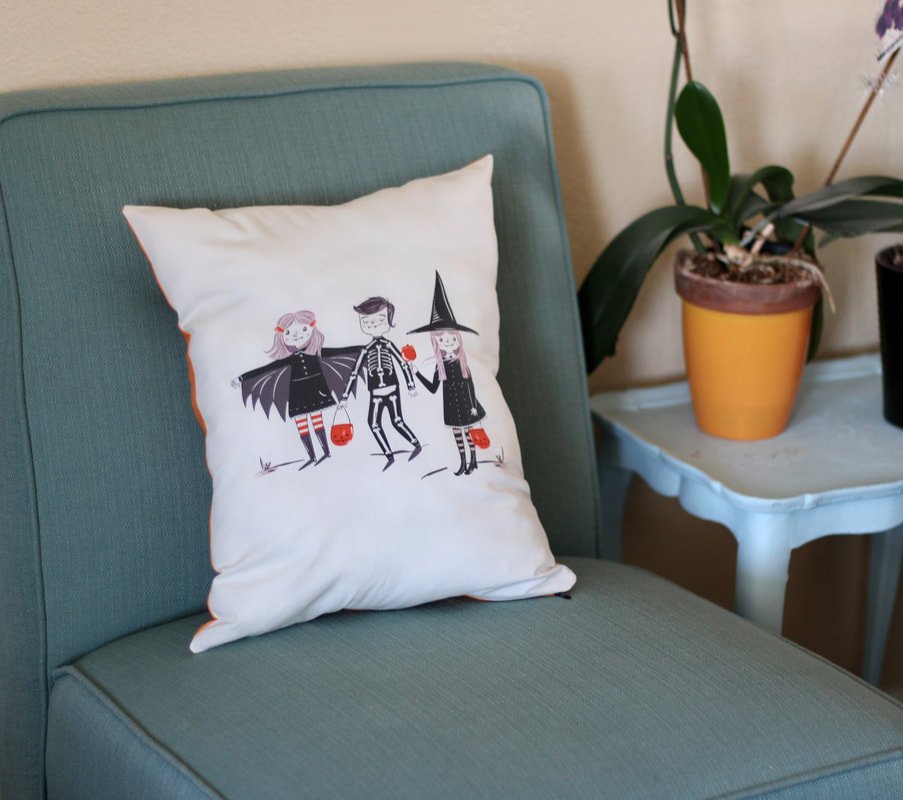
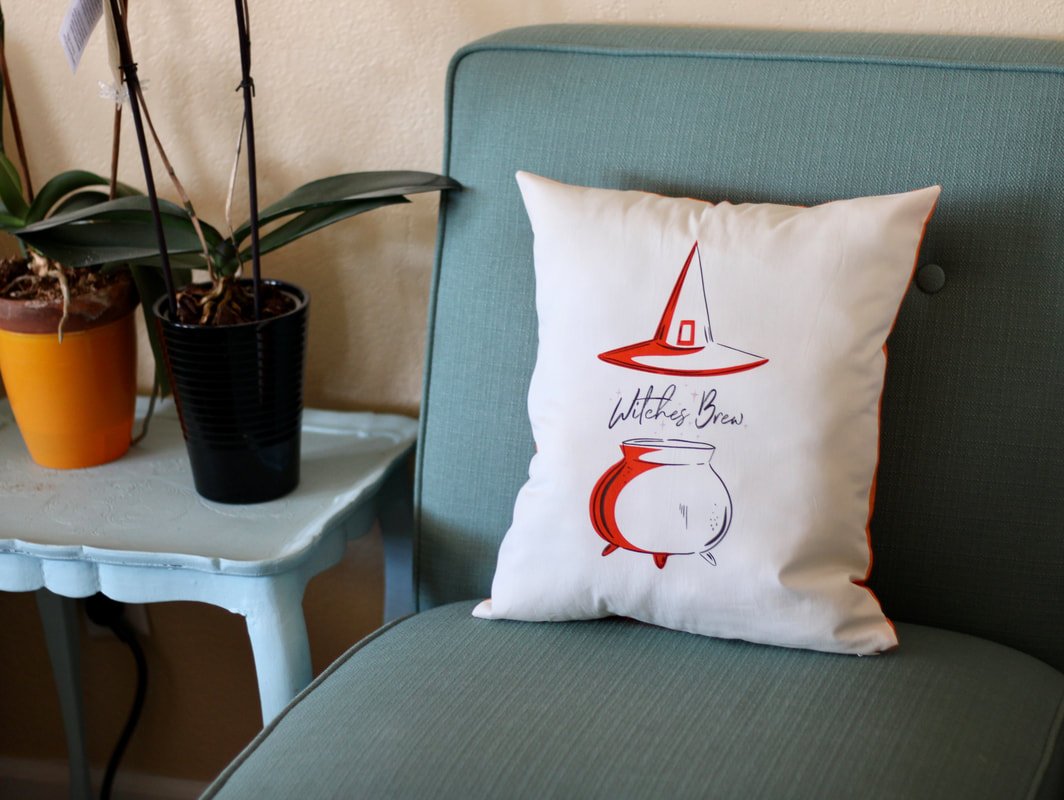
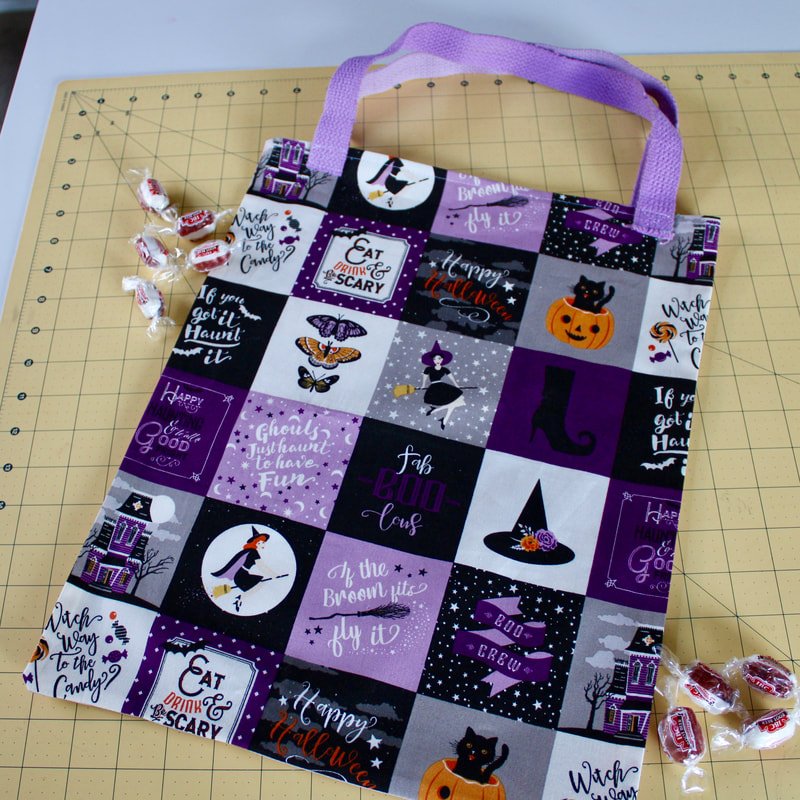
I recently bought a Halloween fabric panel online. The designs were much larger than I anticipated because...online shopping. There are six rectangle designs in the one-yard panel. So, I made two pillows with my favorite ones and trick or treat bags with the other ones. I had orange Kona cotton in my stash which was perfect for the backside of the pillows. These are not lined and are meant to be an easy sewing project.
The fabric is Art Gallery Fabric and from their Spooky and Sweet line. Which one is your favorite design?
Halloween Pillows
You will need:
1/2 yard of Halloween fabric
Bag of fluff to stuff the pillow or a pillow form
Sewing machine and notions
Invisible zipper (or regular if that's what you have on hand)
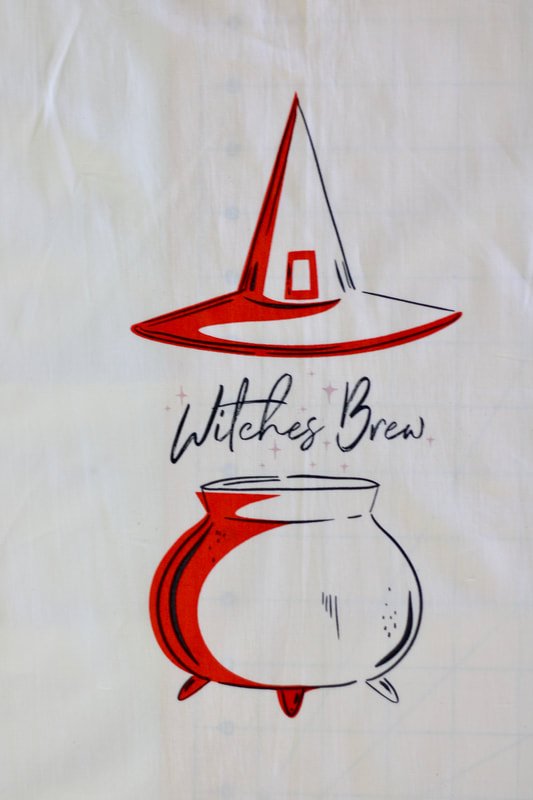
Witch Hat Pillow
I chose the witch hat for one pillow. Pinned a matching invisible zipper in place. See those cute pumpkin pins? My friend made them for me. Squeee!!
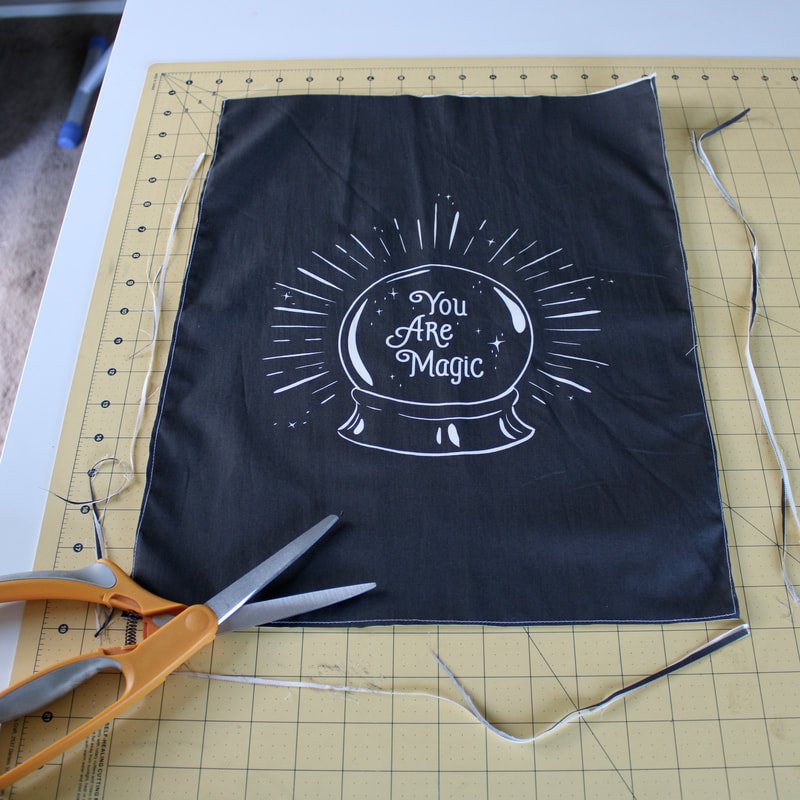
Cutting out the large pieces. Ignore the wrinkles. It was easier ironing each piece individually.
If you have a panel like this, it makes pillow making easy. Just cut out the design you want to make the pillow with. Place it on top of the fabric you want to use for the back, using the rectangle as the pattern. Trace and cut.
If you don't have a design piece like I used, grab a couch pillow and measure it. Write down the measurements on paper and add a 1/2" seam allowance. Use your ruler, chalk marker, and scissors to mark and cut out 2 pieces of coordinating fabric. Place your zipper on the bottom end of the pillow. I used an invisible zipper but, you can use what you have on hand. Buttons are always cute too. Just be sure to add extra length if you choose that route.
This is Halloween sewing, it doesn't have to be fit for a queen. It's supposed to be spooky fun! Turn on some Halloween music and just enjoy the process.
Invisible zippers are supposed to be hidden. This one turned out perfectly, whew!
Sewing the invisible zipper.
After your zipper is in, check to make sure it is smooth and not catching any fabric. Open it up about halfway. Fold the pillow with RTS (right sides together) matching corners and edges. Pin or clip together. Depending on how long or short your zipper is, you may need to sew the seam a few inches at each zipper end. *If using an invisible zipper, stitch 1/8" away from the zipper seam. This keeps it from puckering and gives a nice finish.
Clip corners and seam allowances if needed. Turn right side out, gently poke out corners with your fingers or blunt end of a chopstick. Go grab the pillow form or bag of fluffy stuffing. I give this job to one of my kids. They love to stuff the pillows. The pillow will turn out like a limp noodle or a stuffed pig, depending on the child. LOL
Trick or Treat Bags
You will need:
1/2 yard or so, of Halloween fabric
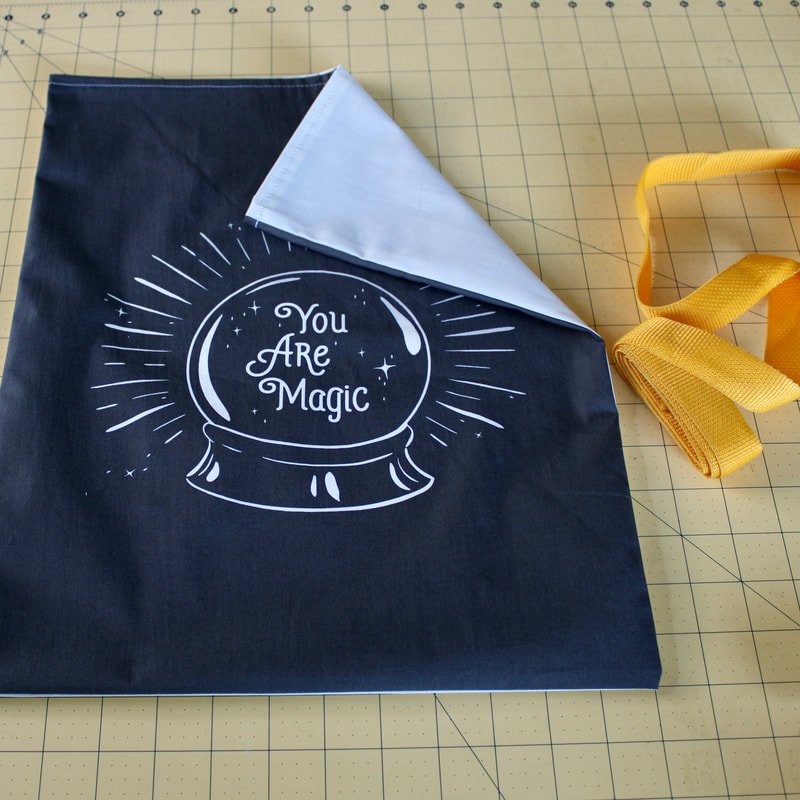
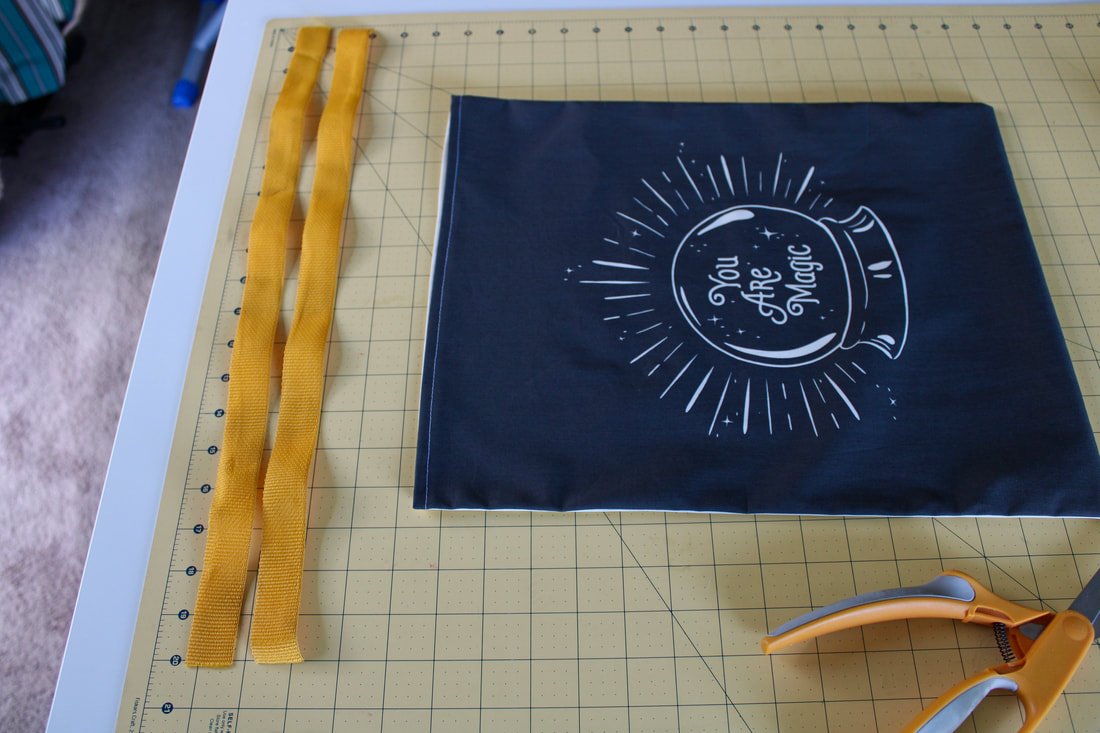
Webbing for handles (you can use grosgrain ribbon if you have that)
Sewing machine and notions
Sew the sides and bottom together.
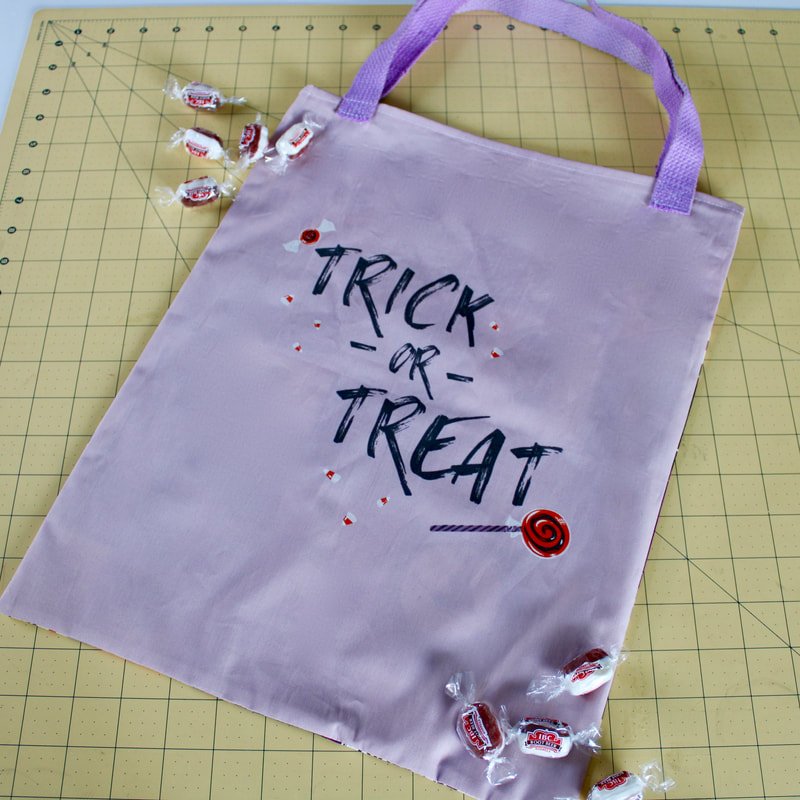
These are quick and painless and I did not line these. They only hold candy for one night so, they don't really need a lining. If you're unsure about the weight of candy from trick or treating, we're reinforcing the seams. You're going to use a french seam finish. Let's get started.
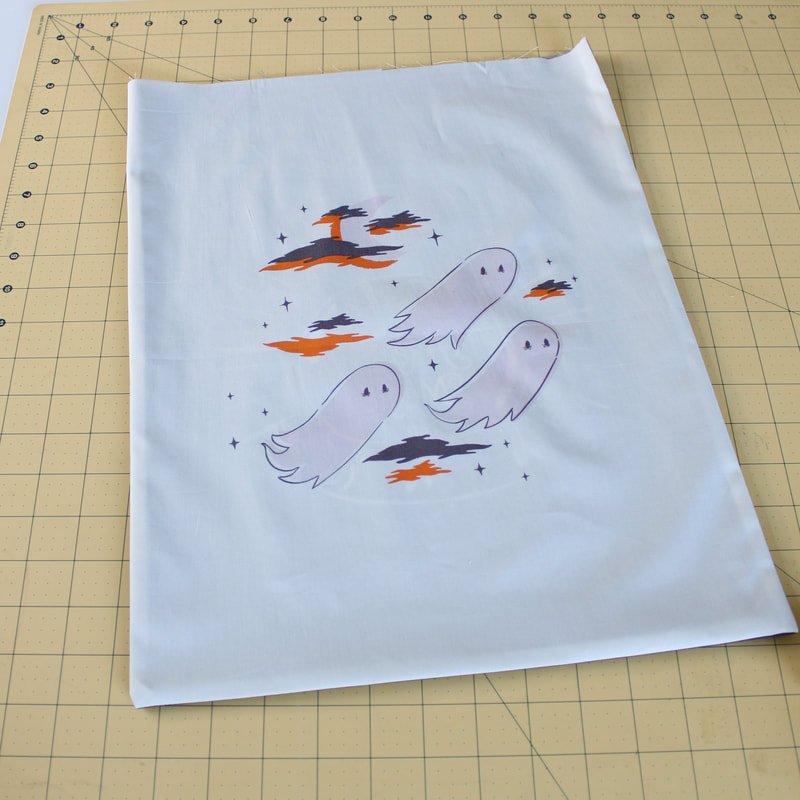
Cut out a rectangle the size you want. Make sure you add a 1/2" seam allowance in your measurements.
My pieces were 14" wide by 17.5" tall. A perfect size for a trick-or-treat bag. Long gone are the days of the pillowcases.
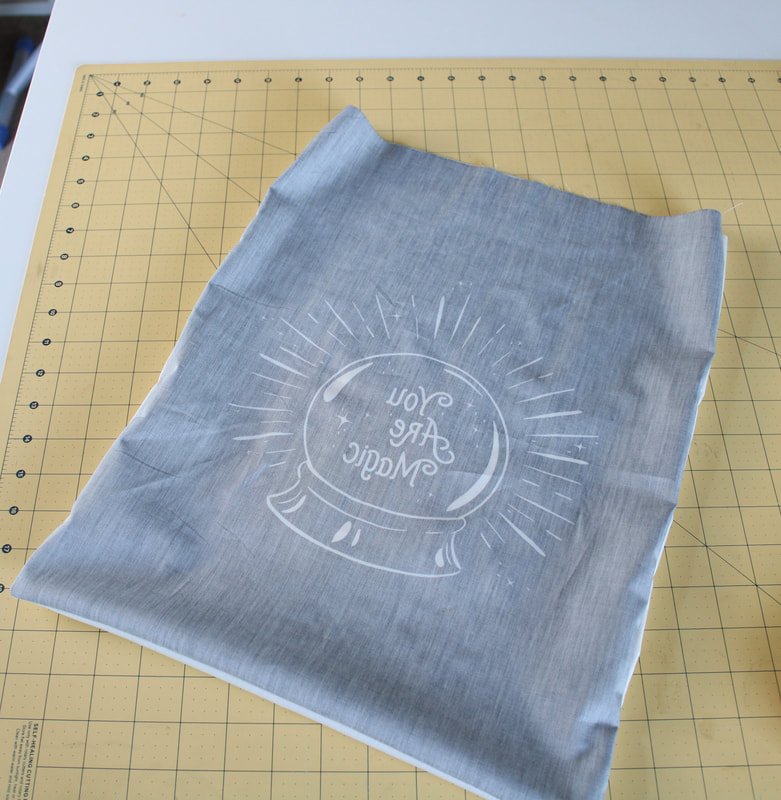
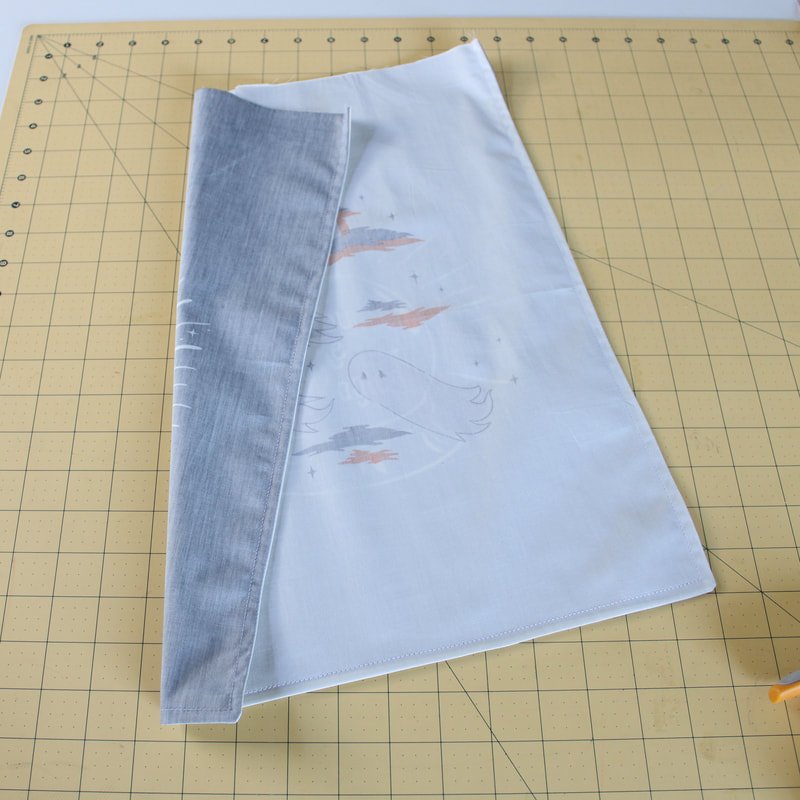
Lay your two bag pieces WST (wrong sides together), I'm not crazy, stay with me. You're going to sew a French seam. It's easy, I promise.
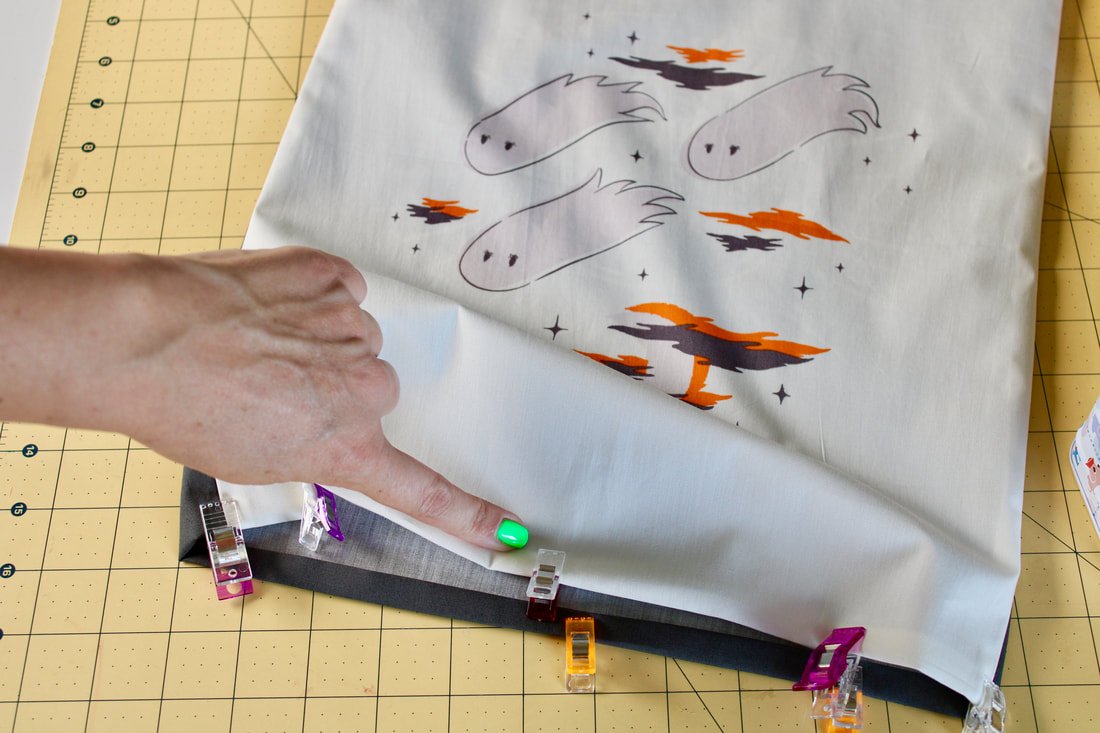
Pin or clip the two sides and bottom edge. Sew with a 1/4" seam allowance, backstitching at the start of one side and finishing up all the way around to the next side.
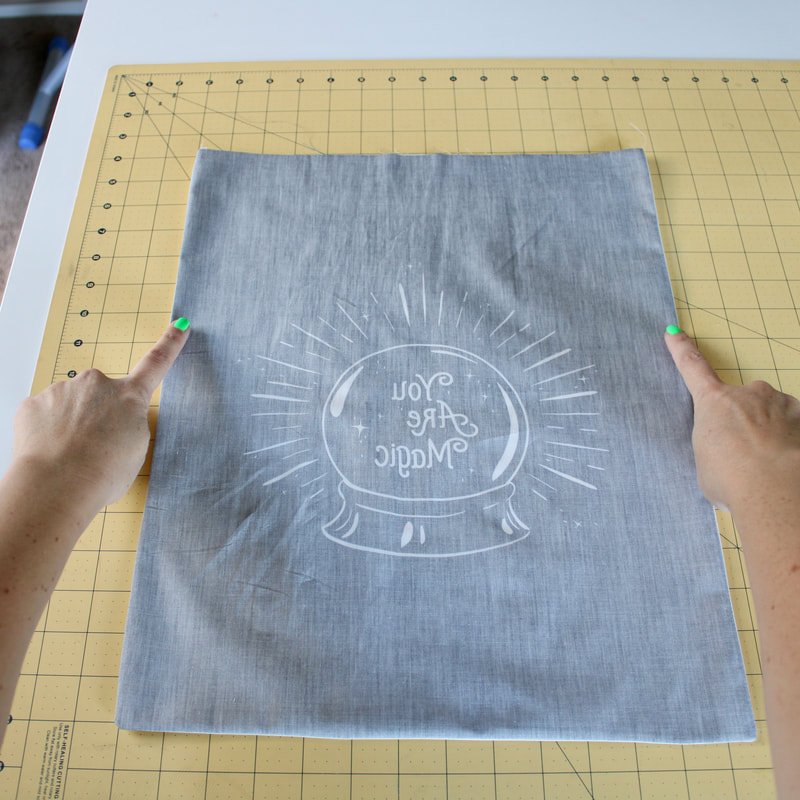
Turn it inside out (your bag should be inside out). Trim the seam allowances as close to the seam line as you can. Press the seams flat. It's very important to trim the seams allowances, otherwise, you could end up with the raw edges poking out.
Stitch 1/4" seam around the sides and bottom, backstitching at the beginning and end. The raw edges should be fully enclosed now. Press flat.
Turn under, and under again for the top of the bag opening.
Take the top edge and fold under 1/4", then under 1/4" again. Topstitch around the whole top. I like to use a 3.0-3.5mm stitch length for this. Press flat.
Now for the bag handles.
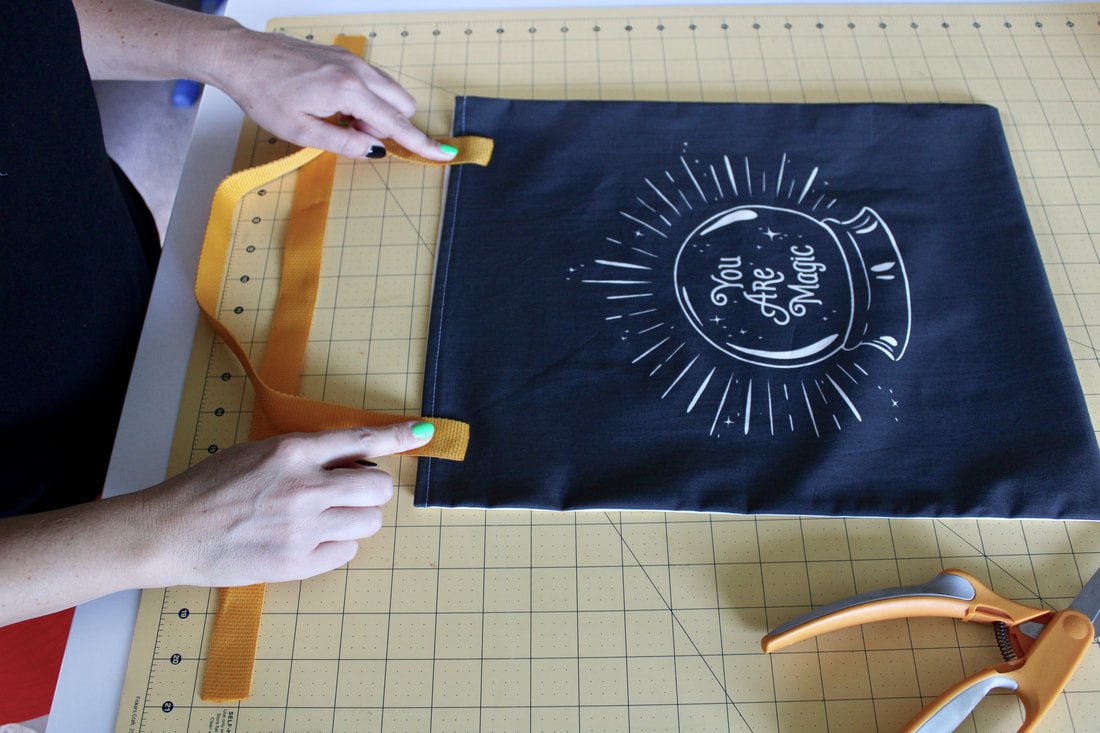
Measure on your child how long or short you want them. Does your child want shoulder length or handle length only? I cut my handles 20.5" long.
Position the straps about 1.5-2.5 inches in from side seams and pin. Sew a box and X to secure the handle to the bag.
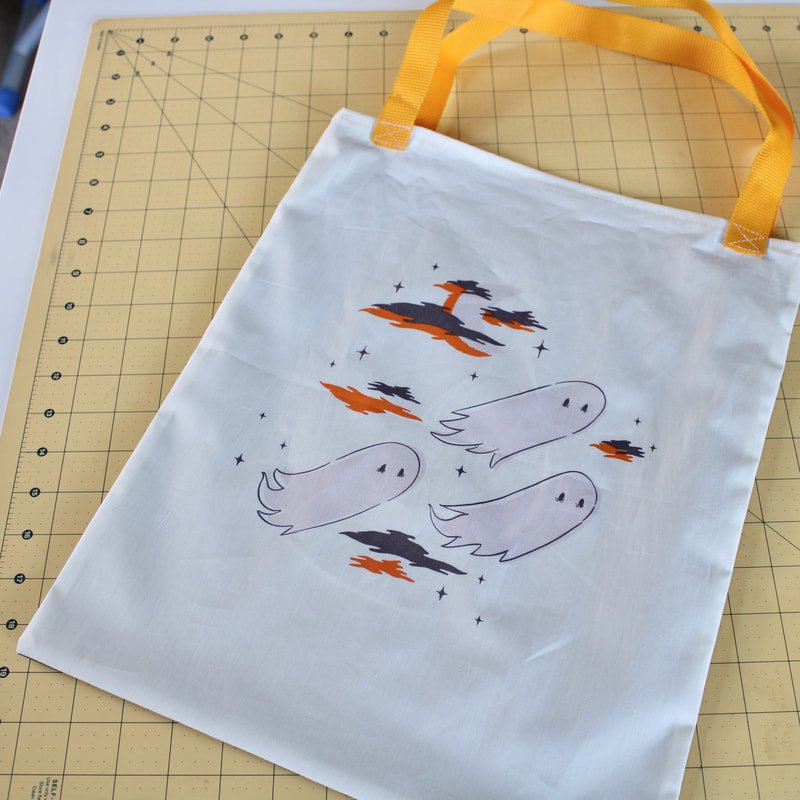
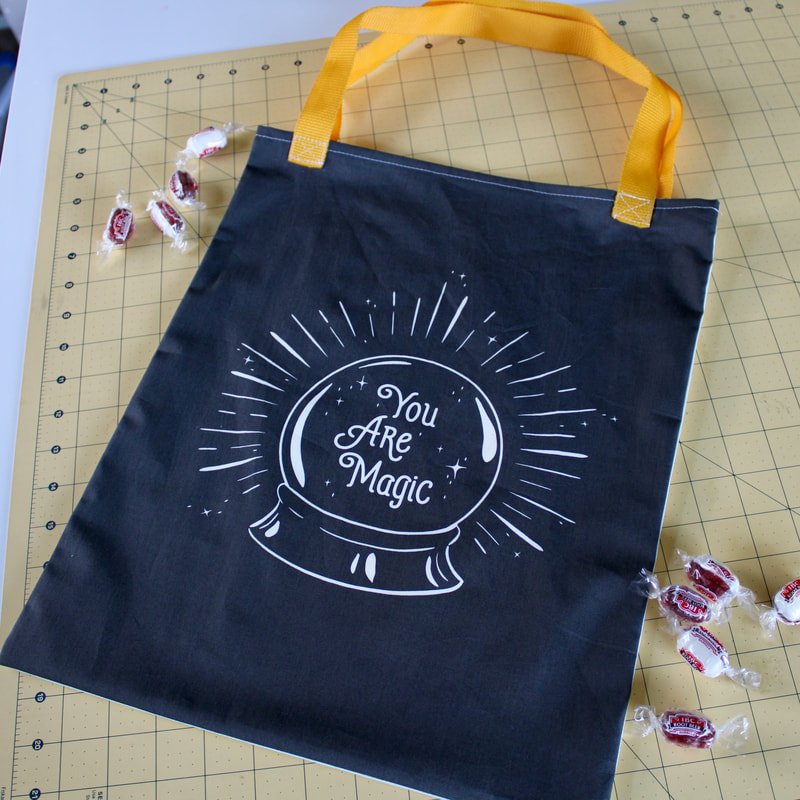
Now you have a sturdy bag to head out and fill with candy with!
If you have smaller pieces of Halloween fabric you could make a crossbody bag or self-tie headband. Or, even a fun little purse. And, if you want a wardrobe piece and have two yards of fabric to use up, check out my skirt post. I have 5 Halloween skirts in my arsenal now. Yikes!!
Halloween looks a little different this year. But, keep the spark alive by finding new ways to celebrate. We're going to do trick-or-treating with an Easter twist. Buckets of candy will be hidden around our property and have a glow stick inside. My kids will have to hunt for their candy this year. My older kids plan on dressing up to scare us as we walk our property. We'll have our usual chili and cornbread dinner and watch a Halloween movie outside unless the weather doesn't participate.
What are your Halloween sewing plans? Please share in the comments below. We all could use some new ideas.
Happy Halloween, sewing friends!
XO,
Annette


