Pattern Reviews, Sewing Hacks, Tips & Free Patterns
Sewing Blog Besties
Halloween Sewing Projects
Sew your own Halloween home decor pillows or trick or treat bags. It’s easy to do.
Once upon a time, there was a not-so-old lady who bought some fabric she didn't have any plans for. She saw it online and had to have some. No clue what she'd sew with the fabric, she bought it anyway.
That's the tale of every sewist at one time or another, right? We buy fabric without a clue what we'll use it for. We just love fabric. Give us aallll the fabric!!
Here are some spooky things you can make with your new or old Halloween fabric. Disclaimer: they're not really spooky. ;)
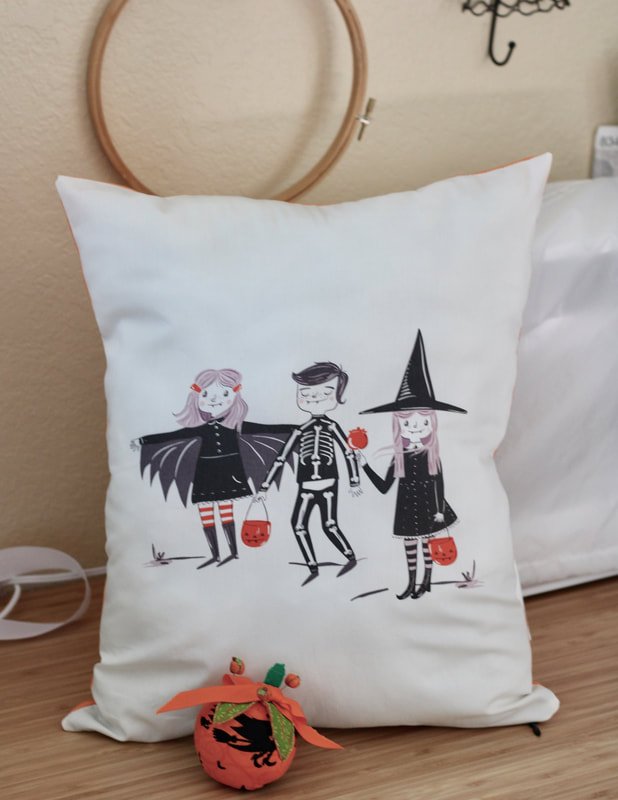
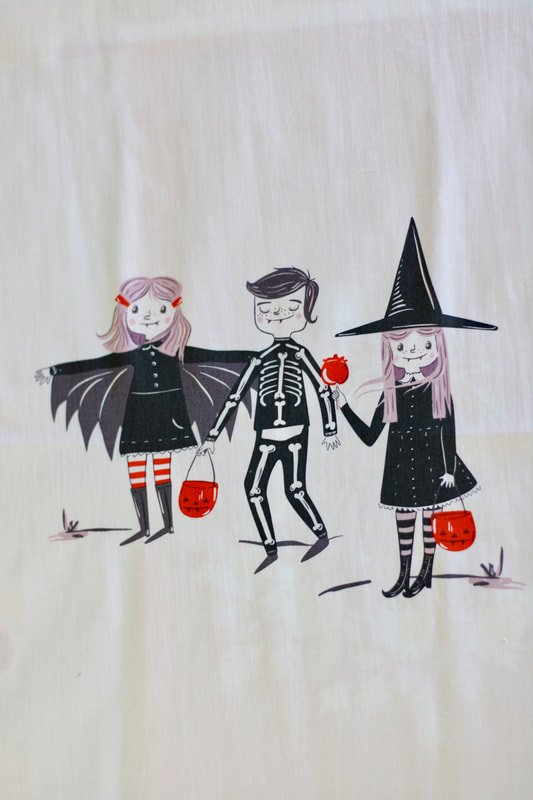
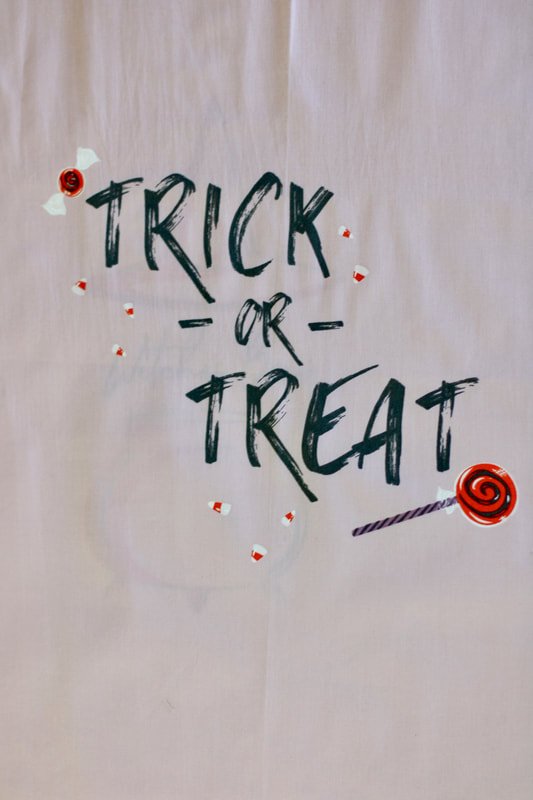
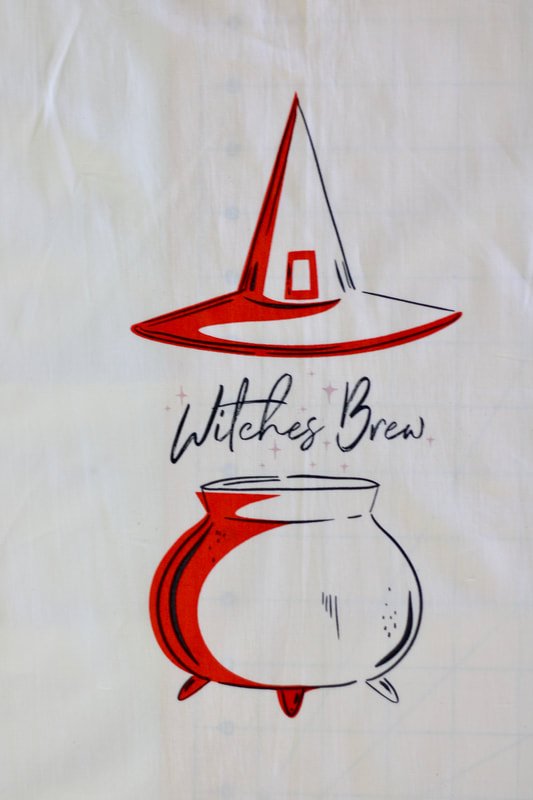
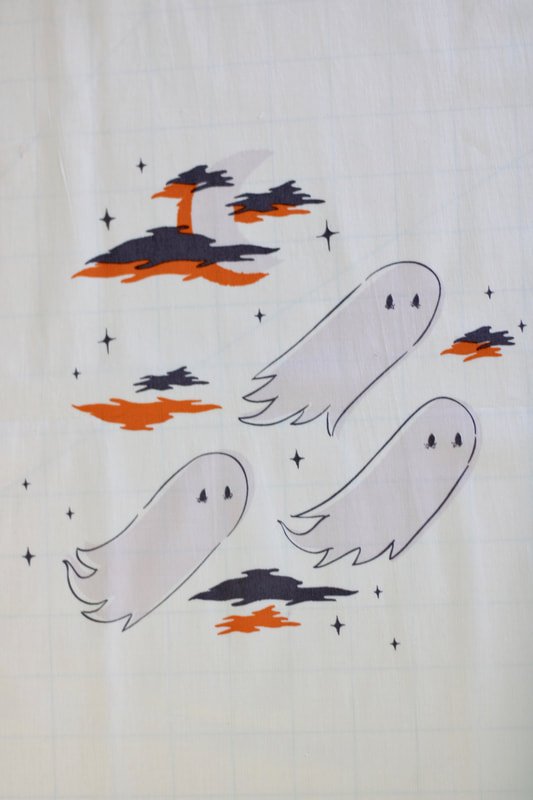
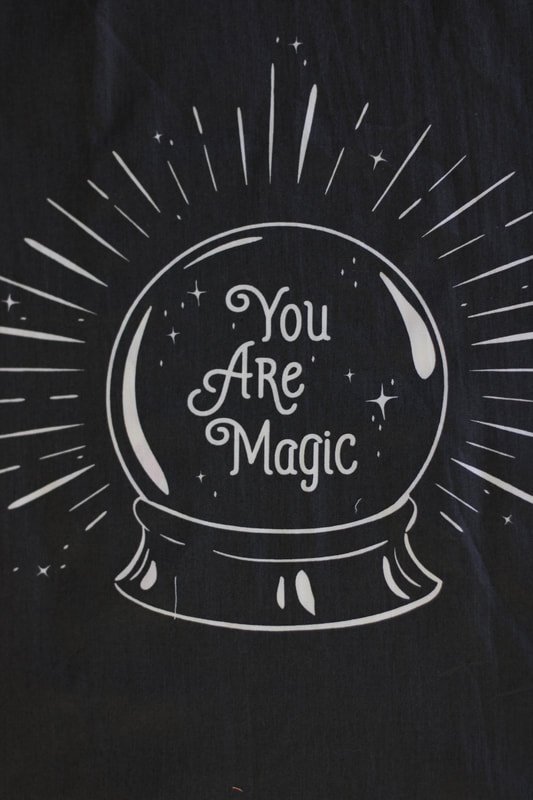
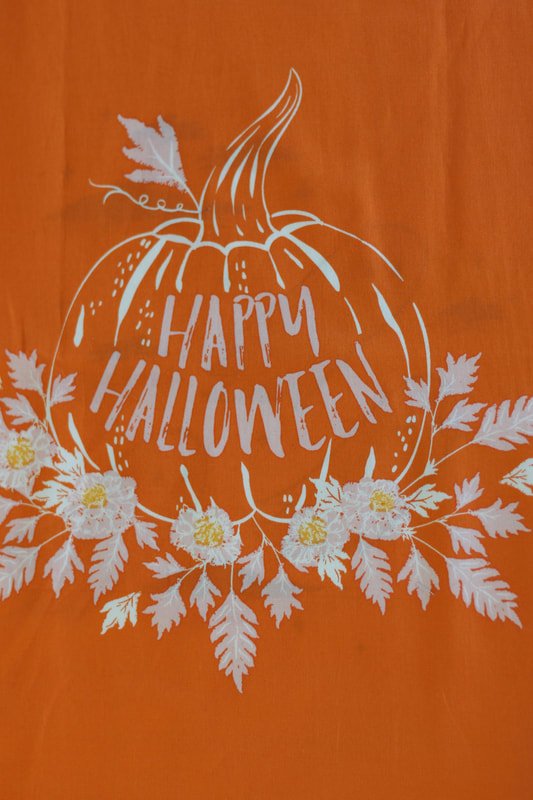
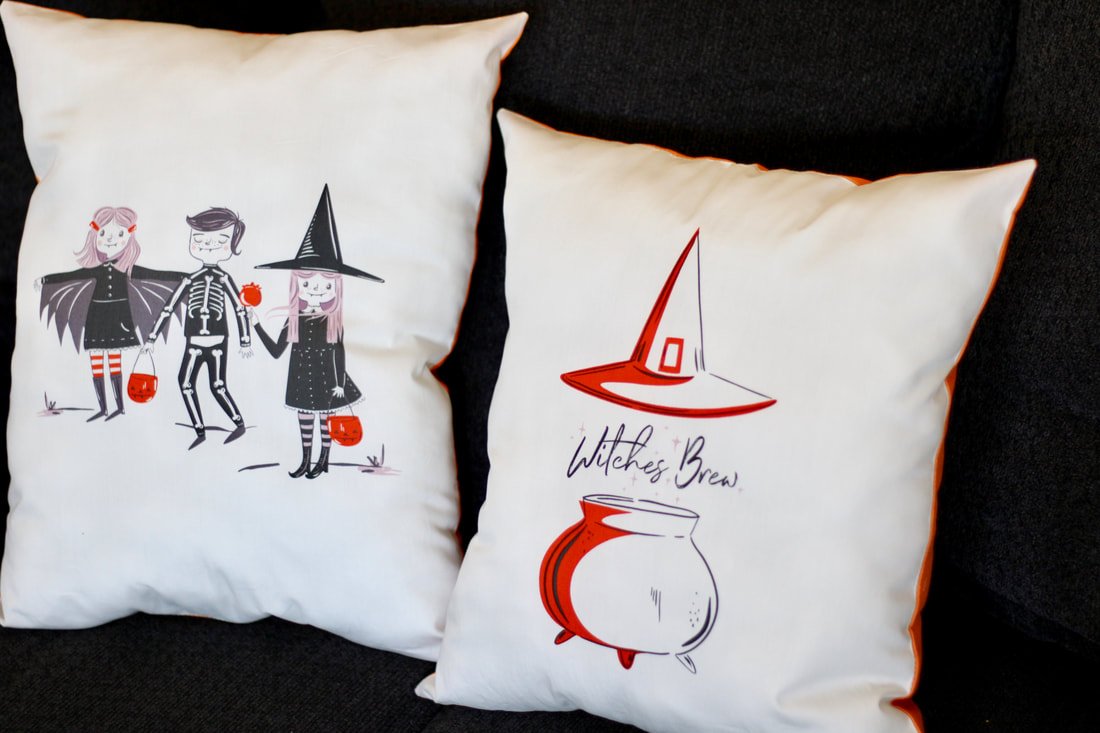
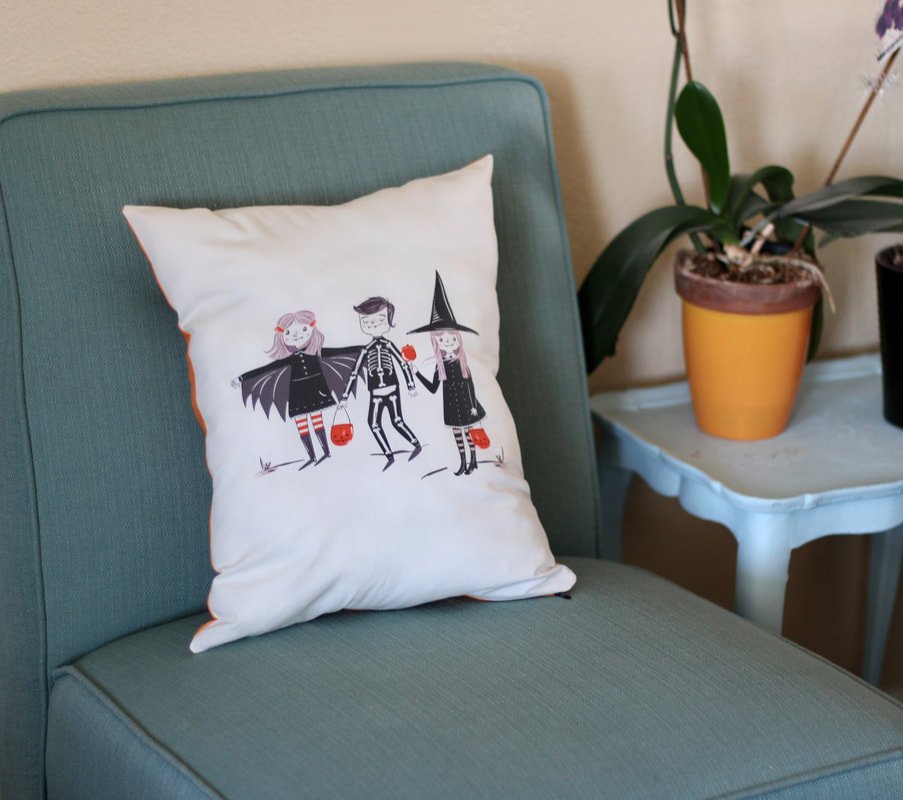
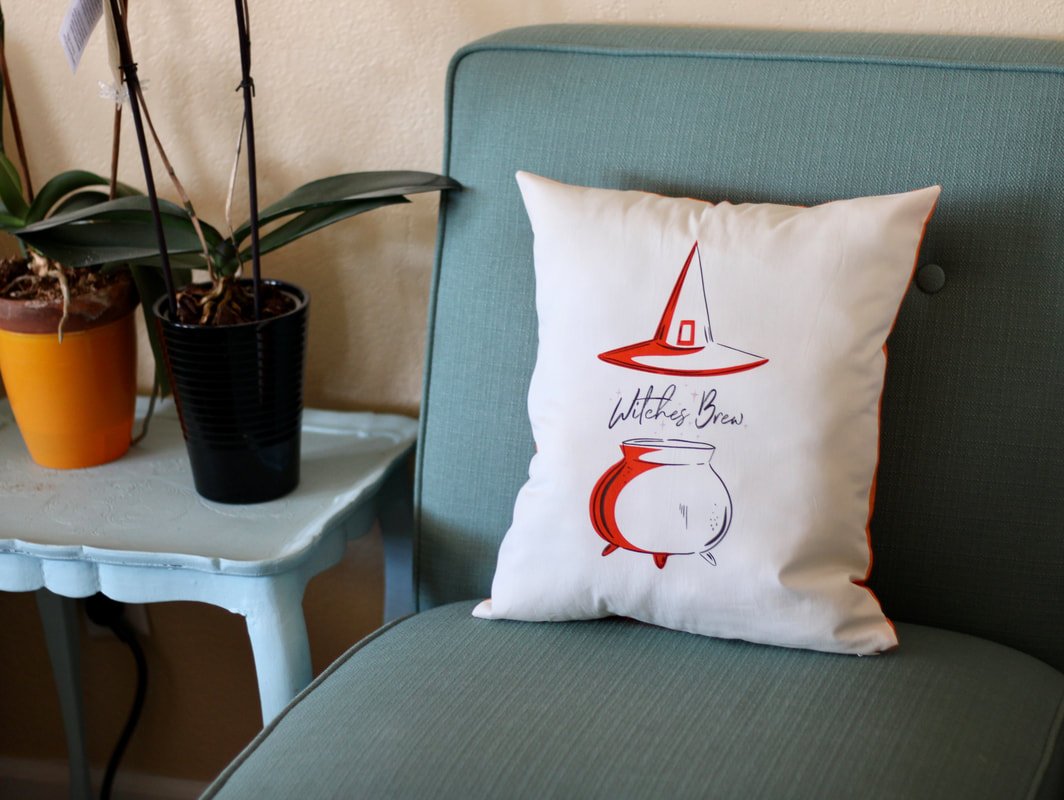
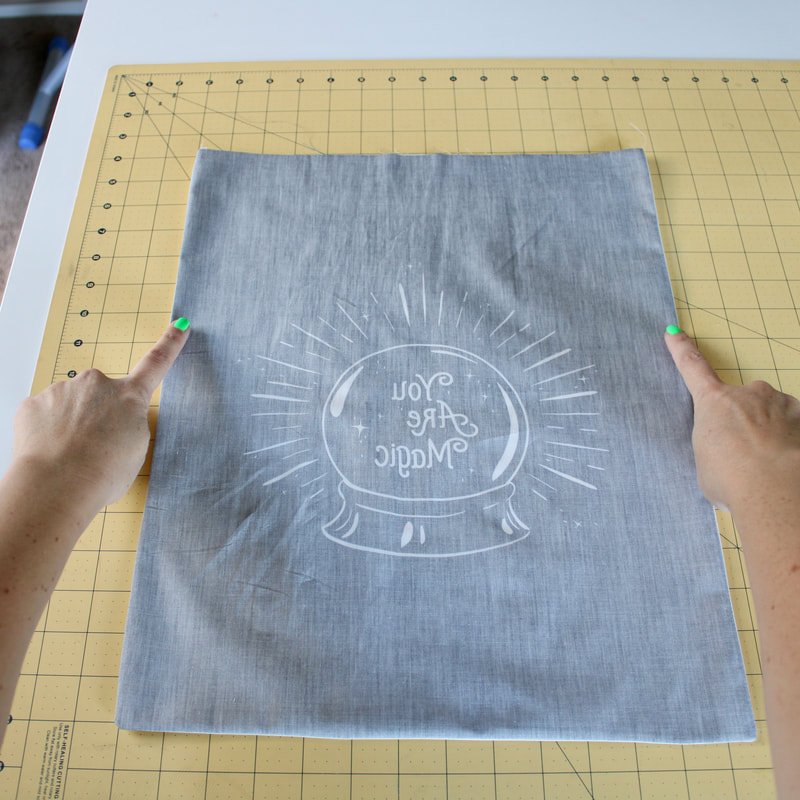
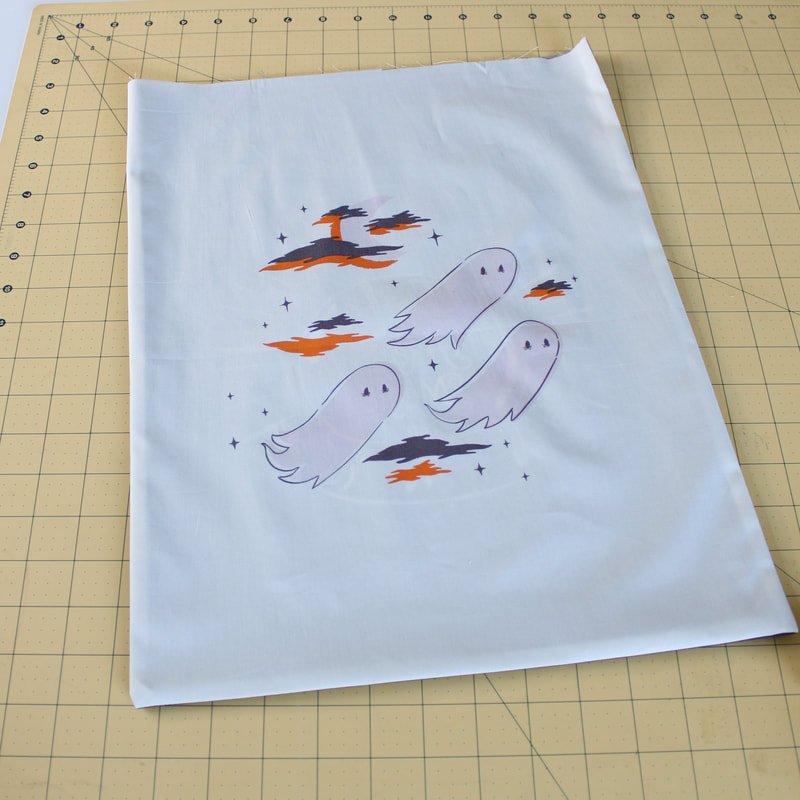
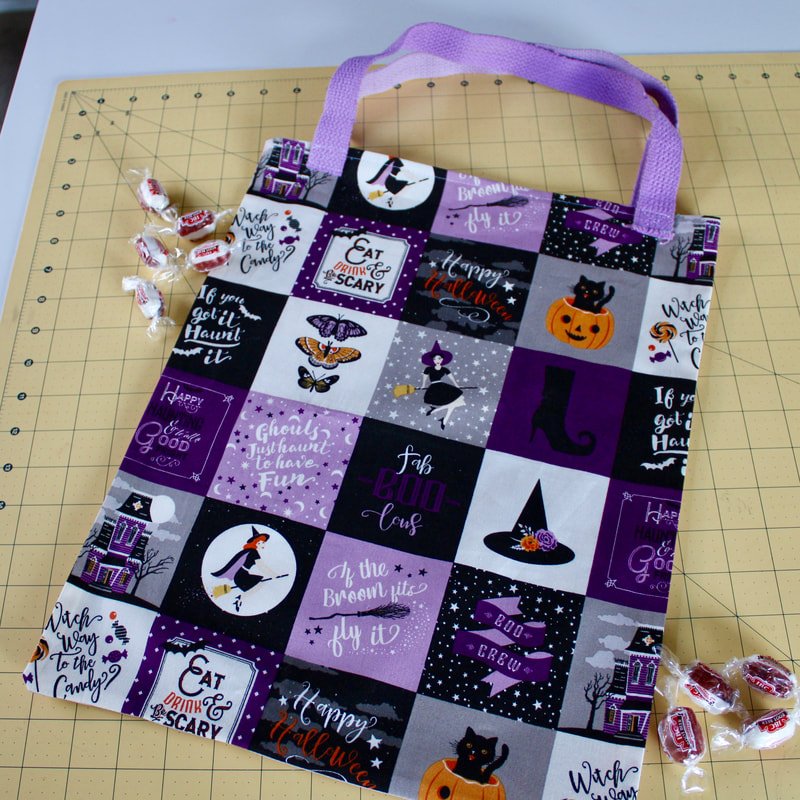
I recently bought a Halloween fabric panel online. The designs were much larger than I anticipated because...online shopping. There are six rectangle designs in the one-yard panel. So, I made two pillows with my favorite ones and trick or treat bags with the other ones. I had orange Kona cotton in my stash which was perfect for the backside of the pillows. These are not lined and are meant to be an easy sewing project.
The fabric is Art Gallery Fabric and from their Spooky and Sweet line. Which one is your favorite design?
Halloween Pillows
You will need:
1/2 yard of Halloween fabric
Bag of fluff to stuff the pillow or a pillow form
Sewing machine and notions
Invisible zipper (or regular if that's what you have on hand)
Witch Hat Pillow
I chose the witch hat for one pillow. Pinned a matching invisible zipper in place. See those cute pumpkin pins? My friend made them for me. Squeee!!
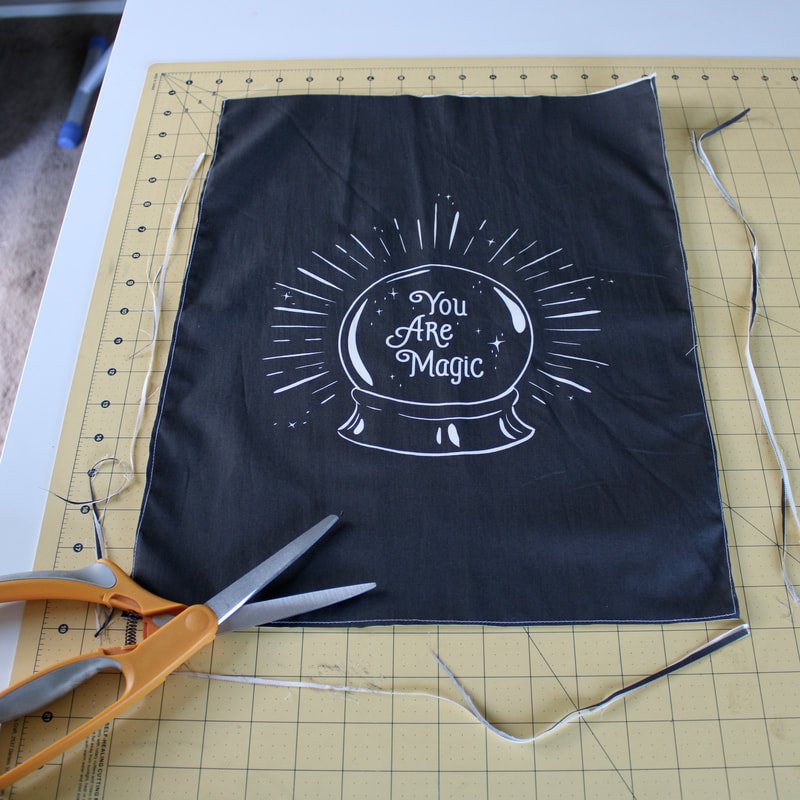
Cutting out the large pieces. Ignore the wrinkles. It was easier ironing each piece individually.
If you have a panel like this, it makes pillow making easy. Just cut out the design you want to make the pillow with. Place it on top of the fabric you want to use for the back, using the rectangle as the pattern. Trace and cut.
If you don't have a design piece like I used, grab a couch pillow and measure it. Write down the measurements on paper and add a 1/2" seam allowance. Use your ruler, chalk marker, and scissors to mark and cut out 2 pieces of coordinating fabric. Place your zipper on the bottom end of the pillow. I used an invisible zipper but, you can use what you have on hand. Buttons are always cute too. Just be sure to add extra length if you choose that route.
This is Halloween sewing, it doesn't have to be fit for a queen. It's supposed to be spooky fun! Turn on some Halloween music and just enjoy the process.
Invisible zippers are supposed to be hidden. This one turned out perfectly, whew!
Sewing the invisible zipper.
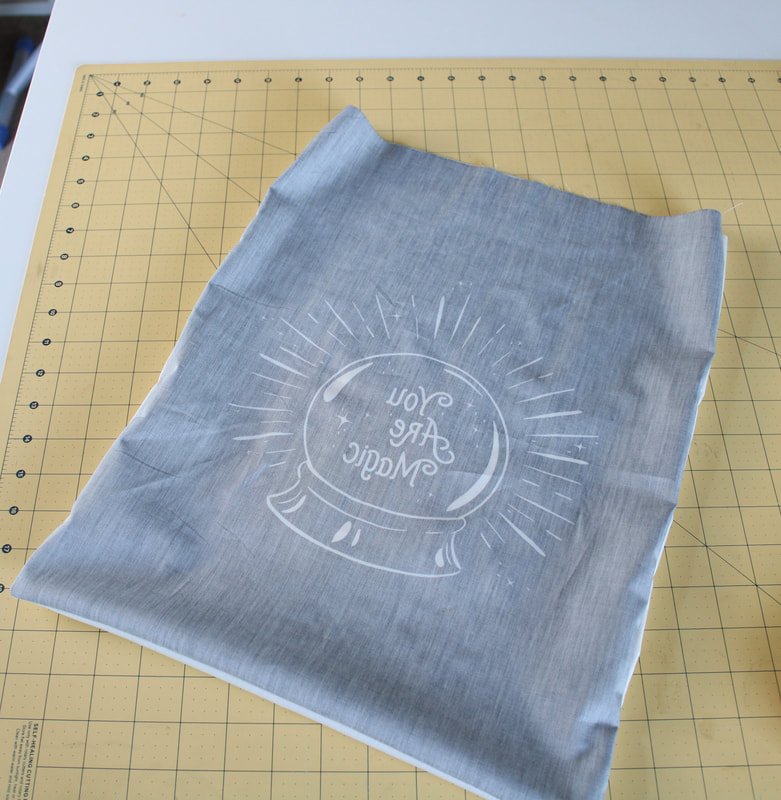
After your zipper is in, check to make sure it is smooth and not catching any fabric. Open it up about halfway. Fold the pillow with RTS (right sides together) matching corners and edges. Pin or clip together. Depending on how long or short your zipper is, you may need to sew the seam a few inches at each zipper end. *If using an invisible zipper, stitch 1/8" away from the zipper seam. This keeps it from puckering and gives a nice finish.
Clip corners and seam allowances if needed. Turn right side out, gently poke out corners with your fingers or blunt end of a chopstick. Go grab the pillow form or bag of fluffy stuffing. I give this job to one of my kids. They love to stuff the pillows. The pillow will turn out like a limp noodle or a stuffed pig, depending on the child. LOL
Trick or Treat Bags
You will need:
1/2 yard or so, of Halloween fabric
Webbing for handles (you can use grosgrain ribbon if you have that)
Sewing machine and notions
Sew the sides and bottom together.
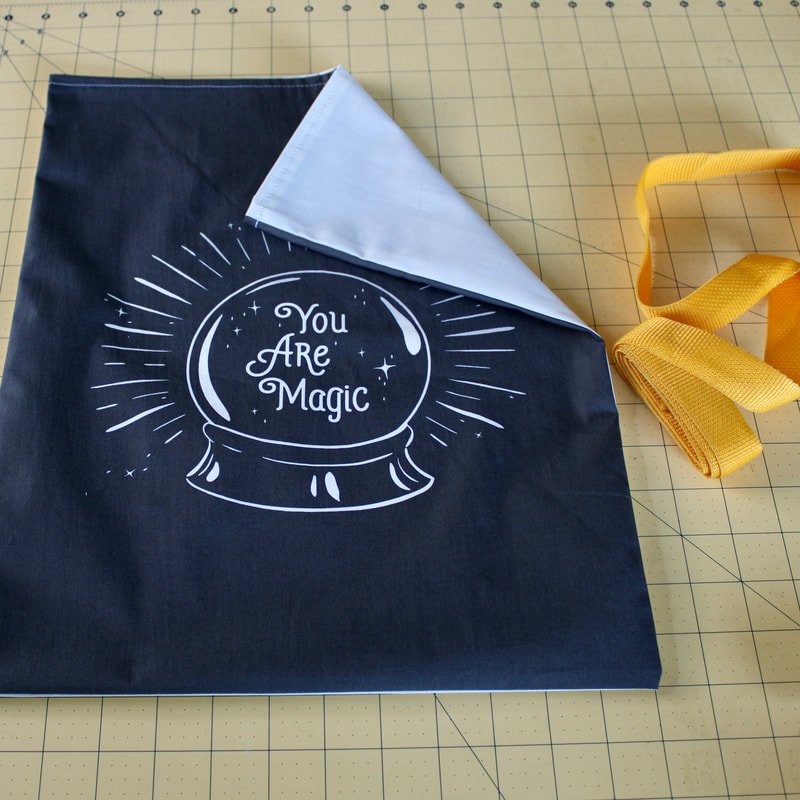
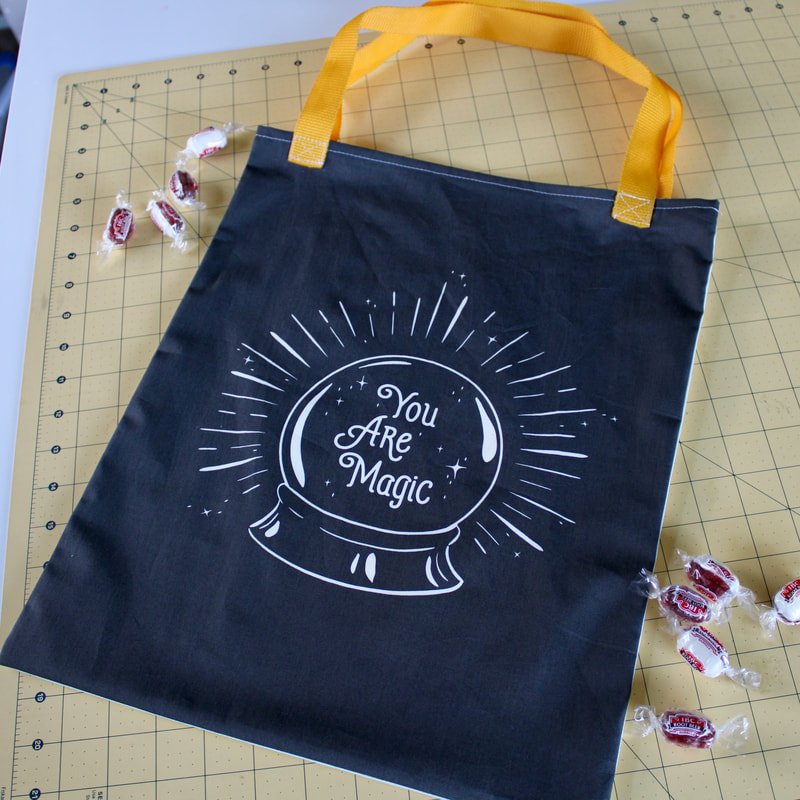
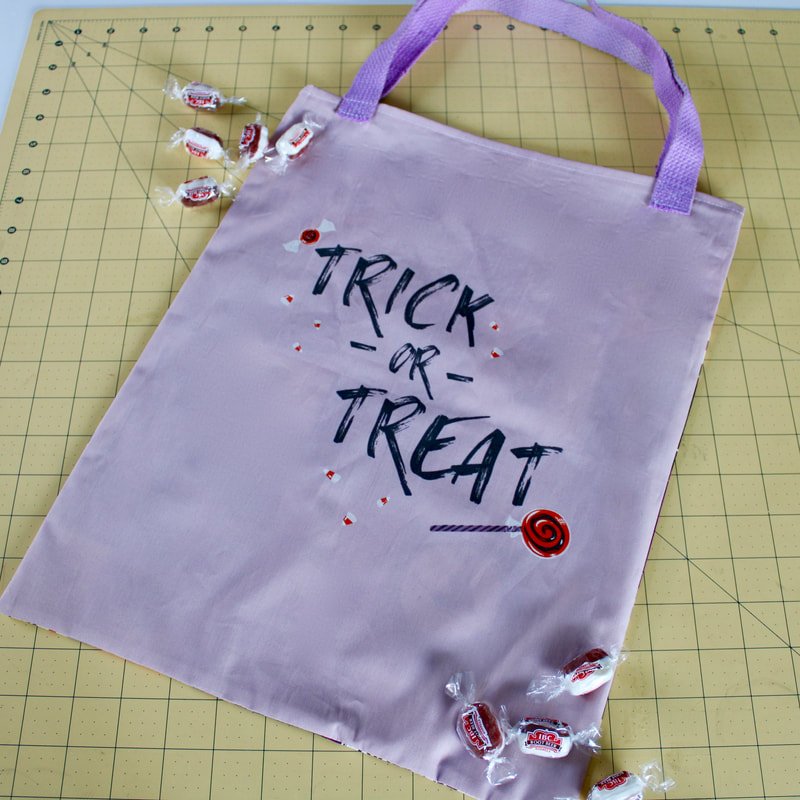
These are quick and painless and I did not line these. They only hold candy for one night so, they don't really need a lining. If you're unsure about the weight of candy from trick or treating, we're reinforcing the seams. You're going to use a french seam finish. Let's get started.
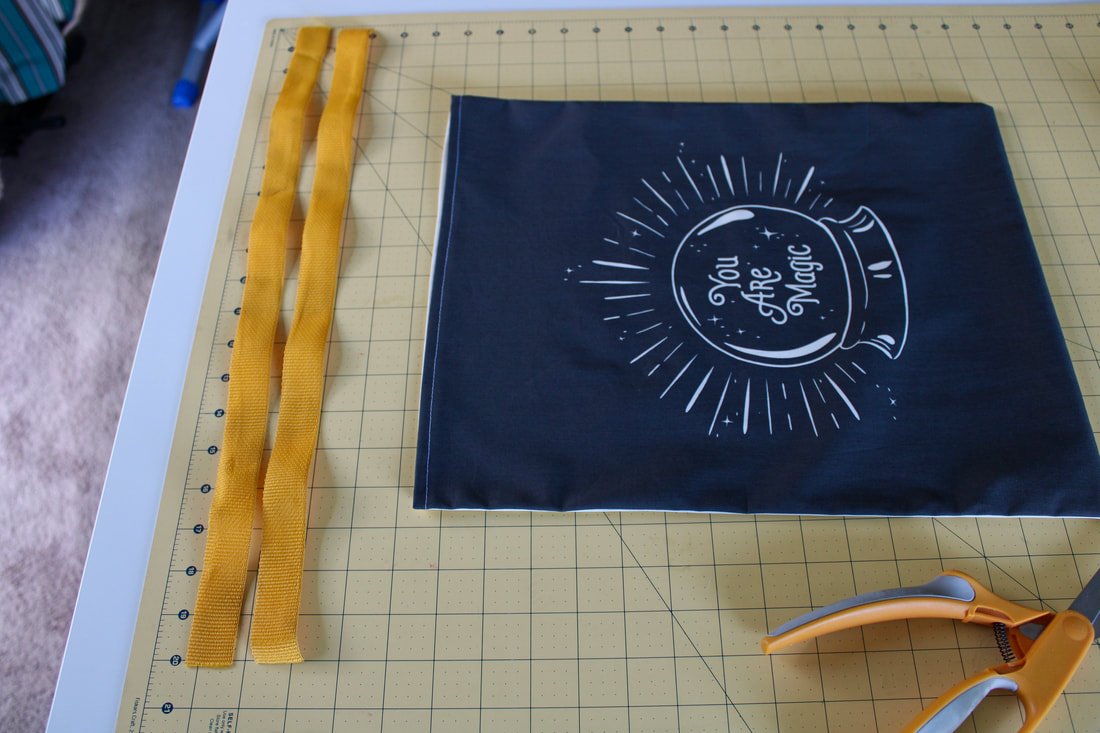
Cut out a rectangle the size you want. Make sure you add a 1/2" seam allowance in your measurements.
My pieces were 14" wide by 17.5" tall. A perfect size for a trick-or-treat bag. Long gone are the days of the pillowcases.
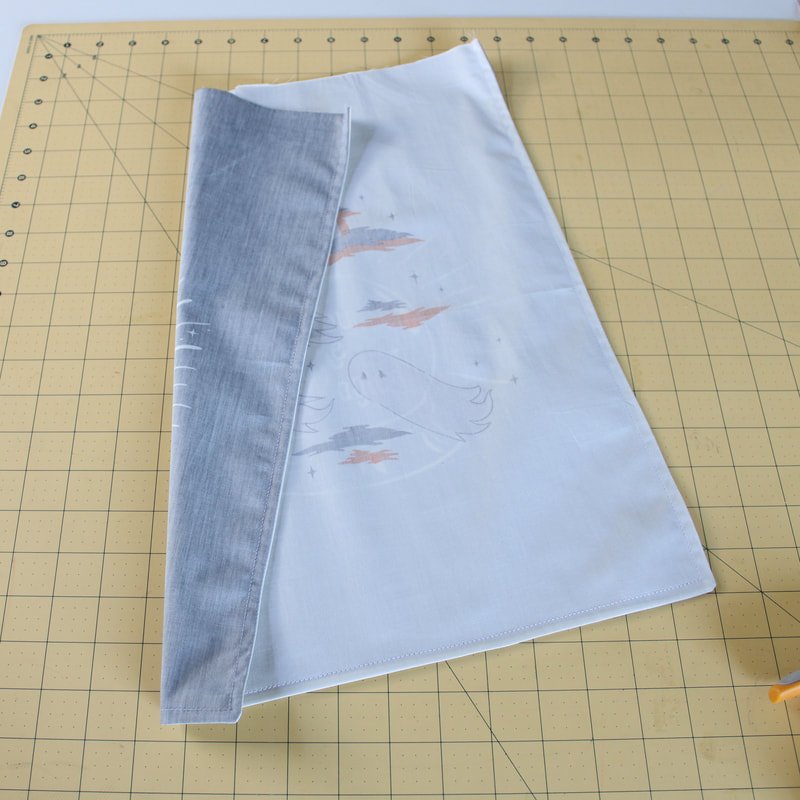
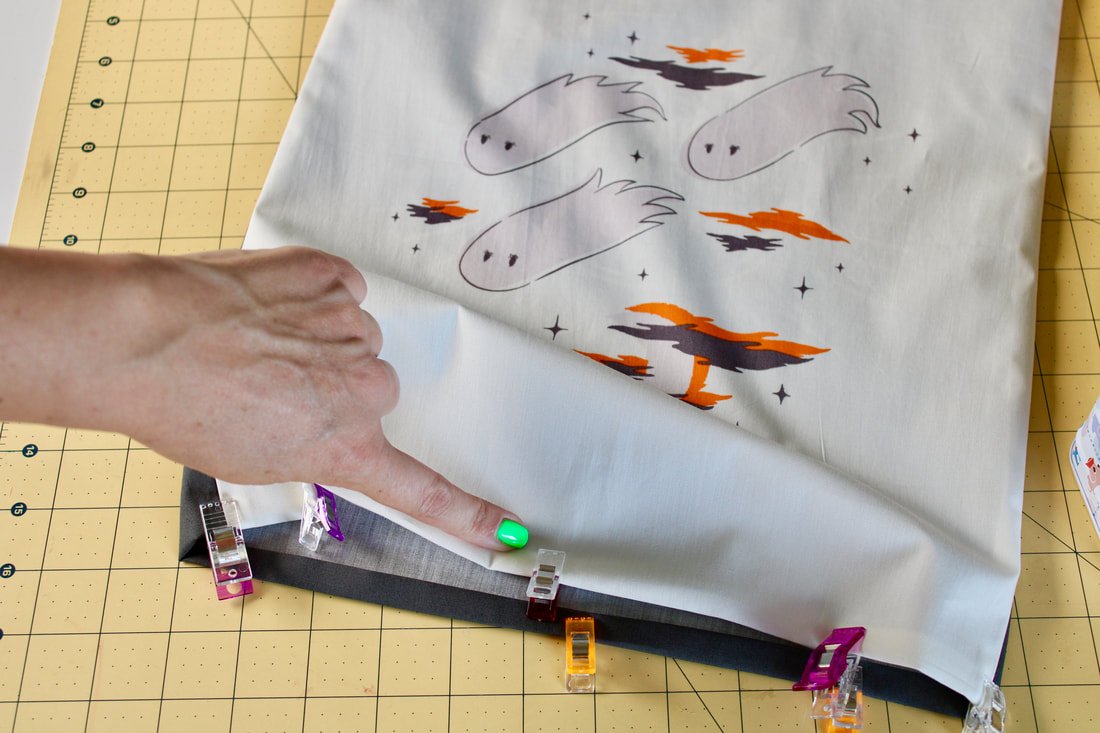
Lay your two bag pieces WST (wrong sides together), I'm not crazy, stay with me. You're going to sew a French seam. It's easy, I promise.
Pin or clip the two sides and bottom edge. Sew with a 1/4" seam allowance, backstitching at the start of one side and finishing up all the way around to the next side.
Turn it inside out (your bag should be inside out). Trim the seam allowances as close to the seam line as you can. Press the seams flat. It's very important to trim the seams allowances, otherwise, you could end up with the raw edges poking out.
Stitch 1/4" seam around the sides and bottom, backstitching at the beginning and end. The raw edges should be fully enclosed now. Press flat.
Turn under, and under again for the top of the bag opening.
Take the top edge and fold under 1/4", then under 1/4" again. Topstitch around the whole top. I like to use a 3.0-3.5mm stitch length for this. Press flat.
Now for the bag handles.
Measure on your child how long or short you want them. Does your child want shoulder length or handle length only? I cut my handles 20.5" long.
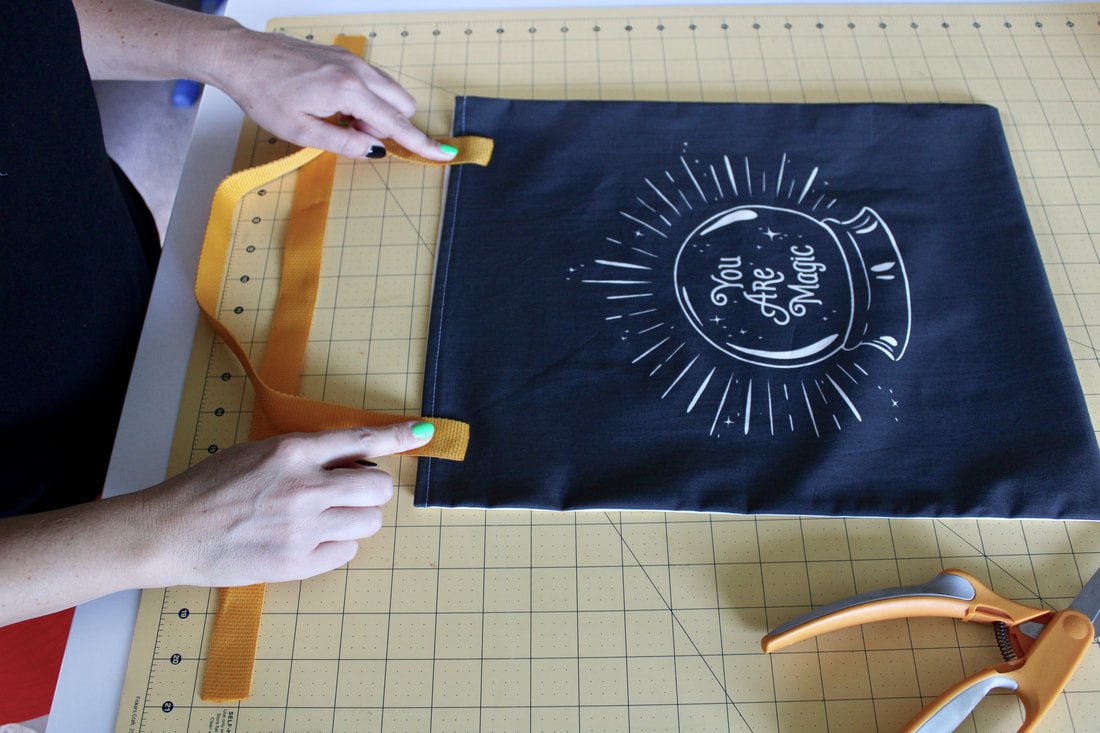
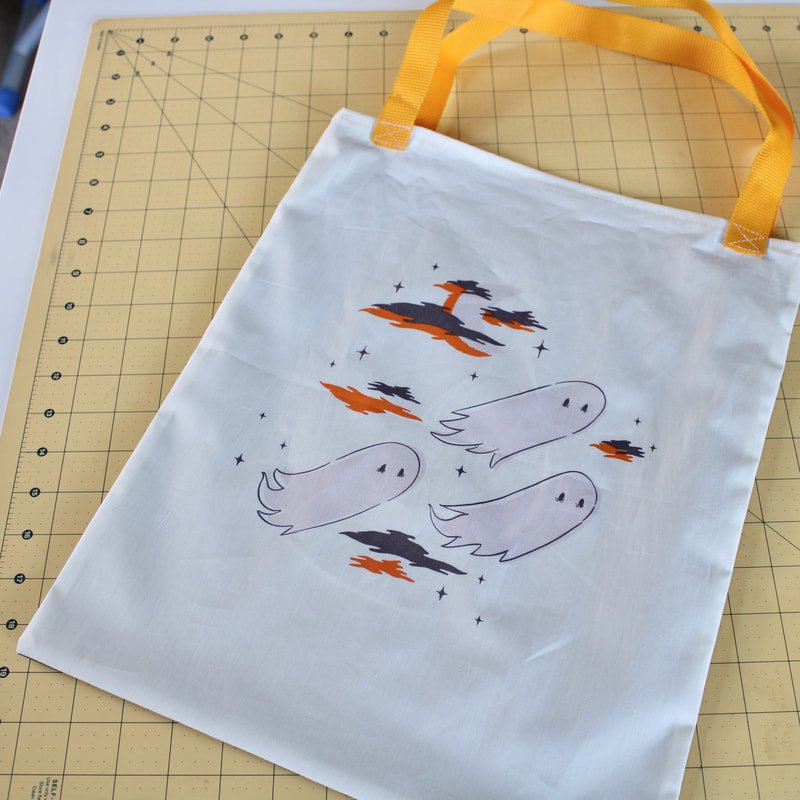
Position the straps about 1.5-2.5 inches in from side seams and pin. Sew a box and X to secure the handle to the bag.
Now you have a sturdy bag to head out and fill with candy with!
If you have smaller pieces of Halloween fabric you could make a crossbody bag or self-tie headband. Or, even a fun little purse. And, if you want a wardrobe piece and have two yards of fabric to use up, check out my skirt post. I have 5 Halloween skirts in my arsenal now. Yikes!!
Halloween looks a little different this year. But, keep the spark alive by finding new ways to celebrate. We're going to do trick-or-treating with an Easter twist. Buckets of candy will be hidden around our property and have a glow stick inside. My kids will have to hunt for their candy this year. My older kids plan on dressing up to scare us as we walk our property. We'll have our usual chili and cornbread dinner and watch a Halloween movie outside unless the weather doesn't participate.
What are your Halloween sewing plans? Please share in the comments below. We all could use some new ideas.
Happy Halloween, sewing friends!
XO,
Annette
7 Sewing Myths, Busted
7 Sewing myths, busted. Truths and lies about sewing and people who sew. Sewing isn’t cheaper than buying clothes. It’s not only for old ladies either. Let us bust some of these common sewing myths.
Wow, sewing sure seems to have made a popular comeback! Let's debunk common misconceptions about sewing and the people who do it. Whether you're new to sewing or a seasoned seamstress, you may have heard some of these tall tales. Let's put an end to them, now. Since more people are sewing nowadays, it'll be easier to make new sewing friends. Hopefully, fabric and notions will be easier to find as well.
Let's dive into a few sewing myths and bust them!
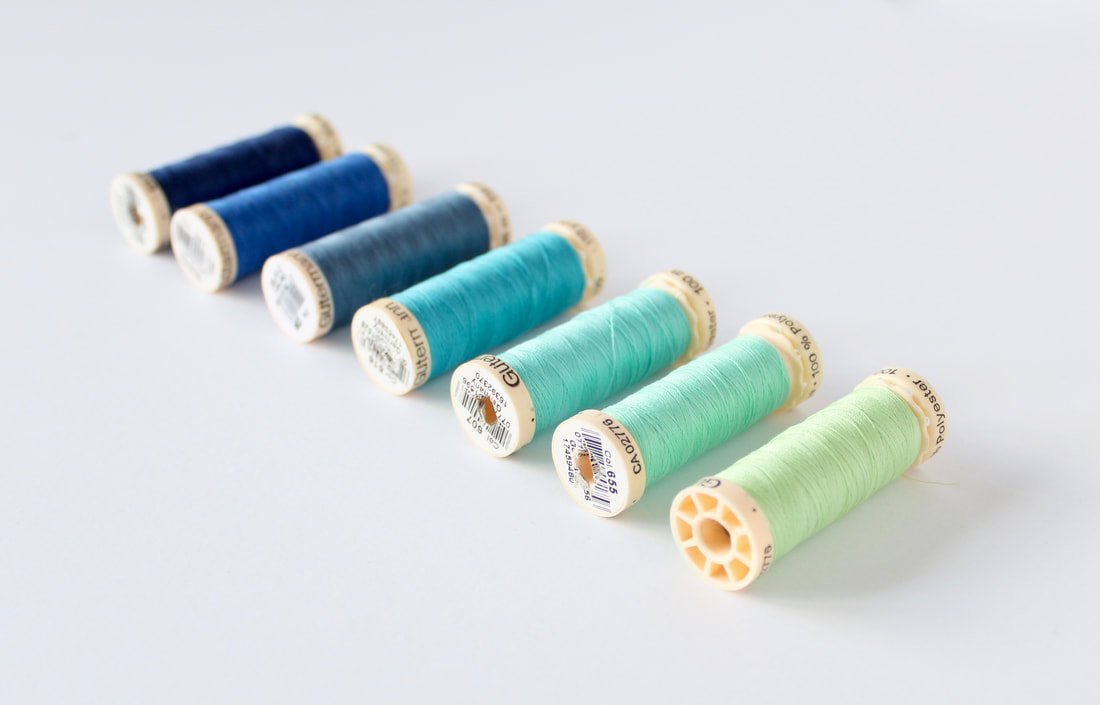
Vintage wooden sewing spools
1. Sewing is for old ladies
A common sewing myth is that sewing is for an older generation only. I'm here to tell ya, that more young people are learning how to sew. And, men sew too. My husband learned to sew when I put him to work for mask making. If you don't know where to start, you can find online classes, head to your local college and sewing shops, or even ask a friend to teach you. Sewing people are everywhere, you just gotta look.
I have taught a handful of friends and family that I don't consider "old ladies". However, I do refer to sewing as one of my old lady hobbies. LOL. Oh, and kids sew too. I have taught all 4 of my kids to sew at a young age. It's a good life skill to have and it's not being taught in school anymore. Here's an article I found online about young people sewing more and more. I'm not crazy, I swear! Sewing is for everyone.
Busted!
2. Sewing is cheap
LOL! I always laugh at this one. Sewing is often more expensive. A lot more expensive.
Making something from start to finish is costly. You walk into the fabric store and buy a pattern (or online) for roughly $12. You need a minimum of 1-2 yards (for most garments) of fabric which costs roughly $20+. A spool of electric blue thread to match your new fabric, $3. You need a new pack of needles too, $5. Not to mention the price you paid for your machine and all those other glorious notions you've put hard-earned money into. The cost is $40+ just for the 4 items I mentioned. And, I didn't include the price for your time. Time is money and you know it doesn't take 10 minutes to whip up a dress for little Suzie.
You can buy a nice top or pair of shorts for $25 at a big box retail shop.
This misconception always gets me and it hurts my feelings sometimes. I love making gifts but, I've gotten looks and questions asking why I didn't buy something instead. Sigh. It takes a lot of time and energy to sew something. It ends up costing more than if you purchased the same item in the store, usually.
Let's spread the word and lay this myth to rest.
Busted!
3. Only talented people can sew
Remember the movie Ratatouille? The chef's motto was "Anyone can cook." Welp, I believe anyone can sew! Seriously! I truly believe anyone can sew, anything.
This is a silly misconception that even runs in the sewing community. I've met sewists who say they could never make bras or they could never make a certain garment! Um.. yes you can! If you have the drive to sew a pot holder, you can make a prom dress. You can make anything you put your mind to. Cliche, I know. But, with the right tools and experience, you can sew whatever your heart desires. Will it be cheaper than buying it? Probably not (see myth number 2).
If you want to make something that seems crazy and difficult, search for it on youtube. You'd be surprised at how much info is out there. Not everything is there though, and that's why I started my blog. Shameless plug. ;)
Busted!
Photo by Erica Lancaster
4. It's an inexpensive hobby
Sewing can be frugal or it can be really expensive.
If you were gifted a sewing machine and boxes of fabric and notions, you're on team frugal. You can use bedsheets to make dresses. Scour yard sales for patterns and buy scissors at the dollar store. It can be a frugal hobby. *Never use old thread though. Please, splurge and buy new spools. Old thread breaks easily, causes issues with your tension discs, and creates more lint.
However, if you are new to sewing and don't have a hand me down machine, you'll have to buy one. They cost upwards of $100. You should start with a basic machine and if you love it, upgrade a few years down the road. This is my upgraded one. Fabric and interfacing cost money. Thread, bobbins, needles, and rulers are needed to make everything. Scissors. So many pairs of scissors are needed. Fabric shears, thread snips, paper scissors, applique and embroidery scissors, and pinking shears, I have so many pairs of scissors. A rotary cutter and self-healing mat are nice, but not necessary. Not to mention elastic, buttons, sewing feet, zippers, and tons of other fun notions you have to have. Oh and don't forget about a seam ripper. Because... sewing. Seam rippers are the second thing you need after you purchase your machine. You'll need an iron and ironing board too.
I didn't list everything for sewing, but these are the basics. Sewing is not an inexpensive hobby. Eeek!
Photo by Erica Lancaster
5. Handmade looks homemade
Making a handmade gift for someone is such a sweet gesture. But, not all sewing is created equal. If a sewist takes shortcuts and skips pressing all the seams, the item will look wonky and homemade. We don't want that.
When you think of handmade, you should think of artisan quality. You shouldn't think of little Darla's card she made for grandma last summer. Handmade is often better quality than what you can buy in a store. It's made with love and the person has looked it over twice before giving it away or selling it. This is true as long as the artist doesn't take shortcuts. Seams need to be pressed, under stitching needs to happen, and interfacing must be used when needed. That being said, practice makes perfect stitches. Someone who is a passionate sewist takes their time and creates something beautiful.
Let's change the stigma on the term "handmade". Think artisan-made instead.
Busted!
Photo by Erica Lancaster
6. If you sew, you need to sell
Nope, not true. This is a huge misconception. If you sew, you do not have to make items to sell. Sewing is a hobby, just like gardening, painting, or listening to music. Just because you love it doesn't mean you have to turn a profit. I sew and I choose to make things to sell. But, there are many folks out there who sew every day and never sell their items.
If you don't feel like your skills are developed enough to sell, then don't. If you don't want to make things to sell, don't. Also, if you are a new sewist, you need time to perfect your skillset before you should sell. You want quality products at your craft booth or online shop.
Don't beat yourself up over it either. If sewing items and selling them at local craft shows makes you happy, then do it. But, don't let someone make you feel bad if you don't sell stuff that you make. It's your hobby. Yours. You do what you want with it.
And, no, I won't hem your pants. Hemming and sewing are 2 different things in my book. One is fun, the other is soul-sucking. Hahaha
My husband's pants get hemmed at the cleaners. #sorrynotsorry
Busted!
7. Quilting and sewing are the same
I'm probably entering controversial sewing territory.
But, I sew. I don't quilt. To me, they are different. Quilting uses quilting cotton fabrics. You sew rows of different pieces of coordinating fabrics. Cutting must be precise and it can take many, many hours to complete a quilt. They can be in blanket form, placemats, bags, jackets, etc. You then sandwich the pieced front to a solid back with a layer of batting inside. Then, you stitch rows or swirls on top to keep all the layers together. I have made a few quilted table runners for the holidays. I bring them out and place them on the coffee or kitchen table for the holiday. Then, put them away until next year.
But, to some, quilting is extraordinarily fun!!
I.... love sewing and the process of sewing. Finding that perfect pattern. Looking and touching pretty fabrics for said pattern. Figuring out the fit for your body. Making a muslin, or not.
If you sew a garment, you have something you can use every day. The key term is use. If I spend hours on something, I want to use it. I want to wear it out into the world. I want to show it off!
My mom has made the most beautiful quilts and I hope to get one, someday. I sew. I don't quilt.
Busted!
UPDATE: I made a quilt! And, I liked it. I made two, actually. Shhh, don’t tell anyone.
I'm sure I missed tons of other sewing myths, but these are the top ones I wanted to bust for you.
Please share in the comments below any myths or stereotypes you've encountered.
Thanks for hanging out today and happy myth-busting!
XO,
Annette
Face Mask Patterns
Making masks during the 2020 pandemic. Masks are needed for medical workers and everyone else to go out in public. Many designs and styles to sew.
Face masks. Are you wearing one? Have you made them for friends and family or to donate? I've donated more than I can count. Sent masks to friends and family. And I've made them for my own family. We are now required to wear them when we leave our house.
What a world we are living in right now.
I have made masks using a few different patterns and wanted to share with you, some on my favorites.
They don't require a ton of time or materials.
Materials Needed
Cotton fabrics
Interfacing- I used lightweight or sheer
Thread
Elastic- FOE, 1/8"-1/4", 3/8"
Bias tape, purchased or handmade
Ribbon, knit fabric straps, etc.
Floral wire & a pair of wire pliers
Sewing machine and notions
Seam ripper, because... sewing
Pinup cat masks
Sweet Red Poppy bias tape Face mask. This tutorial is easy and my favorite mask to wear. The mask is comfortable and forms to the face. It is not, however, a quick sew. If you want to batch-sew these, you deserve a trophy. These babies are no joke. Easy enough to make 3 or 4, but not so easy if you're making 50.
Made Everyday by Dana fabric face mask. Her pattern is super easy and makes for a quick sew! I've made tons of these for donations. I also used ribbons in place of the knit fabric ties. Check below for an altered option I used, to make these.
Melanie Ham 10-minute face mask. These are perfect for sewing tons. They're quick and easy. I personally have not made this exact pattern. I did, however, make one similar and used 9x7 measurements for the fabric. I also did 3 pleats. But, this is similar in construction.
Mask Video I found on Pinterest. This one is nice, it has elastic ears, nose wire, and a filter pocket. NOTE: can only be made with multi-directional fabric. I mostly buy one directional fabric, but I made one of these. It looks nice and fits well too. It has a very professional finish in my opinion.
Check Pinterest and YouTube for other patterns and versions. There are hundreds to choose from.
These are the exact ones I've tried, so I wanted to share. If you have questions, shoot me an email.
Sweet Red Poppy mask
Mask maker, mask maker, make me a mask. Is anyone else singing this song while making these things? Anyone? Please tell me I'm not the only Fiddler on the Roof fan. :D
Below, is my Made by Dana pattern that I've hacked. When the pandemic first started, the elastic was gone, sold out, and nowhere to be found. So, I improvised. I used FOE, fold over elastic. This is usually used for cloth diapers, headbands for babies, and other crafts. I used it to make the full-head masks. They are more comfortable to wear all day too. I cut 13" just like Dana says in her pattern. Easy peasy!
After you pin or clip the FOE in place, put on the top layer, RST. Sew around and leave a gap for turning. This is the easiest pattern for making batch face masks.
This is 50 masks in 4 hours. We (my husband, oldest daughter, and I ) made over 50 masks in 4 hours to deliver to his work the next morning. That was a crazy night. Once we found our groove, we worked flawlessly. These were all made with the FOE I was telling you about earlier.
Ignore the bad lighting, these were made at night.
Another early morning make masks to send to friends and family. What a time to be alive.
These masks were made following Sweet Red Poppy's tutorial. I love this style the best, but they are time-consuming.
Tiger King was a definite moment in our house. I had to make a face mask to honor his legacy. Free Joe Exotic!!
So, are you ready to make masks or are you burnt out like most of the sewing community? I gifted myself a new sewing machine, so I got a second wind of mask making. Stay tuned for my post on the new machine... she's fabulous!!!
Please share in the comments some mask patterns that have or haven't worked for you. Also, if you have places that are in need of donations, share those too.
Stay safe and healthy.
Warm virtual hugs,
Annette
Quick and easy baby gift
Sew a quick and easy baby gift. Burp cloths, blankets, and more.
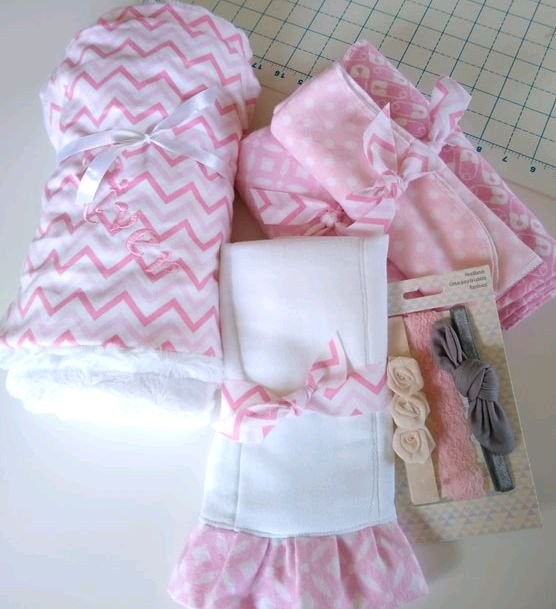
Embroidered blanket, burp cloths, swaddling blankets, and headbands.
Spring is in the air and this lady is ready for some porch time. I love waking up, going outside, and enjoying my coffee on the back porch with the birds.
I'm a simple person. Ha!
Babies and weddings usually go hand in hand with Spring. Don't you agree? I've been to a few baby showers lately and thought I'd share some easy handmade gift ideas for you to make and take to your next shower.
As sewists, we always have extra fabric that we're dying to use up. This gives you an opportunity to use it up or go shopping for new fabric. Win-win!
Let's get sewing, we've got a shower to attend!
Here’s what you'll need:
3-4 yards of soft flannel, cotton, minky, and/ or faux fur.
Matching or contrasting threads/ matching bobbins
Ribbon
Store-bought cloth diapers. I use the extra thick ones (optional)
Bowl or plate
All the sewing things
Sewing machine
Serger
After you have your fabrics picked out, it’s time to make some baby gifts.
Swaddling Blanket
Grab a chalk pen, or water-soluble pen to mark the rounded edge.
Square up a yard of soft baby flannel. I like to cut the swaddle blankets 40"x 40".
Take a bowl or plate and trace the curved edge at each corner. Or, fold the blanket in half and half again so you have all corners on top of each other. Then trace and cut.
Cut and make a few of these blankets using different patterns of flannel fabric. These are quick and they will be well-loved.
Serge around the entire blanket edge making sure to go slowly around the corners. If you don’t have a serger, zigzag over the edge. (You can fold over and under, then topstitch, but don’t round your corners if you do that.)
After you have all the swaddle blankets you want, set them aside.
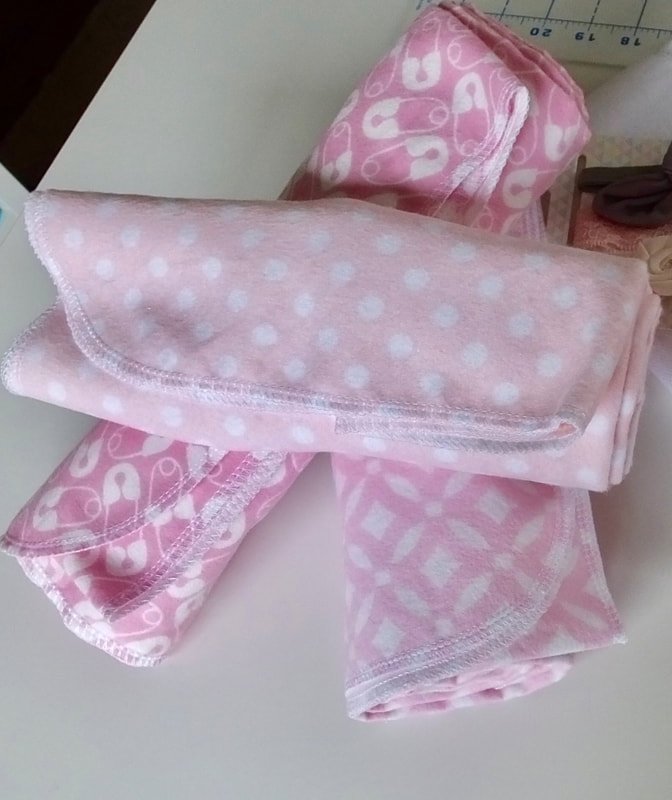
I made 3 different swaddle blankets. They are great to keep in the diaper bag, car, and nursery.
Burp Diapers
Every new parent needs burp rags. Buy a pack of store-bought cloth diapers, I prefer the thicker style ones. Measure the width and multiply that number by 2. Cut a strip the length by 4 inches wide. Fold in half like a hot dog. Serge the raw edges together or use the zigzag stitch if you don't have a serger. This is supposed to be quick and easy. Don't stress over edges that aren't perfect.
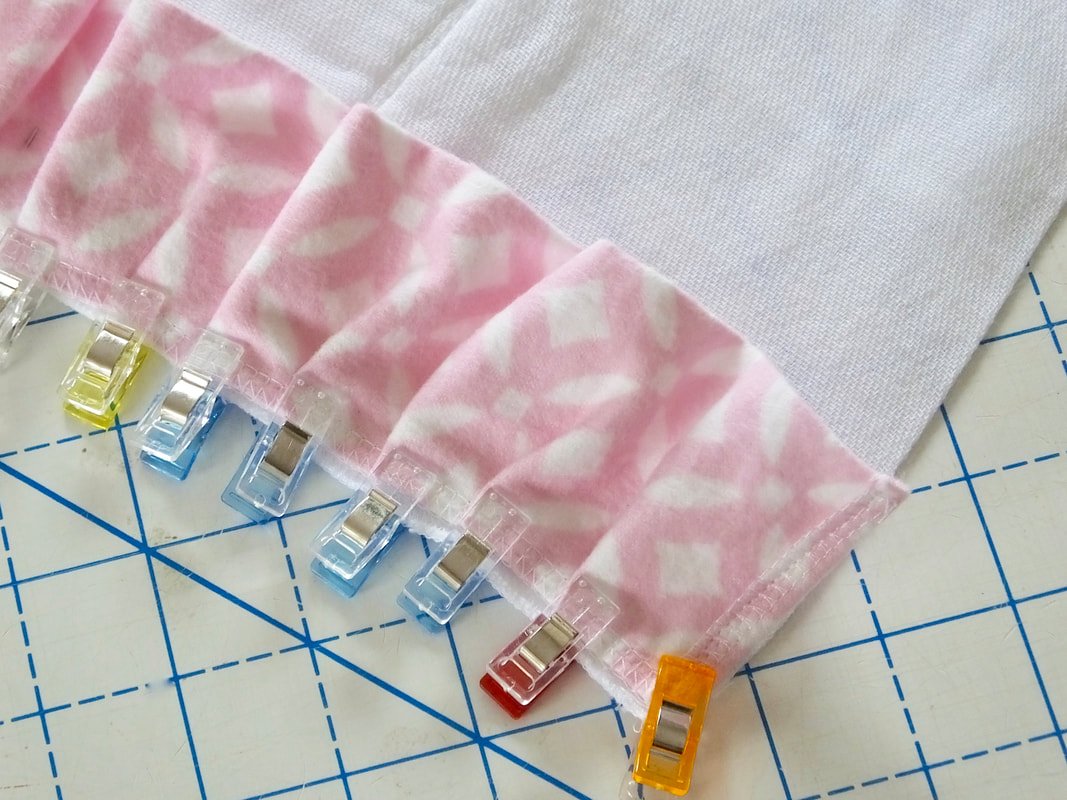
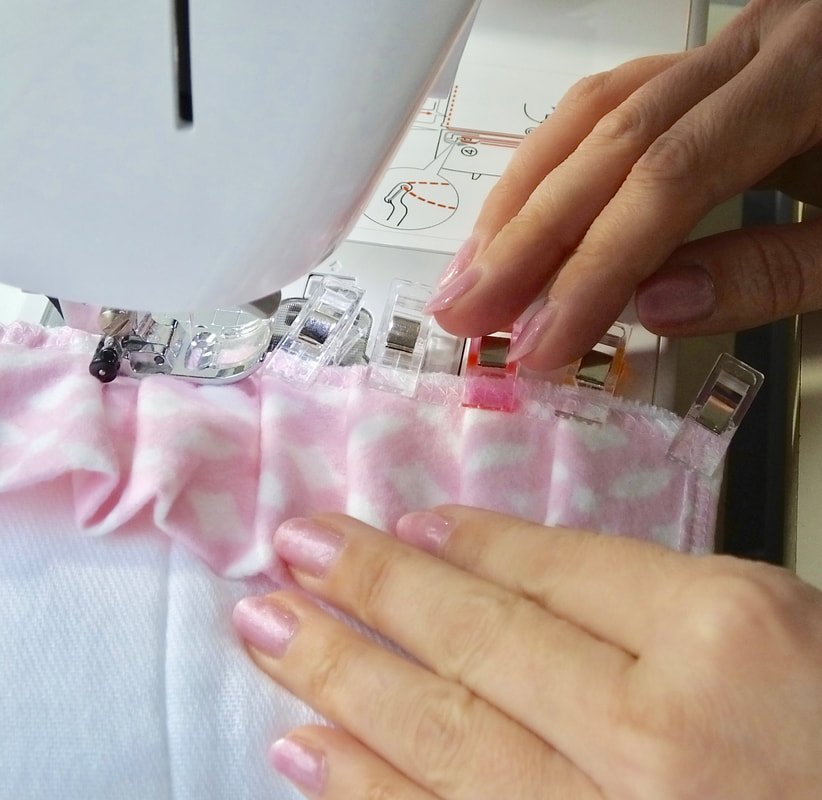
I didn't gather the strip for the ruffle before I attached it. I folded the strip in half and used clips to attach it at the midpoint and each end of the burp diaper. Then, just eyeballed the gathers.
You can see the raw serged edges above.
Sew 1/4" from the bottom edge of the burp diaper making sure to catch the ruffle.
Use clips or pins to hold the ruffle in place and remove as you sew.
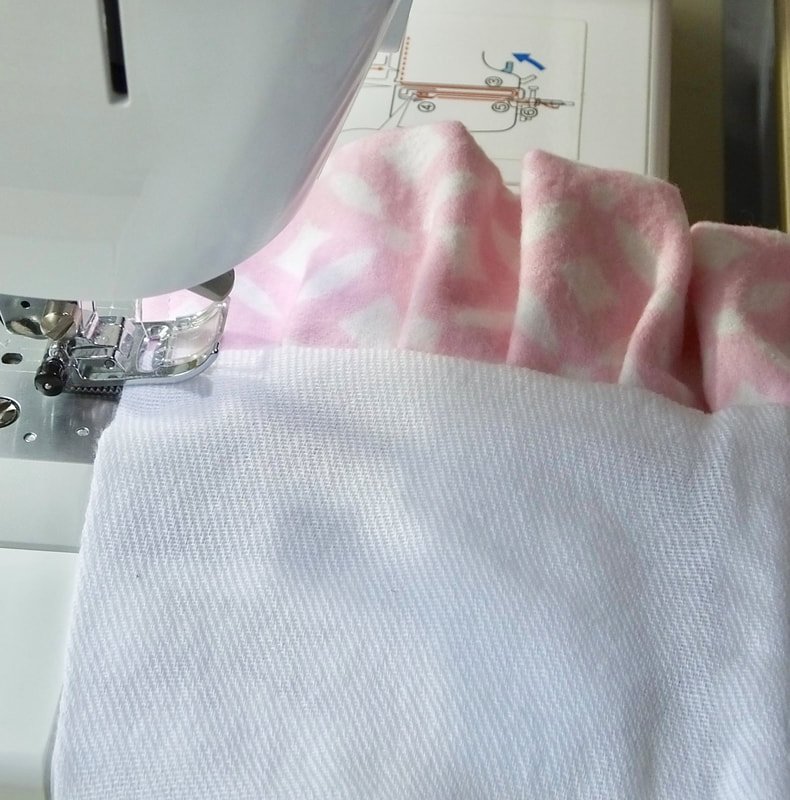
Topstitch the ruffle.
After you attach the ruffle, press the seam up toward the burp diaper. Topstitch the top 1/8-1/4" from the edge. This adds extra security to the ruffle and burp cloth seam. Go slowly, the burp cloth fabric may want to shift.
Grab a cute headband set or some baby bath items to add to the gift set. Or not. Keep it super simple.
I loved having thin blankets when I had my babies. They're great for diaper changes, sun shields in the car or stroller, swaddling newborns, wiping up spills, etc. Blankets make the best gifts because they're so versatile.
If you're feeling adventurous, make a nice blanket with a layer of faux fur and flannel. I make these as well and embroider the baby's name on the flannel side. The new mom might not use the fancier blanket for the baby right away, but it will be special for the baby as he/she grows into a toddler.
Sew the blanket with right sides together leaving a 3"-5" gap opening for turning. Slip stitch the opening closed or top stitch around the whole blanket. And you're done.
Handmade gifts for babies are the sweetest. With a little fabric and some time, you can create things that baby and mama will both love for years and years.
Other easy ideas to make:
Burp cloths. Sew 2 or 3 layers of flannel together in a rectangle.
Pacifier clips
Doll or stuffed animal
Embellished store-bought baby bodysuits. Add ruffles or applique
Baby carrier cover
Diaper bag
Quilt
Baby outfits/ dress
Playmat
Cart cover for shopping
Sun hat
Do you make gifts for baby showers or do you purchase them instead? I do a little of both.
Thanks for hanging out today and enjoying all the sweet baby things we made.
Happy Sewing!
Annette


