Vintage Sewing notions and pattern
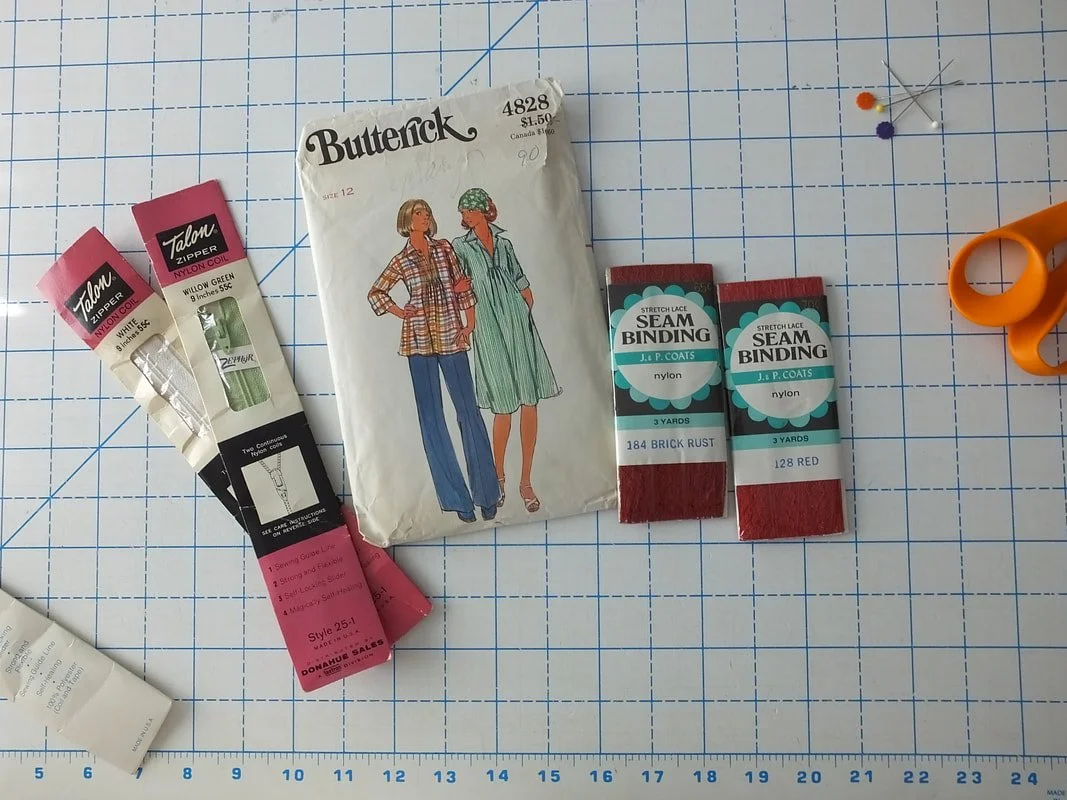
Vintage sewing notions. Do you use them? Are you a collector? Some I use and some I just keep for memorabilia.
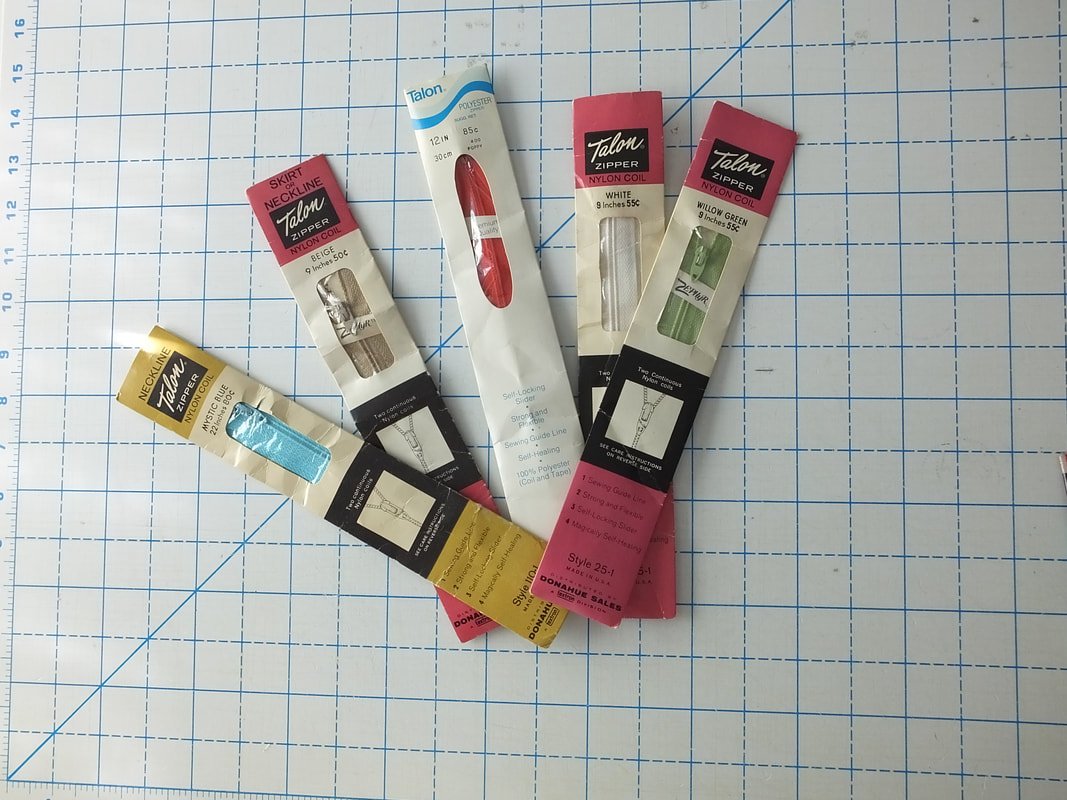
My mama gave me a small bag of vintage sewing items she found while rummaging through the garage. She thought I might like them, and she was right! It’s always fun seeing the prices of things and the vintage packaging. I had to share my gifts with you all.
Vintage zippers. I’m not a big fan of using them, they seem to get stuck easily. But, they’re fun to look at.
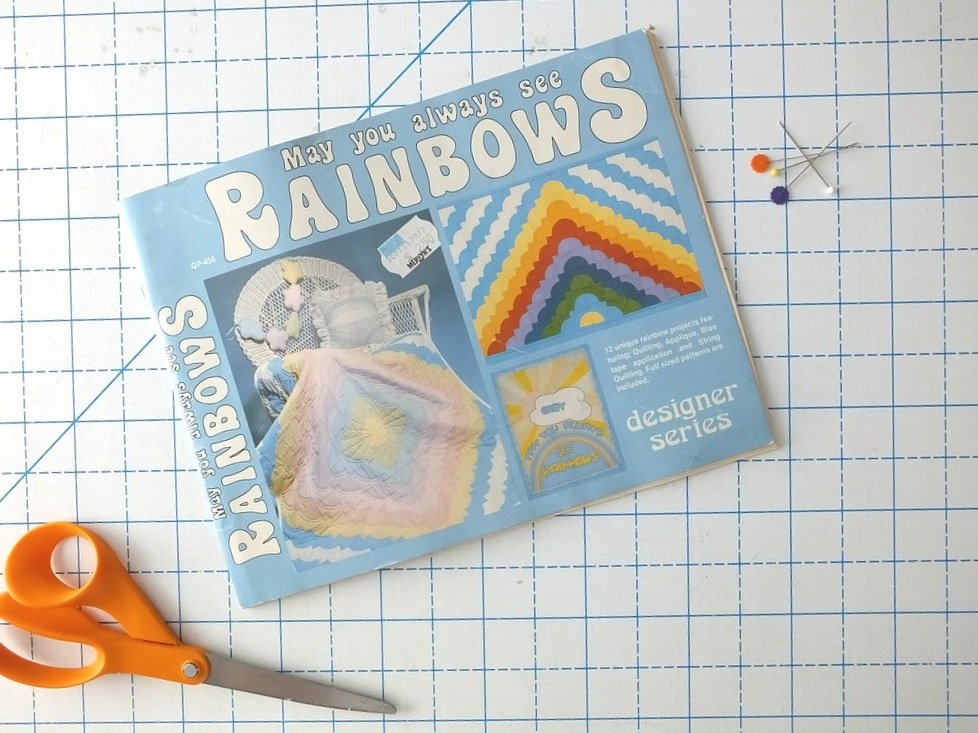
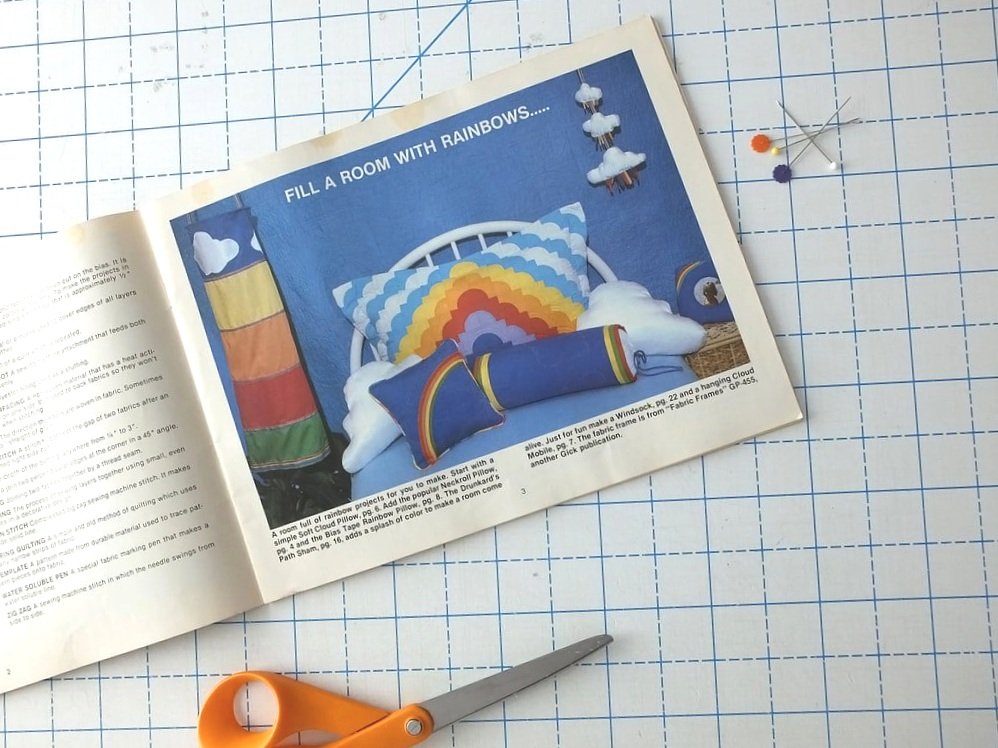
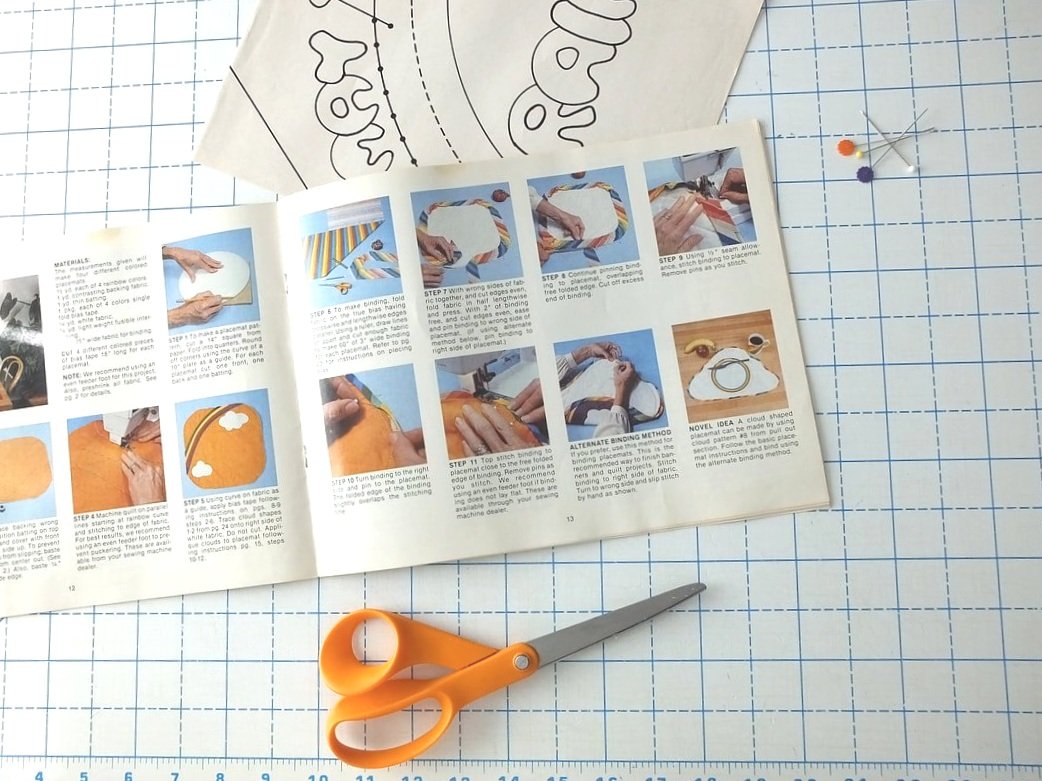
Where are the 80's babies at? My mom made my whole nursery using this book. The cloud pillow wall hanging. I had a mobile over my crib. I find it so funny that trends always come back around. Rainbows are everywhere right now. And don't even get me started on unicorns! I had a unicorn bedroom as a child. Oh memory lane, how I love you.
The instructions in this book are really simple. Today, sewing books and patterns are over-complicated.
And then there was a roll of pleat-making tape. I've never used it but, it's cool to have. Have you used this before? What is it for?
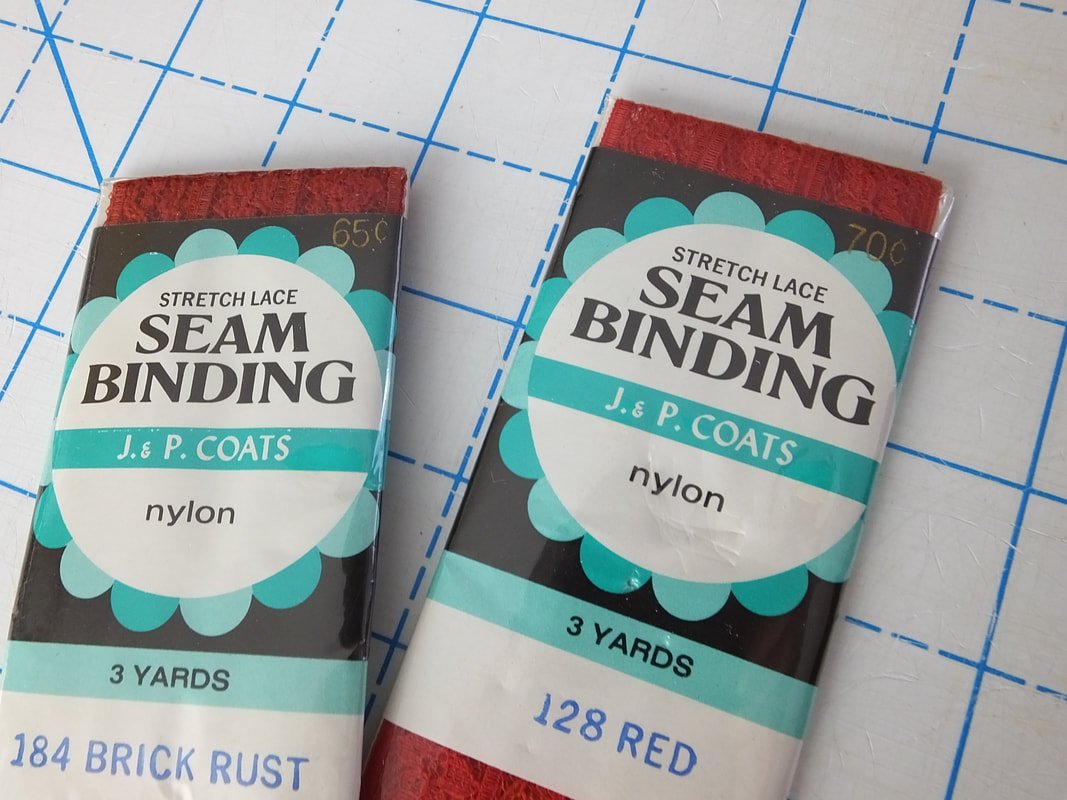
Red lace seam binding. 65 cents! Can you imagine?? These were back from the days where it was less expensive to make your own clothing. Sigh…
Well, that's it. She gave me an old tailor’s ham as well as some muslin. The muslin was used right away, Ha. Hope you enjoyed a little look into the bag of goodies my mama gave me. I am always amazed at how things change and some things stay the same. I hope you enjoyed the items I shared.
Let me know in the comments below if you've found some cool vintage sewing notions or patterns. What vintage notions do you have? Do you use them or save them?
Happy finding,
Annette
Look back at 2019 Sewing
2019 reflection of what I sewed. Looking forward to the upcoming year and filling out a sewing journal.
Who's ready for the new year? Not me. Not yet, anyway. I still need to eat turkey and put up the tree. But, I'm enjoying the calm before the holiday storm right now.
I subscribe to a sewing magazine, Sew News, and at the end of December's issue, they included a sewing goal chart to fill out. It gave me an idea to ask you if your sewing dreams were fulfilled for 2019. Did you complete projects, use up some stash fabric, or maybe you learned something entirely new?
Let's break down the year, together. This way, we can set new goals for 2020! It's gonna be a great year, can't you just feel it?
How many apparel items did you make? Simple items such as a headscarf, do count. ;)
How many new patterns did you sew up? Did you sew any a second or third time? A.k.a. the TNT (tried and true pattern).
What new fabrics or patterns did you purchase? Maybe you even discovered a new notion?
So now that your wheels are turning, let’s dive in a little deeper.
What type of projects do you enjoy making? An easy, one-hour bag, or do you love a three-day sewing bender? Drafting your own pattern for a special occasion, fully lined, fancy fabric dress? Or, maybe you're like me and fall in between and love to sew both types. It all depends on the mood.
A few more points the sewing chart asks you to fill out:
Favorite makes
Your proudest moment
Fail moment (Oh, here’s a good one)
A new skill
Classes you’ve taken
Challenges (good, bad, and the ugly)
A make that feels like you, the most
You planned on sewing ___________, but it didn't happen.
I encourage you to write down these prompts and make a list. Maybe start a sewing journal. I have a journal a friend gave me, maybe I’ll start using it for sewing thoughts too.
What do you want to add to your sewing dream list for 2020? Maybe you want to add more pants to sew up, or less pants. LOL. Heck, maybe you didn't sew anything this whole year because...life.
I can't wait to fill out the chart and tape it to my sewing wall.
Share your results in the comment section below. I'm really curious where everyone's at in their own sewing journey.
As always, thanks for hanging out with me, and happy sewing.
XO,
Annette
DIY Advent Calendar
Sew up your own Advent Calendar this year. It’s an easy DIY Christmas project that will bring smiles for years to come.
Are you itching to do some holiday sewing? This advent calendar is a quick-ish sew if you want to whip up a fun Christmas item now! Get some stash-busting done too.
Tools needed:
rotary cutter or scissors
ruler
1/4 yard of a few different fabrics or scraps
1/2-3/4 yard of sturdy solid fabric for the front and back. (duck cloth, canvas, denim, etc.)
Matching thread
Iron on numbers, cutting machine with HTV vinyl, or template for sewing them on, if you don't embroider them.
All the sewing notions and a machine
A piece of 1/2" wooden doweling and twine for hanging.
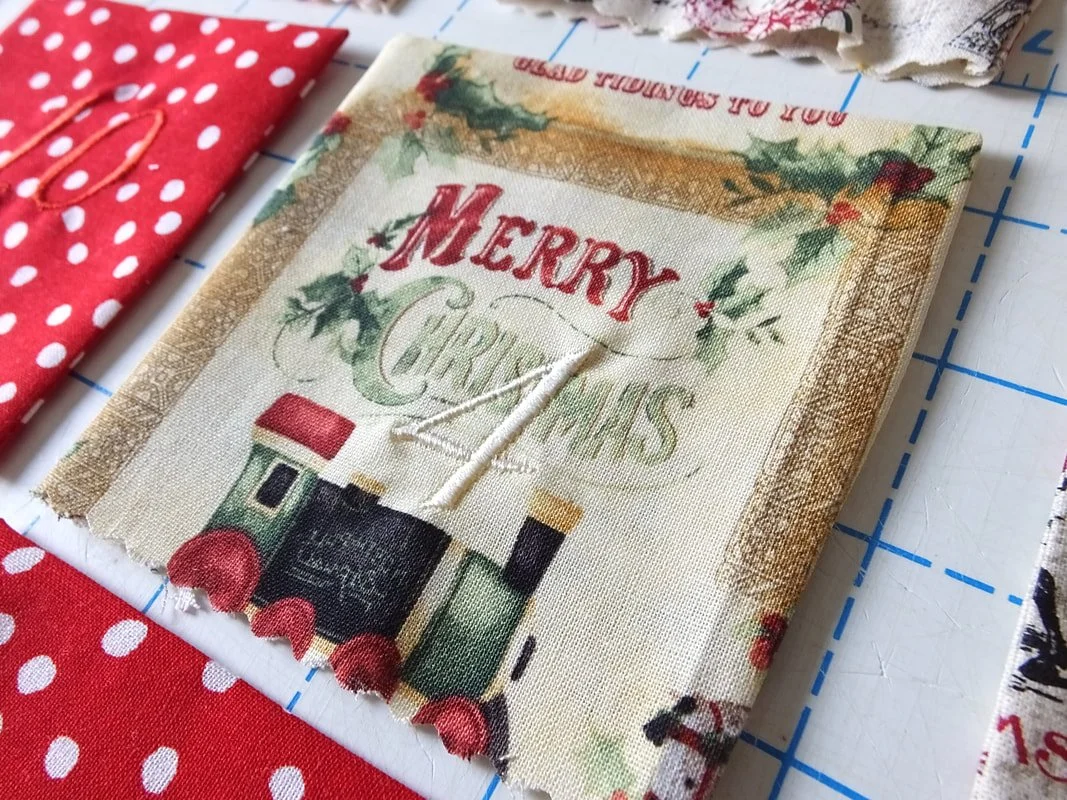
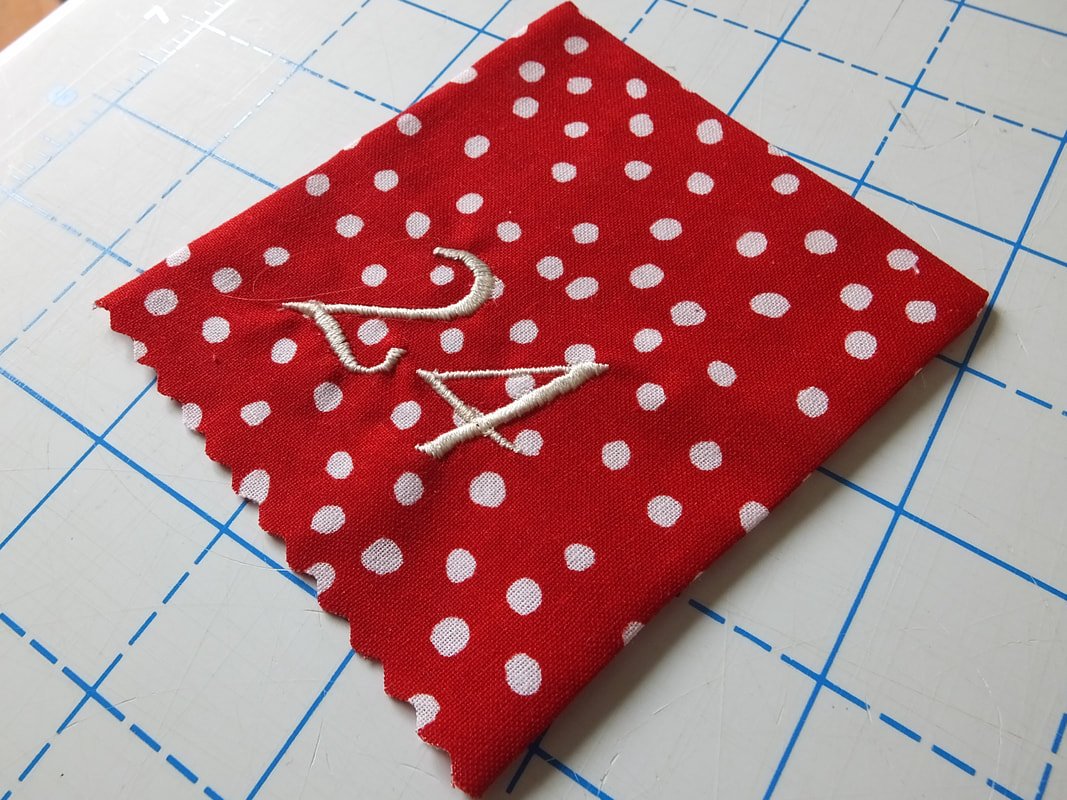
Machine embroidered numbers on pockets
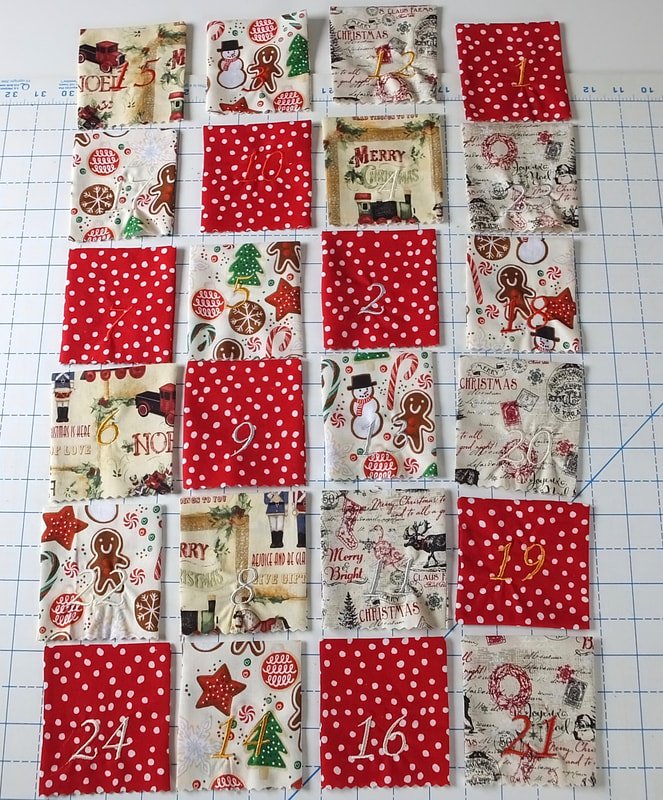
I chose Christmas fabrics similar in color, grabbed them, and started cutting. I liked the size of my phone, so I used it as a pattern. Find something around the house that is the size you want, and use that as a pattern template.
My phone roughly measured 6.5" by 3". I added 1 inch to the width and length for seam allowances to make rectangles. Fold them in half RST (right sides together) and stitch with a 1/2" seam allowance. Sew the sides only. Leave the bottom open, clip corners, turn out, and press flat.
**If you decide to sew or embroider the numbers on, do this before sewing the pocket together. If you use vinyl or iron-on numbers, you can add the numbers after the pockets are sewn and turned.
Organize them vertically if you’d like.
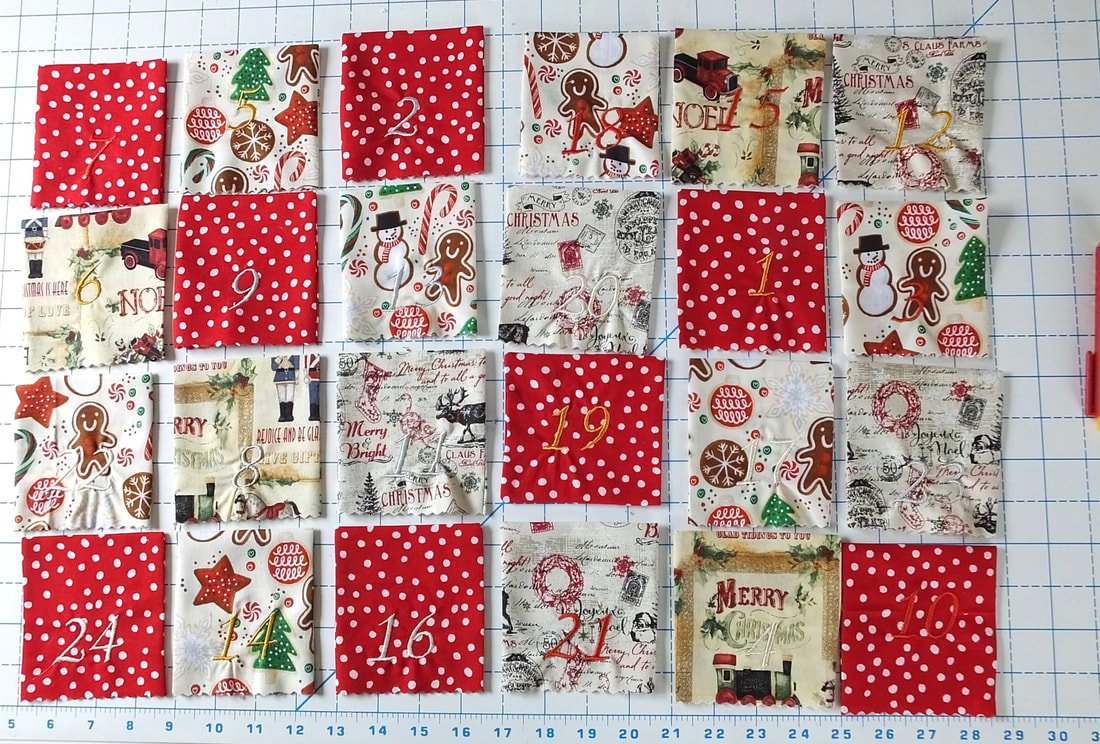
After you have your pockets made, lay them out and switch around until you decide which assortment you love the best or go crazy. I liked the taller version better.
Arrange them in a horizontal way if you like that better.
I did this part backward, sorta. After laying the pockets out, I cut my fabric for them to be sewn onto. I measured the size of all the pockets and added 2" on each side. 5" to the top and 2" to the bottom. This allowed extra room for seams and the top to get turned down and stitched to create a loop for the wooden doweling.
I added length and width to the solid piece of fabric to sew the pockets onto.
I worked from the bottom up, sewing the bottom row of pockets first. You do what works best for you. :)
Measure from the bottom row of the pockets to see how much room you want.
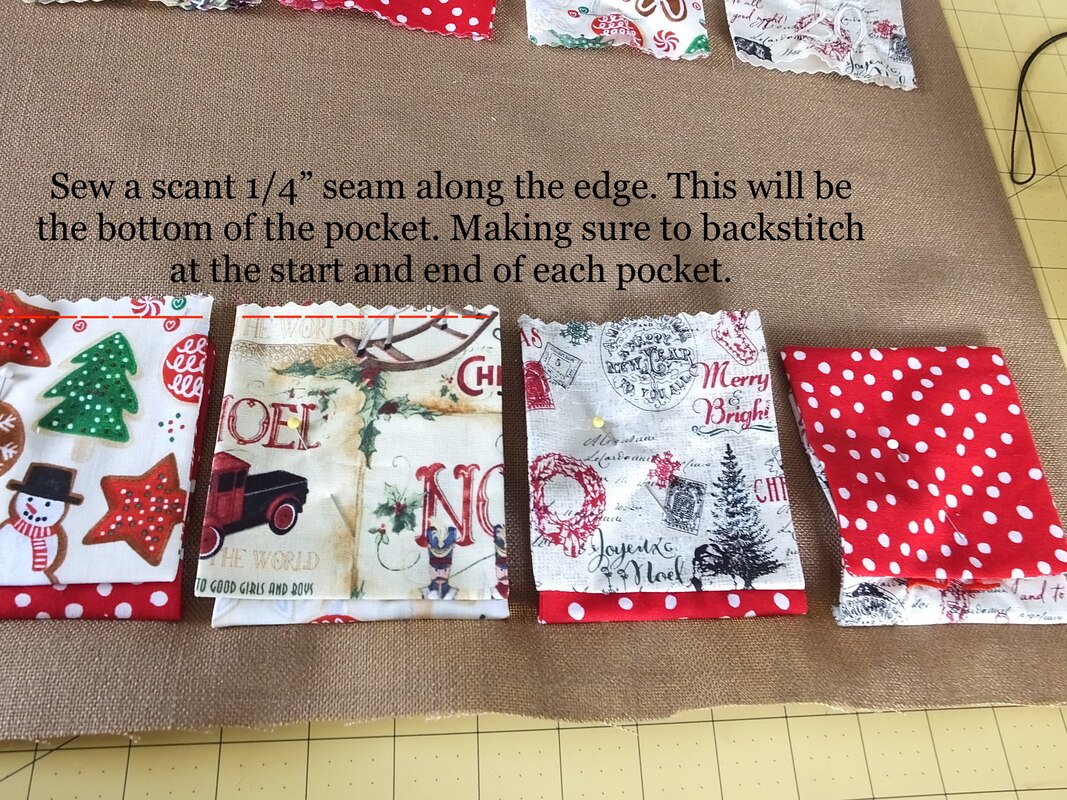
Flip pockets the wrong side up and stitch along the open edge.
I sewed the second row 1/2" above from the top of the first row. You decide on your own spacing.
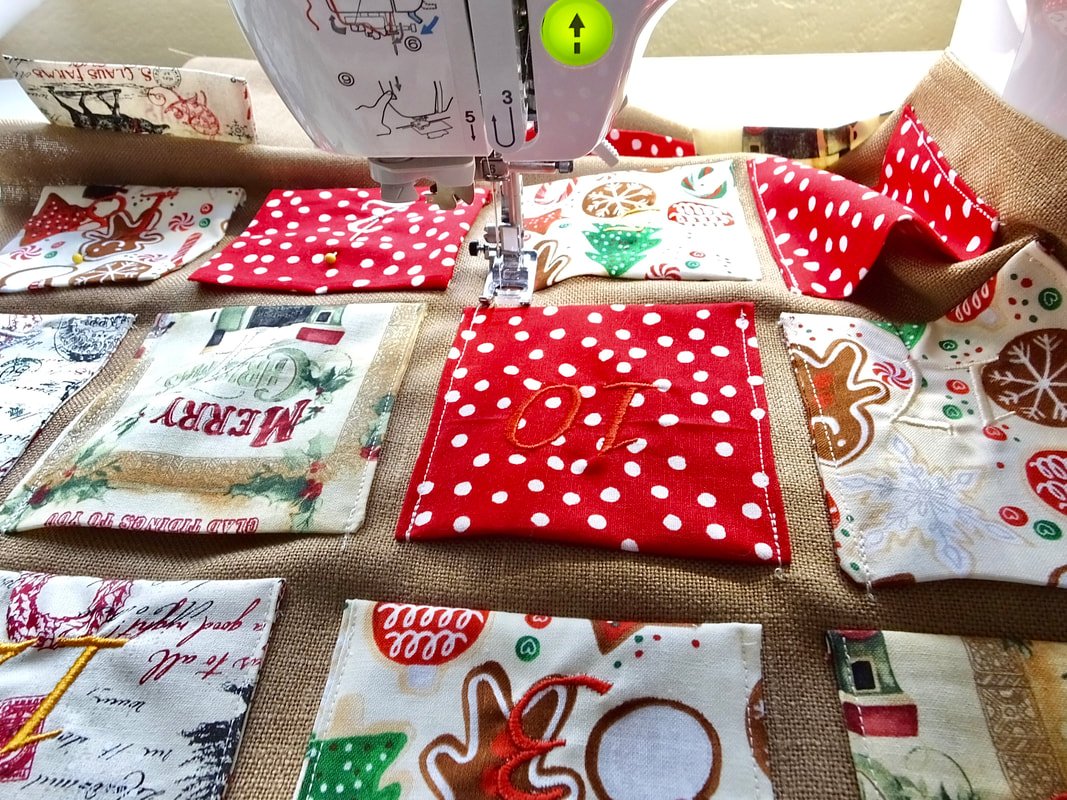
I decided to sew the bottoms of all the pockets on first. Then, I flipped them up to sew the sides. As you can see, I used pinking shears to keep the edges from unraveling. This whole project was on the fly and meant to be fun, without overthinking. Sometimes you just gotta sew something! LOL
Sewing the sides. Start from the bottom and go up, backstitch at the beginning and end.
Be sure to backstitch at the start and end of each pocket side. I also added extra stitching at the top where little hands will reach in and out to discover the treasures inside.
After you have all the pockets sewn on, it’s time to put it together.
Grab the backing fabric and pocket piece, and lay the pocket side RST on top of the backing fabric.
Pin or clip the pieces together, and sew a 1/2" seam allowance. Leave a 4"-5" gap at the top for turning. It’s a lot of fabric and layers so, you’ll want a nice size gap for turning out.
It’s starting to come together and look like an Advent calendar now.
Leave an opening for turning.
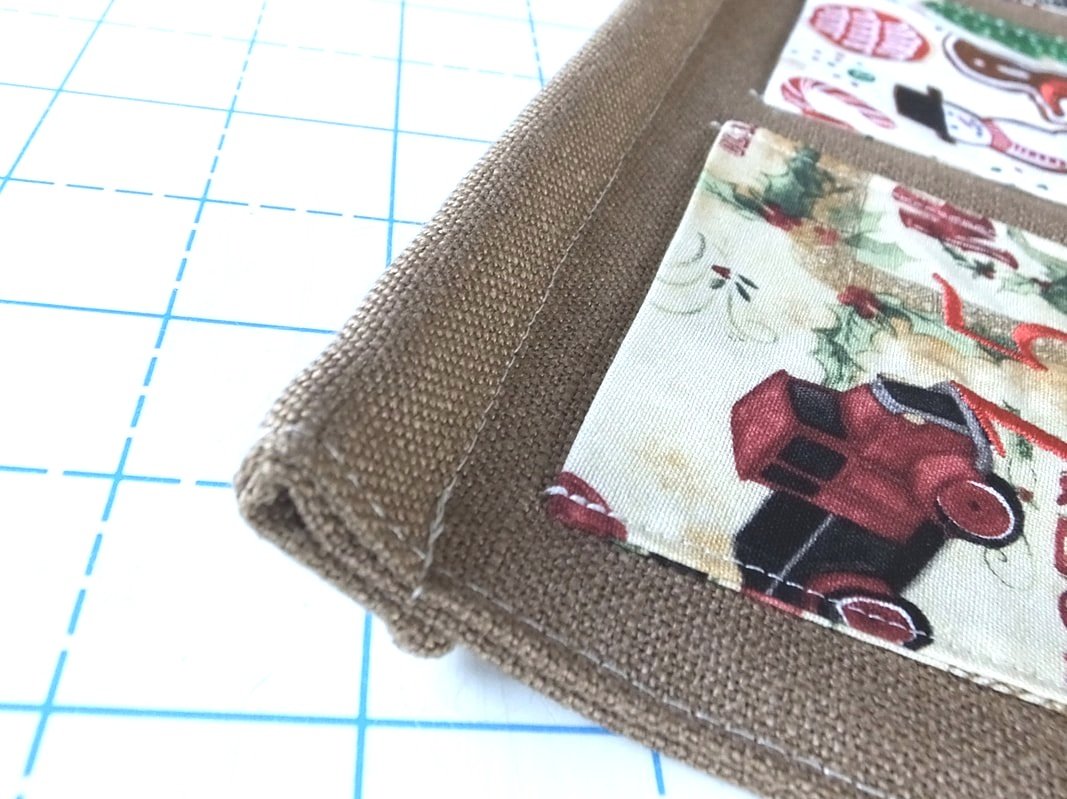
Clip the corners and trim thread tails. Turn out and top stitch around the whole calendar.
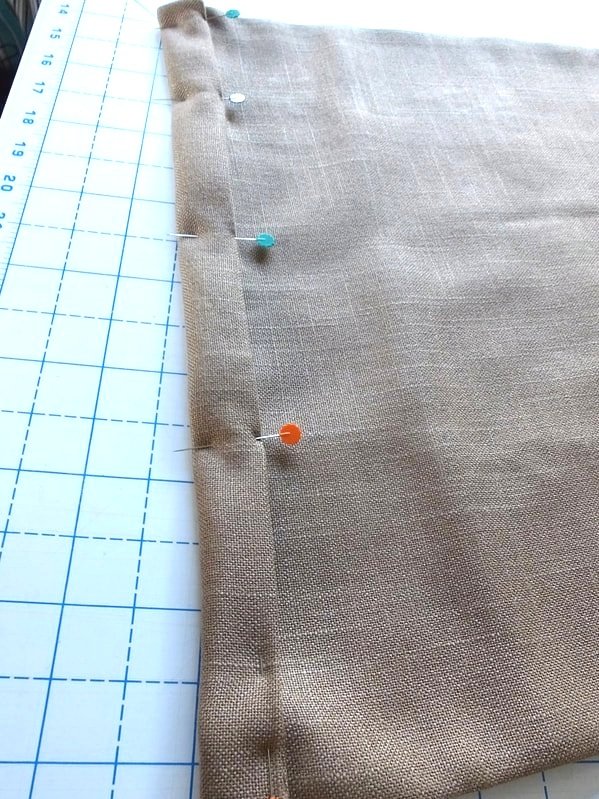
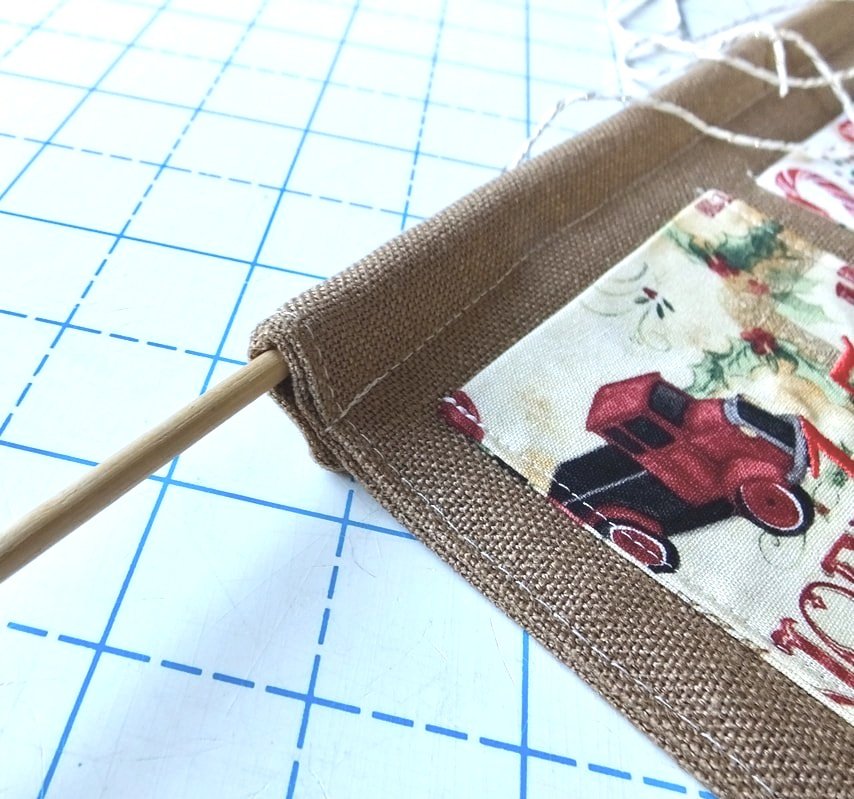
Decide how big of a loop you need for your wood doweling to slide through, pin, and stitch to create the loop.
Slide the dowel through. Tie string or twine on each end with a double knot. Hang up and fill it with lots of little treasures.
You're done! Yay!!! Now, what do you fill it up with?
Filling it up
What are you going to fill the pockets with? Who is going to use the advent calendar? Little ones or big ones? I've listed some ideas below of what to put inside for all ages. Wrapping each item would make it extra fun and keep wandering eyes from peaking.
Chapstick or lipgloss
Fruit snacks
Small fruits, a tiny orange
Movie theater ticket
Handmade coupons
Small packs of beef jerky
Cash
$5 gift card
Hair elastics or barrettes
Small lego sets
Candy
Toy cars
Earbuds
USB stick
SD card
Crayons
Package of nuts
Hot cocoa packet
Socks
Soft gloves
Squishy toys
Stress ball
These are just a few ideas, the sky is the limit on fun little treasures. Just think of anything that will fit in the palm of a hand.
Well, I'm off to buy some items to fill our calendar with. If you think of other ideas, please share those in the comments below. The more ideas, the merrier! Are you going to make an advent calendar? Or make one as a gift? Let me know in the comments below.
Merry Christmas,
Annette
Sewing Challenges to Participate In
Fun sewing challenges and hashtags to follow. Find new friends in real life or virtually by following these tips.
The new year is here and in full swing! Do you want to do some selfish sewing after making gifts for the months leading up to the holidays? Yes? Same here. I want to make a few things for me, nobody else. Never feel guilty about sewing for yourself. It's YOUR hobby and YOUR time. ;)
I got to thinking about all the things I planned on making last year that never happened. :/ This year, I want to have a plan of attack! I decided to make a deadline to kick my rear into gear. Joining a sewing challenge or 2, or 3 will help with this. Fingers crossed!
There are tons of great sewing challenges happening every year. You may have heard of some, and some might be completely new to you (me, too).
Just reading a book and wearing my Zombie babe gathered skirt.
I've linked a few below:
Sew the Precious- it's a challenge on Instagram hosted by The Sewcialists. You are supposed to make something with that precious fabric you are scared to cut into. Sounds fun, right? Count me in! I signed up, you should too. :) Be sure to use #sewtheprecious when you post your pic.
Next up is the Make Nine challenge hosted by Rochelle over at Home Row Fiber. You plan on 9 items to make for the year. This is right up my alley because I know I need to make a new purse. As I'm typing up this post, I'm planning my makes for this year. Again, use the hashtag #makenine2020 on Instagram.
Me Made May- I have a post about doing this last year. It's hosted by Zoe at So, Zo..what do you know? You wear something every day that was made by you. I usually wear something I've made every day of the year. So, this wasn't as challenging, although I did learn a few things from it. But, you'll have to wait for that post as we get closer to May. ;) This can be as simple as a pair of earrings you made to a formal dress.
There's a #sewover50 challenge on Instagram. Go follow Judith @sewover50 for more info. Sounds fun!
#dresslikeyourgrandma challenge. I've just recently heard of this and it sounds fabulous! I love vintage style and clothes, so I'll have to check this one out.
There's also a #sewyourstash challenge. It's where you only sew things from your fabric stash. You're not allowed to buy new fabric. I have been doing this one, sorta. I have tons of fabric and honestly don't need to buy anymore until I sew through my own stash!
#memadeeverday is just what it says. You post pics on Instagram of what you made and are wearing every day. It's a take on Me Made May but a yearlong challenge. I like this one because it is easy and doesn't take much thought.
#Sewthefrosting is another challenge. You make something that is positively fabulous just for you. It's supposed to be more fun than utilitarian. This is right up my alley!
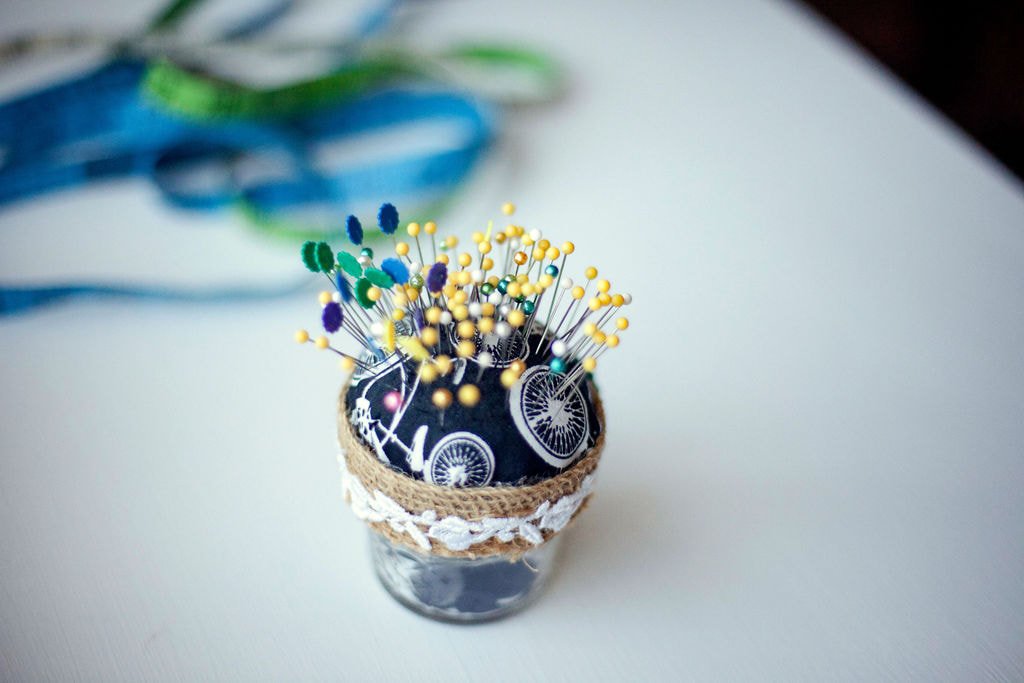
This cute pin cushion was made for me, by my friend. Photo by Erica Lancaster.
Are you going to partake in any of these challenges? I know there are quite a few that I didn't list. If you know of any, share them in the comments below. I'm doing the make 9 and #sewtheprecious. I think these will be fun and a good challenge for me.
Happy Sewing!
Annette
Quick and easy baby gift
Sew a quick and easy baby gift. Burp cloths, blankets, and more.
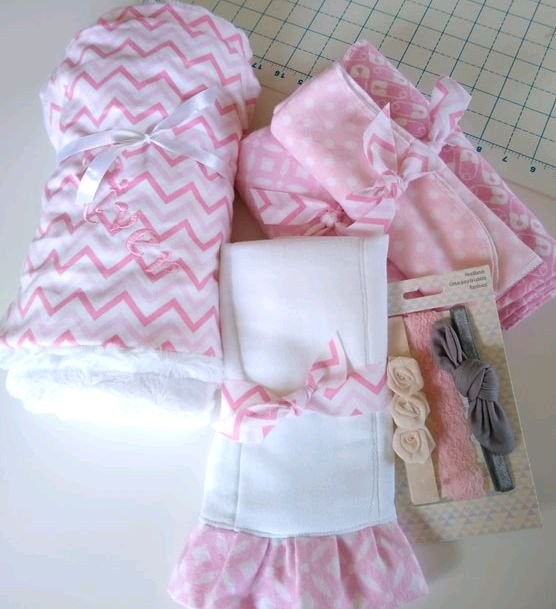
Embroidered blanket, burp cloths, swaddling blankets, and headbands.
Spring is in the air and this lady is ready for some porch time. I love waking up, going outside, and enjoying my coffee on the back porch with the birds.
I'm a simple person. Ha!
Babies and weddings usually go hand in hand with Spring. Don't you agree? I've been to a few baby showers lately and thought I'd share some easy handmade gift ideas for you to make and take to your next shower.
As sewists, we always have extra fabric that we're dying to use up. This gives you an opportunity to use it up or go shopping for new fabric. Win-win!
Let's get sewing, we've got a shower to attend!
Here’s what you'll need:
3-4 yards of soft flannel, cotton, minky, and/ or faux fur.
Matching or contrasting threads/ matching bobbins
Ribbon
Store-bought cloth diapers. I use the extra thick ones (optional)
Bowl or plate
All the sewing things
Sewing machine
Serger
After you have your fabrics picked out, it’s time to make some baby gifts.
Swaddling Blanket
Grab a chalk pen, or water-soluble pen to mark the rounded edge.
Square up a yard of soft baby flannel. I like to cut the swaddle blankets 40"x 40".
Take a bowl or plate and trace the curved edge at each corner. Or, fold the blanket in half and half again so you have all corners on top of each other. Then trace and cut.
Cut and make a few of these blankets using different patterns of flannel fabric. These are quick and they will be well-loved.
Serge around the entire blanket edge making sure to go slowly around the corners. If you don’t have a serger, zigzag over the edge. (You can fold over and under, then topstitch, but don’t round your corners if you do that.)
After you have all the swaddle blankets you want, set them aside.
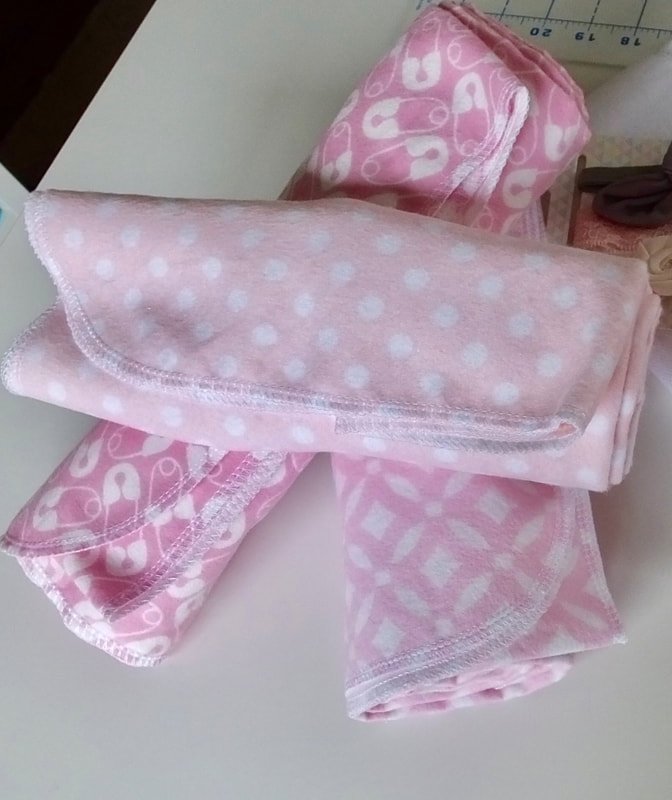
I made 3 different swaddle blankets. They are great to keep in the diaper bag, car, and nursery.
Burp Diapers
Every new parent needs burp rags. Buy a pack of store-bought cloth diapers, I prefer the thicker style ones. Measure the width and multiply that number by 2. Cut a strip the length by 4 inches wide. Fold in half like a hot dog. Serge the raw edges together or use the zigzag stitch if you don't have a serger. This is supposed to be quick and easy. Don't stress over edges that aren't perfect.
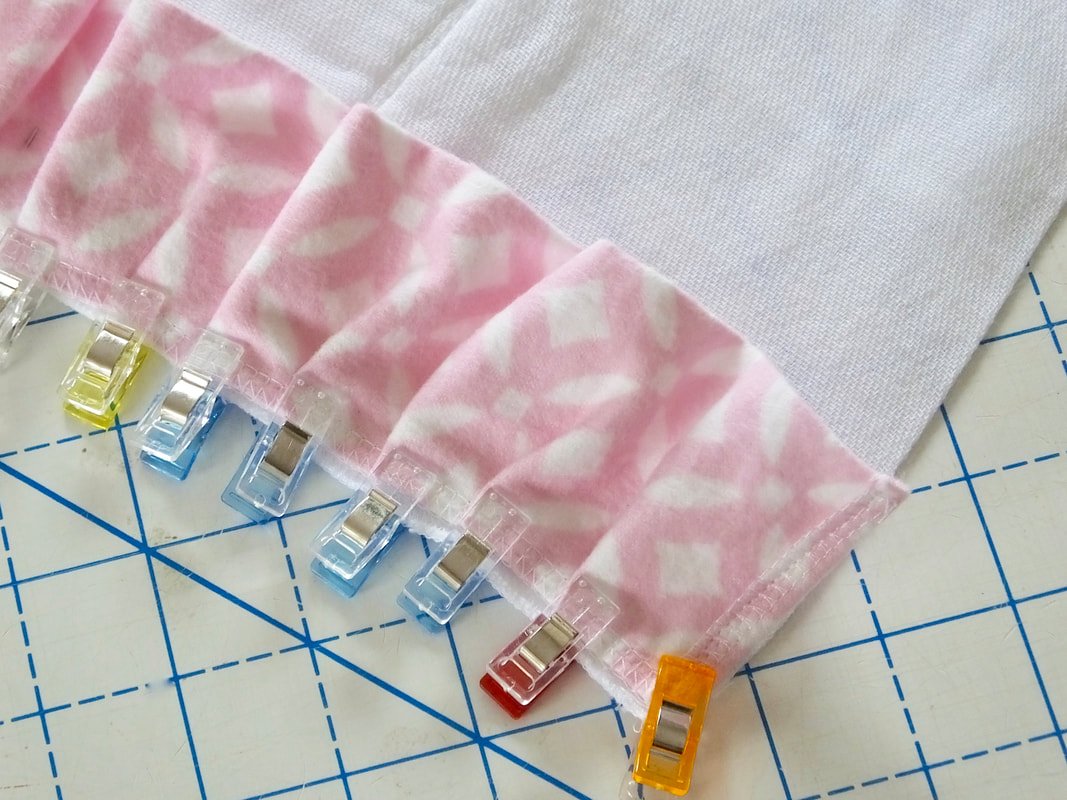
I didn't gather the strip for the ruffle before I attached it. I folded the strip in half and used clips to attach it at the midpoint and each end of the burp diaper. Then, just eyeballed the gathers.
You can see the raw serged edges above.
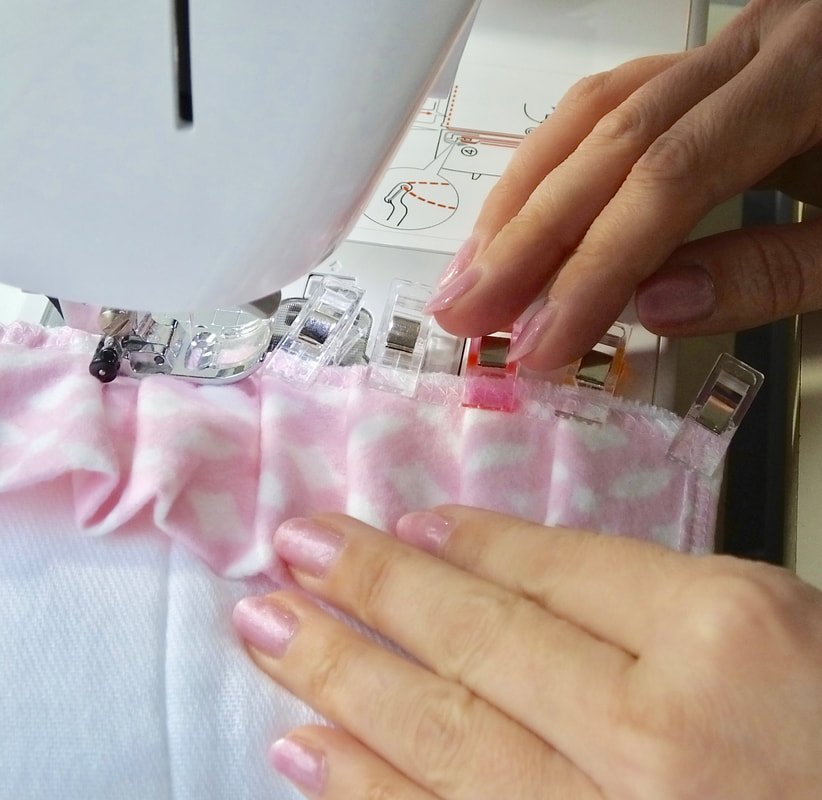
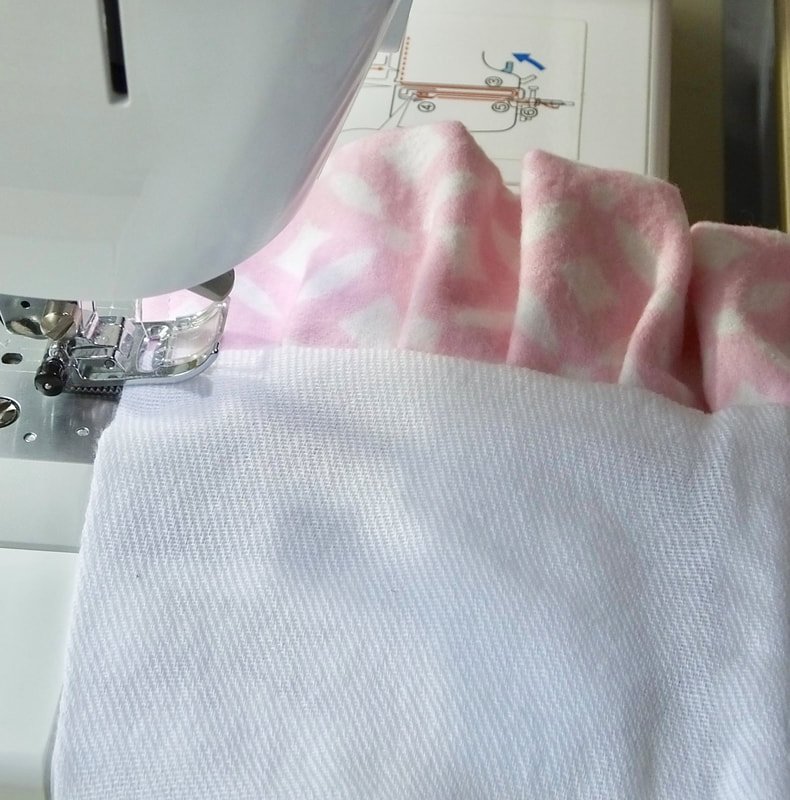
Sew 1/4" from the bottom edge of the burp diaper making sure to catch the ruffle.
Use clips or pins to hold the ruffle in place and remove as you sew.
Topstitch the ruffle.
After you attach the ruffle, press the seam up toward the burp diaper. Topstitch the top 1/8-1/4" from the edge. This adds extra security to the ruffle and burp cloth seam. Go slowly, the burp cloth fabric may want to shift.
Grab a cute headband set or some baby bath items to add to the gift set. Or not. Keep it super simple.
I loved having thin blankets when I had my babies. They're great for diaper changes, sun shields in the car or stroller, swaddling newborns, wiping up spills, etc. Blankets make the best gifts because they're so versatile.
If you're feeling adventurous, make a nice blanket with a layer of faux fur and flannel. I make these as well and embroider the baby's name on the flannel side. The new mom might not use the fancier blanket for the baby right away, but it will be special for the baby as he/she grows into a toddler.
Sew the blanket with right sides together leaving a 3"-5" gap opening for turning. Slip stitch the opening closed or top stitch around the whole blanket. And you're done.
Handmade gifts for babies are the sweetest. With a little fabric and some time, you can create things that baby and mama will both love for years and years.
Other easy ideas to make:
Burp cloths. Sew 2 or 3 layers of flannel together in a rectangle.
Pacifier clips
Doll or stuffed animal
Embellished store-bought baby bodysuits. Add ruffles or applique
Baby carrier cover
Diaper bag
Quilt
Baby outfits/ dress
Playmat
Cart cover for shopping
Sun hat
Do you make gifts for baby showers or do you purchase them instead? I do a little of both.
Thanks for hanging out today and enjoying all the sweet baby things we made.
Happy Sewing!
Annette
